Installation and Initial Setup
Initial Setup and Configuration
Prerequisites
You have a an API Key for authenticating with Developer Assist
Installing and Configuring the Extension
In the Cursor IDE, click on the Extensions icon.
Search for the Checkmarx Developer Assist extension, then click Install for that extension.
The Developer Assist extension is installed.
Click the arrow next to the Extensions icon to open the drop-down menu. Then click the pin icon beside the Checkmarx extension to add it to the top navigation bar.
Click on the Checkmarx extension icon.
The Checkmarx Developer Assist Authentication sidebar opens:
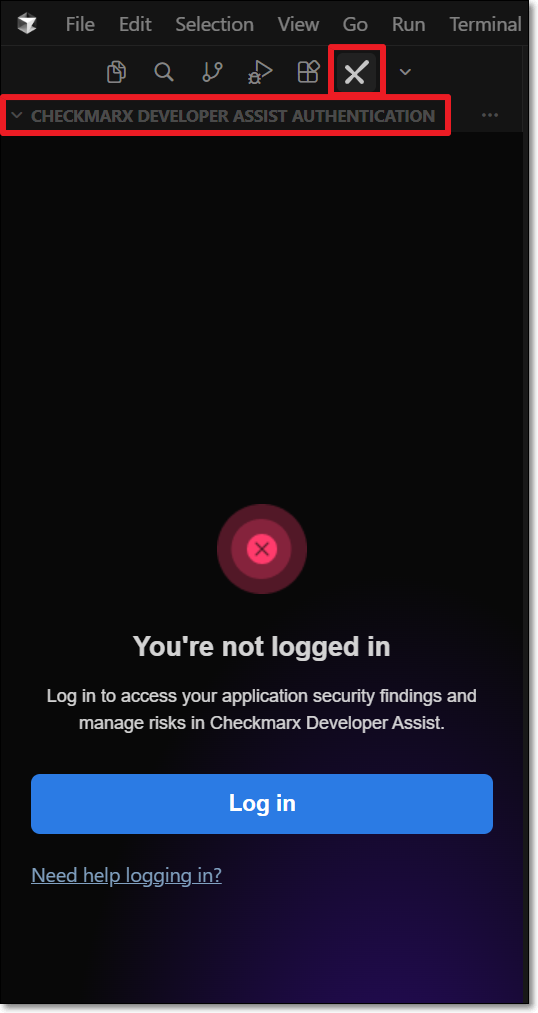
In the Checkmarx Developer Assist Authentication sidebar, click Log in.
The Log in window opens.
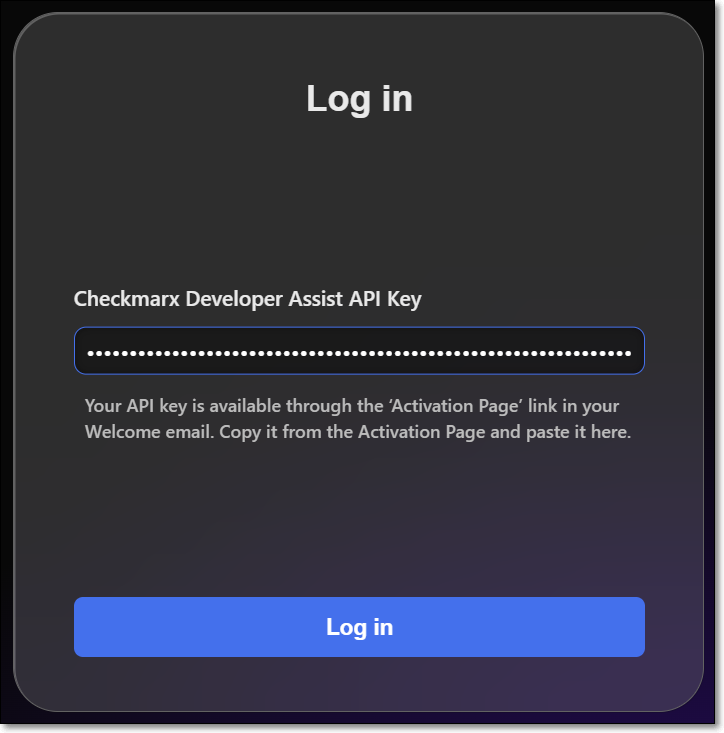
Enter your activation key in the Checkmarx Developer Assist API Key field and click Log in.
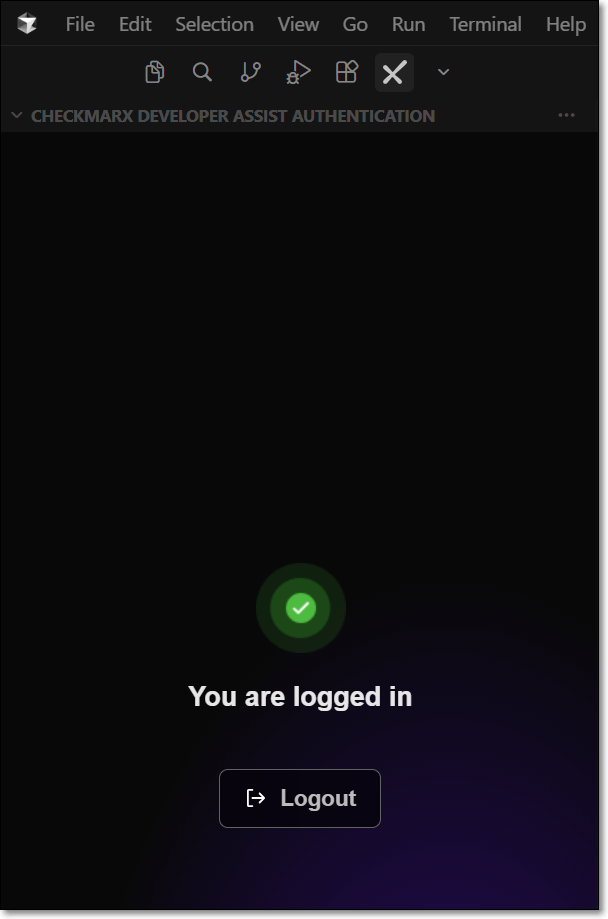
The Checkmarx Developer Assist Authentication sidebar will now show that you are logged in.
A Checkmarx Developer Assist welcome page is displayed immediately after a successful login. Scroll down and click on Mark Done.
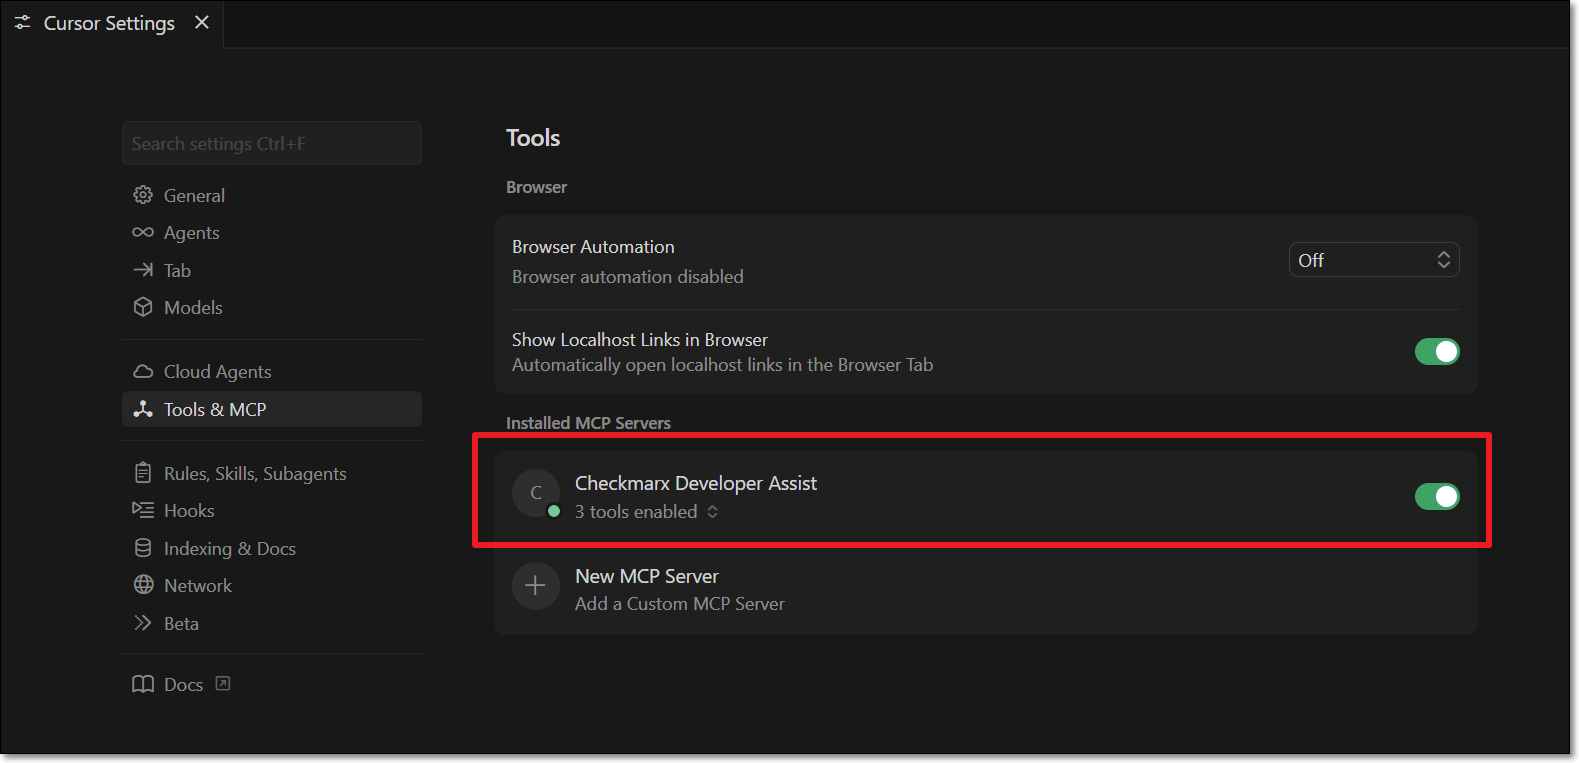
To verify that your MCP server is running:
In Cursor Settings under Tools & MCP > Installed MCP Servers, confirm that the Checkmarx Developer Assist toggle is enabled.
You can optionally adjust the Checkmarx Developer Assist Settings as follows:
Add Additional Params to set up custom configuraitions, such as proxy servers or to run in debug mode.
Enable/disable specific realtime scanners. By default, all scanners are enabled.
For IaC realtime scanner you can change the container platform used, Docker (default) or Podman.
The IDE’s built-in AI assistant is enabled by default, and the selected AI Assistant is ignored. To use a different AI Assistant:
Disable Prefer Native AI Assistant.
Select the AI Assistant to use for remediation. Options are Copilot (default) or Claude.
Troubleshooting - Manually Configuring the MCP Server
In case the automatic procedure fails. You can manually configure access to the Checkmarx MCP server using the following procedure:
If it does not already exist, create an mcp.json file at the following location:
${homeDir}\.cursor\mcp.jsonAdd the "Checkmarx Developer Assist" mcp using the following snippet, replacing <Activation_Key> - with your Developer Assist Activation Key.
{
   "mcpServers":{
      "checkmarx Developer Assist":{
         "url":"https://ast.checkmarx.net/api/security-mcp/mcp",
         "headers":{
            "cx-origin":"Cursor",
            "Authorization":"<Activation_Key>"
         }
      }
   }
}
Verify that your MCP server is running by opening Cursor Settings and under Tools & MCP > Installed MCP Servers, confirm that the Checkmarx Developer Assist toggle is enabled.