- Checkmarx Documentation
- SAST/SCA Integrations
- IDE Plugins
- Visual Studio Code Extension Plugin
- Visual Studio Code - Tutorials
- VSCode Tutorial - Initiate Scan, View Report & Bind Unbind Project
VSCode Tutorial - Initiate Scan, View Report & Bind Unbind Project
Goals
This tutorial is designed to teach users how to do the following:
Initiate a new scan of a workspace.
Initiate a scan of a file/folder.
Scan a new or existing SAST project.
Use the detailed scan table view.
Use the attack vector.
Load a vulnerability description with a cause and recommendation to fix it.
Save a report to a JSON file.
Prerequisites
VSCode 1.44 or later
CxSAST 9.0 or higher with known user credentials
Source code available
Checkmarx VSCode extension installed and enabled.
Successful login set up via user credentials or SSO. Refer to VSCode Tutorial - Login via User Credentials or VSCode Tutorial - Login via SSO for further information and instructions.
Procedure: Scan
To perform a scan:
Open your source code.
Right-click one of the files/folders.
Select Scan Workspace.
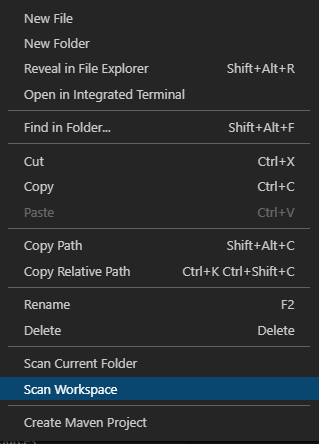
Enter the Project Name.
Choose the Team Path.
Select a Preset.
Select Private or Public.
As Scan Type, select Full Scan for this tutorial. The default is Incremental.
Select Private or Public. For this tutorial, select Private when asked. At the bottom right, a popup message is displayed indicating the scan completion percentage.

Once the scan is completed, the following messages are displayed at the bottom right of the screen indicating the SAST scan was completed successfully and the report was generated successfully:


Notice
It is possible to scan the current folder or file; the procedure is the same.
Scanning another folder or file is possible, but this option is disabled by default. To enable contact technical support.
Procedure: Review Results
To review the results of a scan:
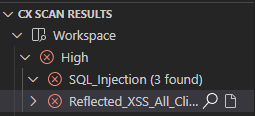
In the CX SCAN RESULTS filter, select the vulnerability severity and type, for example, High and SQL_Injection.
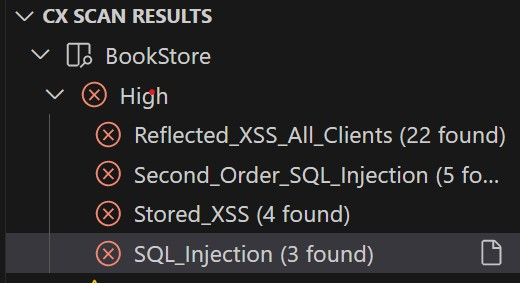
The Results Table is displayed at the bottom in the middle of the screen. The columns of the result table are manually resizable.
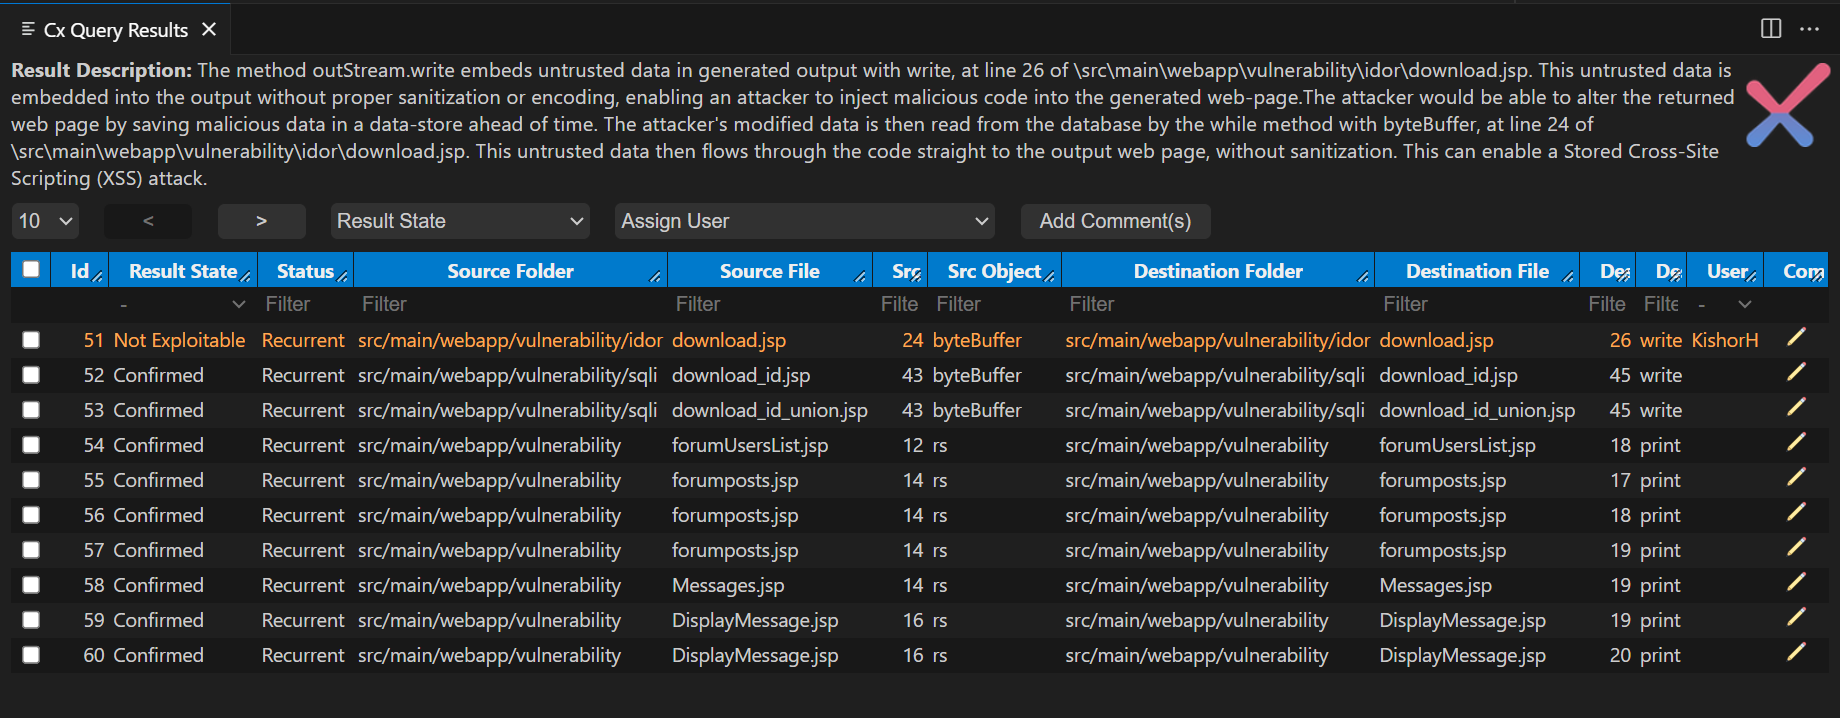
The Result table can be filtered based on different columns by entering text into the search box. The filtering is done according to the column's content and the entered text in the search field.

Users can select vulnerabilities from the Result table and change the Result State of the chosen vulnerability.

At the top of the Result Table, a short description is available for each vulnerability.

The Attack Vector is displayed on the right side of the screen.
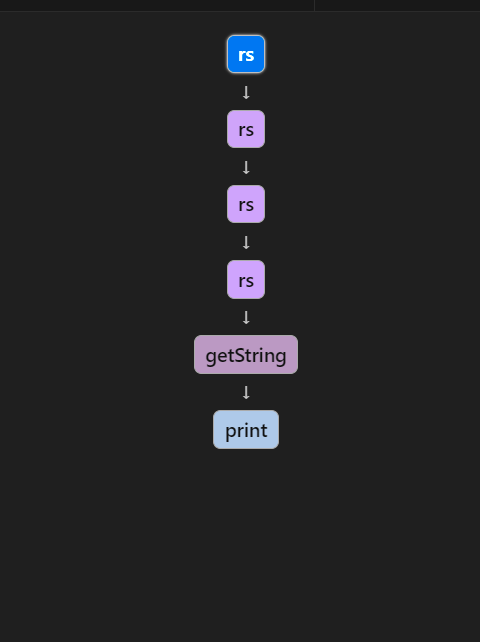
By selecting a row in the Results Table or a square in the Attack Vector, the user is directed to the specific line of code.
To view the description of a vulnerability:
Click the Copy icon. This icon is located to the right of the vulnerability name, for example, Reflected_XSS_All_Clients. The Vulnerability Description appears.
To unbind a project:
In the CX PORTAL dialog box, click the Bind icon. A message at the bottom right indicates that the project has been successfully unbound.


To bind the same project again:
In the CX PORTAL dialog box, click the Open Book icon. You are asked to select the project for binding.

Select the project name scanned in the previous tutorial. A message at the bottom right indicates that the scan report is being generated. Once completed, a message appears that the report has been generated.


The Results Table, Attack Vector , and Vulnerability Description are available again.
Procedure: Export Results
To save the results as a report for download:
Under CX SCAN RESULTS, click the Scan icon. You are asked to enter the report's full path and file name in JSON format.
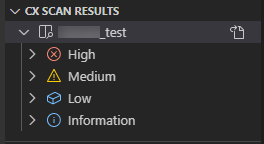
Enter the JSON report's full path and file name. A message appears indicating that the export is completed.


Once completed, the report is available in the selected folder.