Initiating a CxOSA Scan
Initiating a scan is currently dependent on CxSAST and can be performed after the CxSAST project creation and configuration. You can add CxOSA to any CxSAST project performing a scan. For more information about this subject, refer to Creating and Configuring Projects.
To initiate a CxOSA Scan:
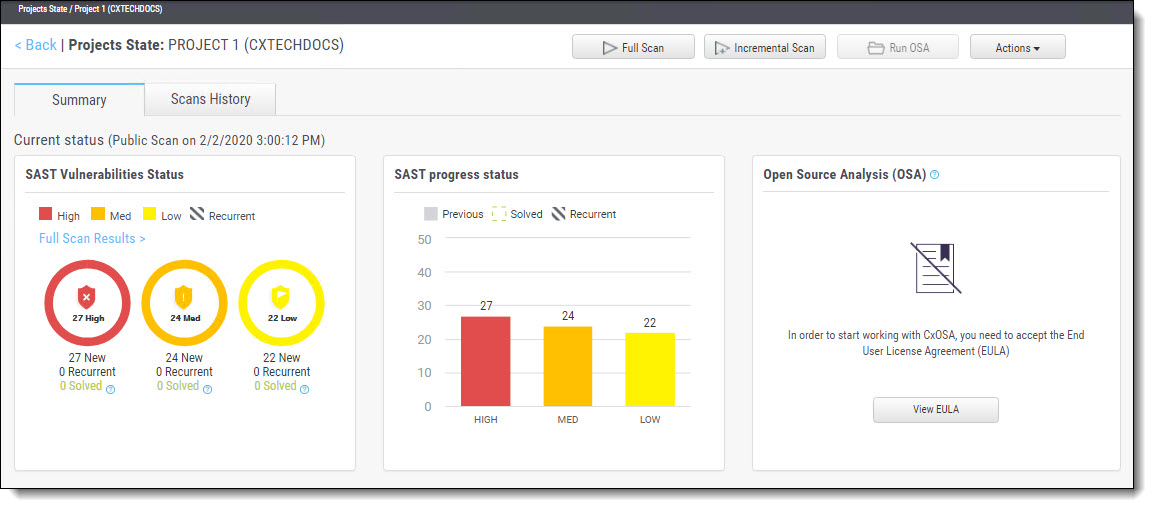
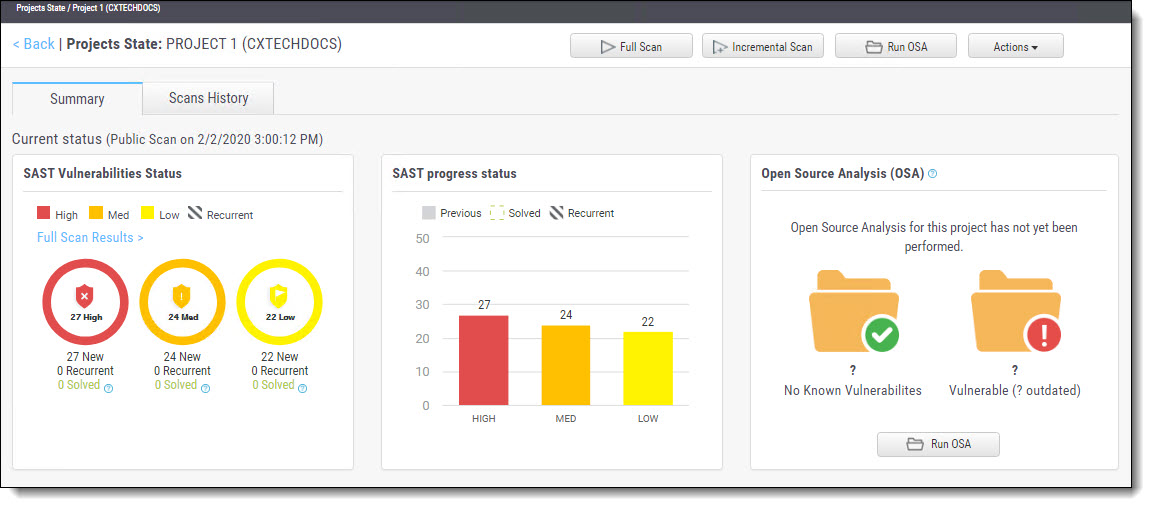
Click Dashboard, select Project State and then choose your project by clicking the Project Name link. The Consolidated Project State screen is displayed.

Notice
In order to start working with CxOSA, you first need to accept the End User License Agreement (EULA).
Click the View EULA button, read and accept the agreement.

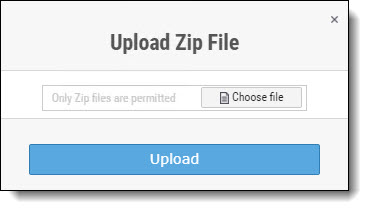
Click Run CxOSA, navigate to the local zip file containing the CxOSA open source library files and click Upload.

Notice
You can initiate scan from web interface in one of the two methods:
Upload zip file containing all open source components
Upload zip file containing the manifest file. For resolving the manifest file, the package manager should be installed on the server, see Supported Languages and Package Managers for more information.
Once initiated the ‘New Open Source Analysis is in progress’ indicator is displayed.
If the CxOSA file directory location has not yet been configured and you try to run a CxOSA scan, a warning message is displayed. Click on the link and define the CxOSA library file location before continuing with the scan. For more information about this subject, see Creating and Configuring CxOSA Projects.
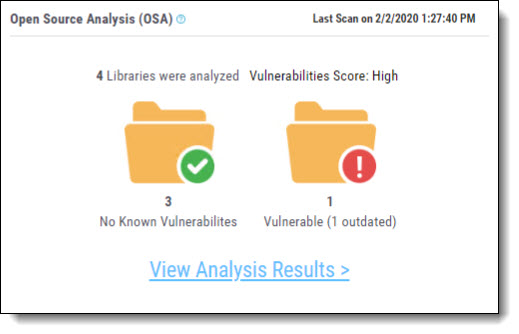
Once the CxOSA scan has completed successfully, a summary of the CxOSA scan results is displayed in the Open Source Analysis (OSA) panel.
 |
Click the View Analysis Results link to display more detailed CxOSA scan results. For more information about this subject, refer to Viewing CxOSA Scan Results and Getting to Know the CxOSA Viewer.