Installing a CxSAST Engine Pack on a host that does not contain previously installed CxSAST components
Installing the Engine Pack on the Host
Warning
If you install the Engine Pack on the CxEngine or CxAudit host or any combination of hosts, you must also run the Engine Pack setup on the CxManager host to update the SQL database.
For details, see Updating-the-SQL-Database.
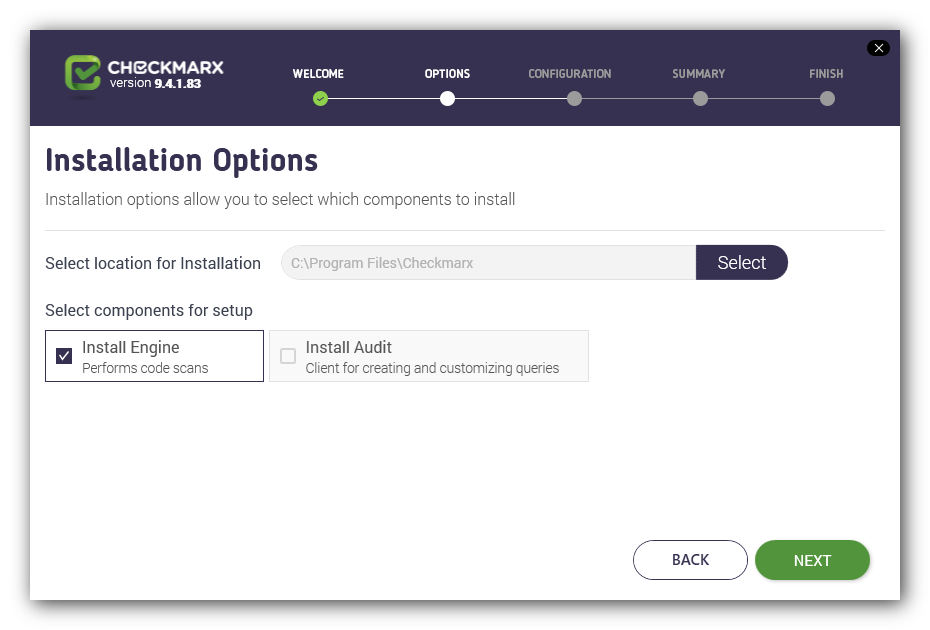
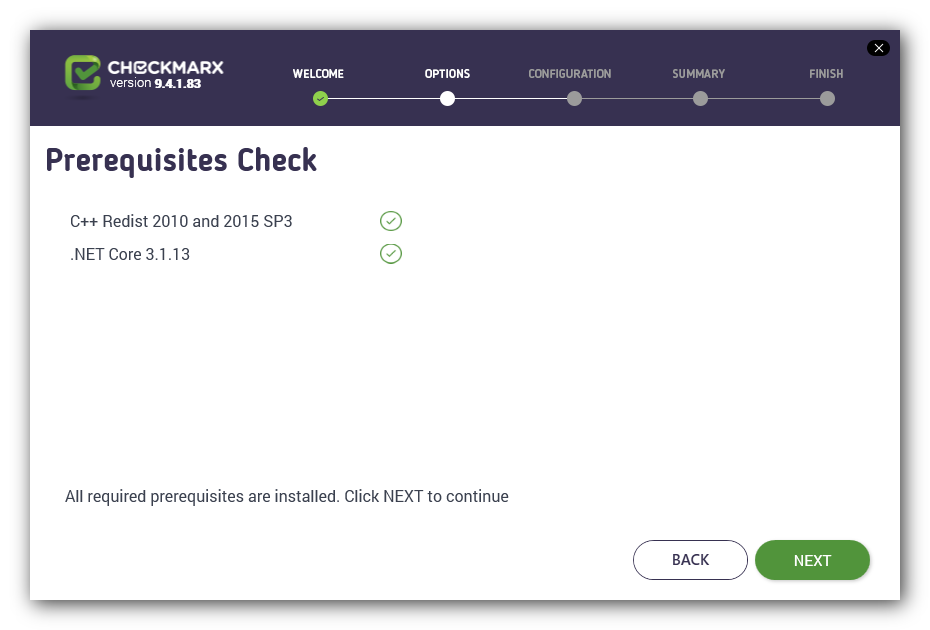
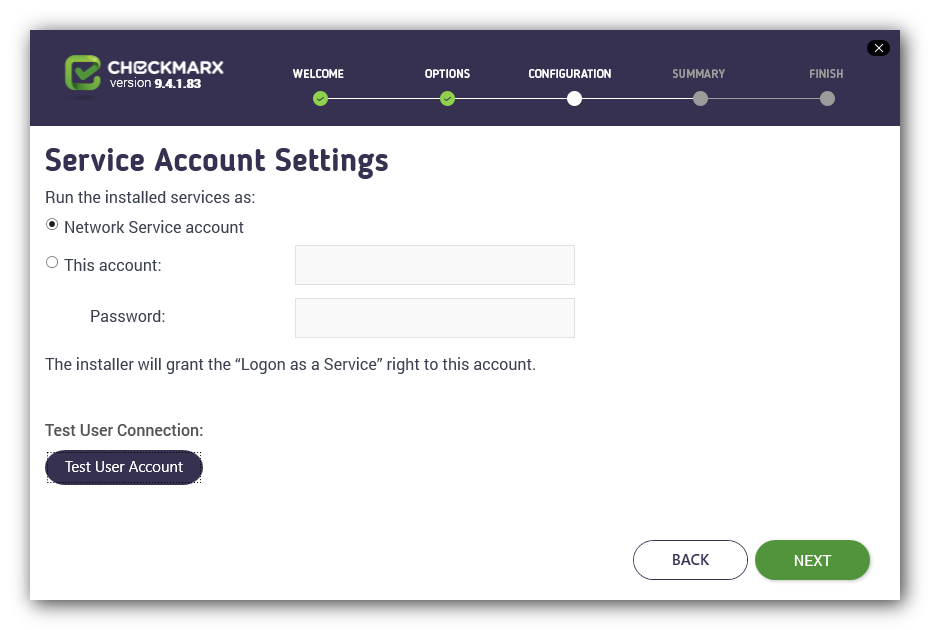
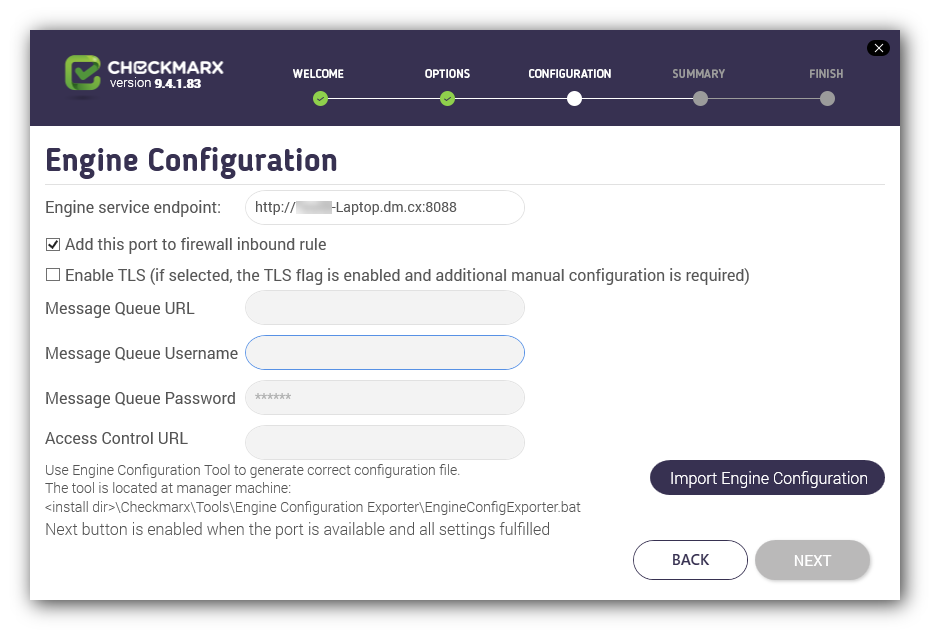
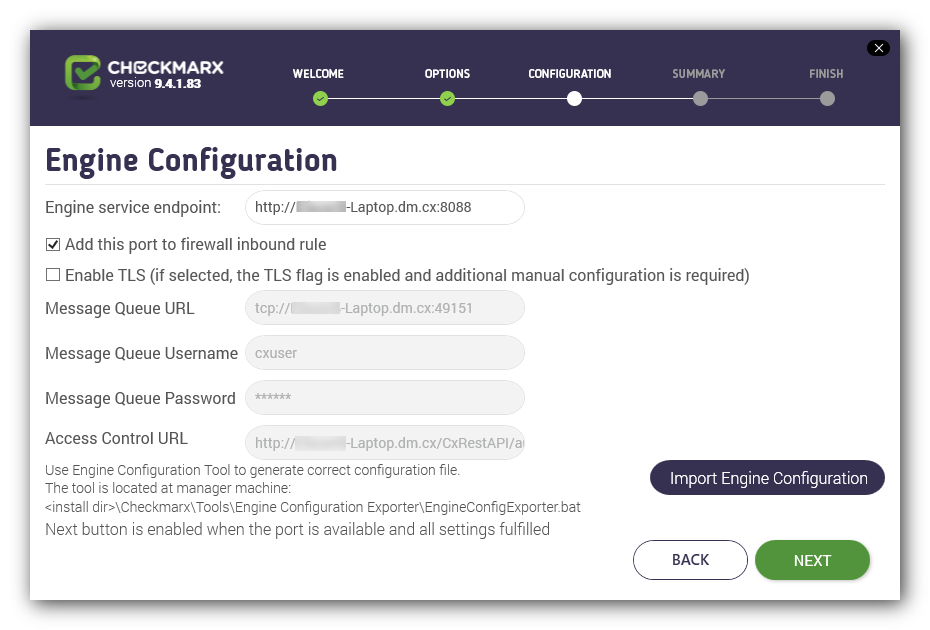
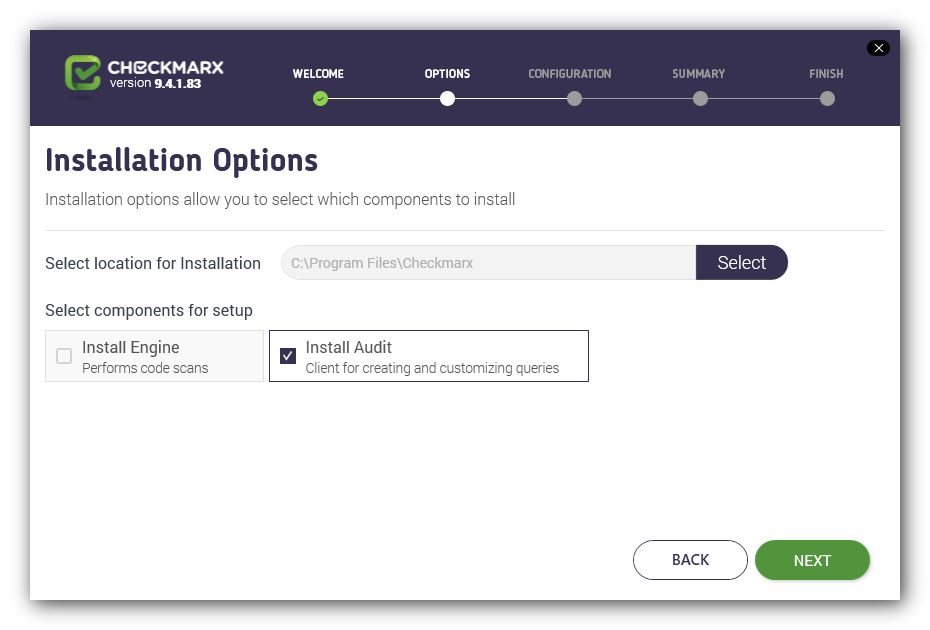
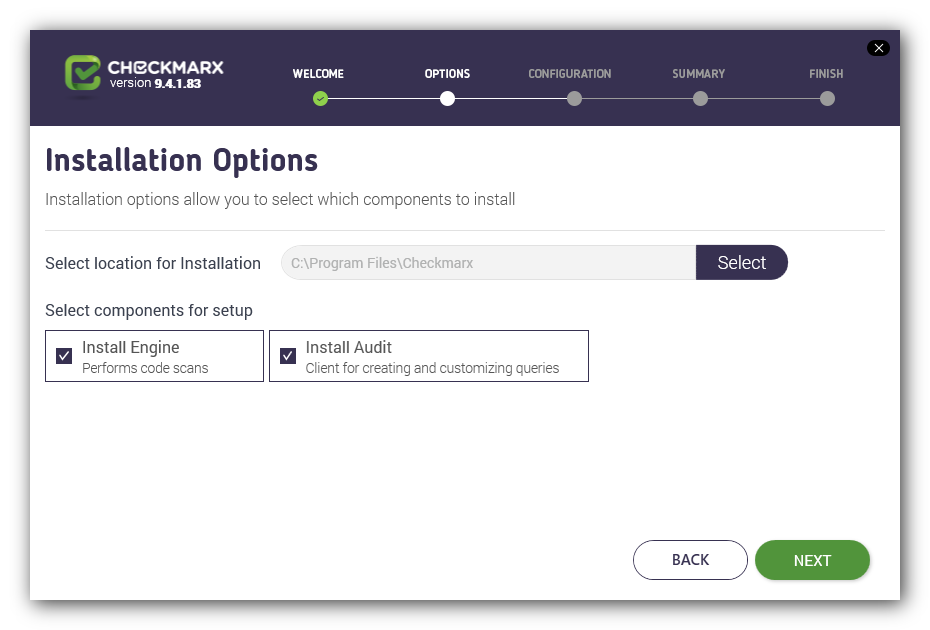
To install the CxEngine, or the CxAudit, or both components on a host that does not contain previously installed CxSAST components (a.k.a. clean installation), choose one of following installations:
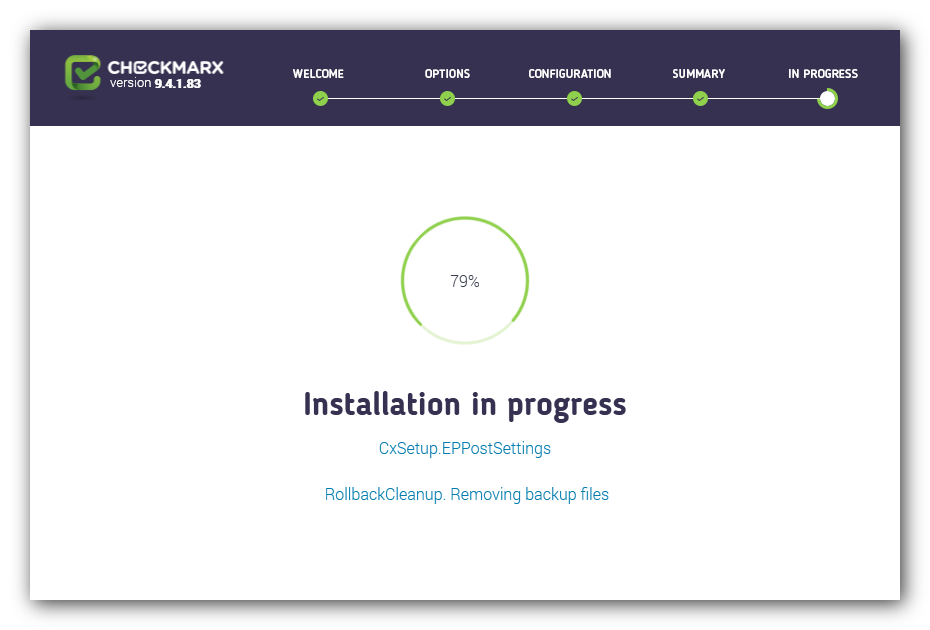
After completing the steps described above, in all installations the Installation in Progress window is displayed and the application is installed and configured.
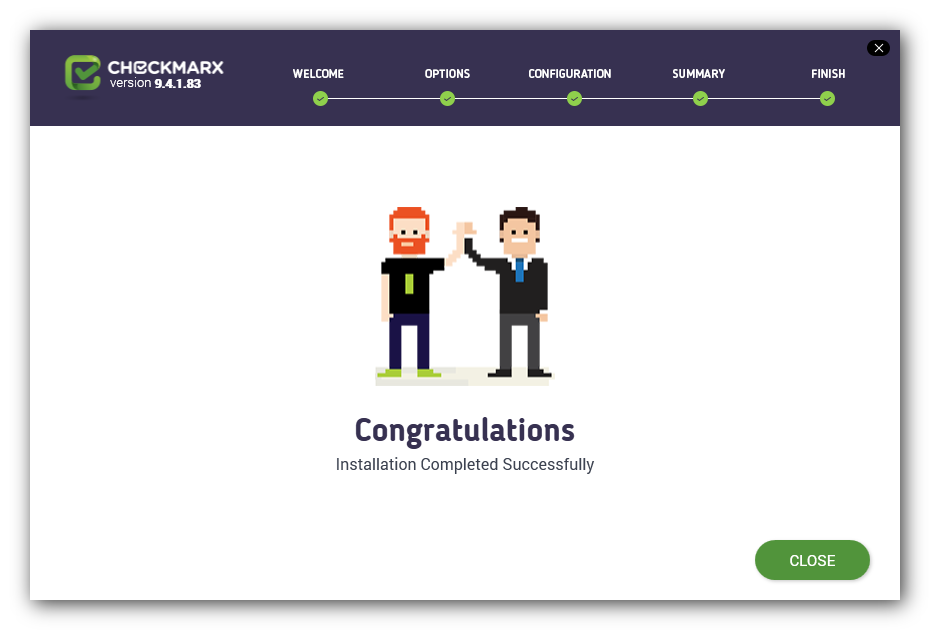
NOTE 1: Once the installation is complete, the Installation Completed Successfully window is displayed.
NOTE 2: If the installation fails, the "Setup Failed" message is displayed. For more information, refer to the installation logs. If you need further assistance, please open a support ticket.
Updating the SQL Database
Notice
Besides running the Engine Pack installation to install the CxEngine, or CxAudit, or both, on a host or multiple hosts in a distributed environment, you must also run the Engine Pack installation on the CxManager host to update the SQL database. If there are more than one CxManager hosts in the distributed environment, only run the Engine Pack setup on one of the CxManager hosts.
To update the SQL database, do the following:
Since the CxManager component is already installed, the screen displays a check mark that cannot be edited, indicating that running the Engine Pack installation will update the engine data in the database.
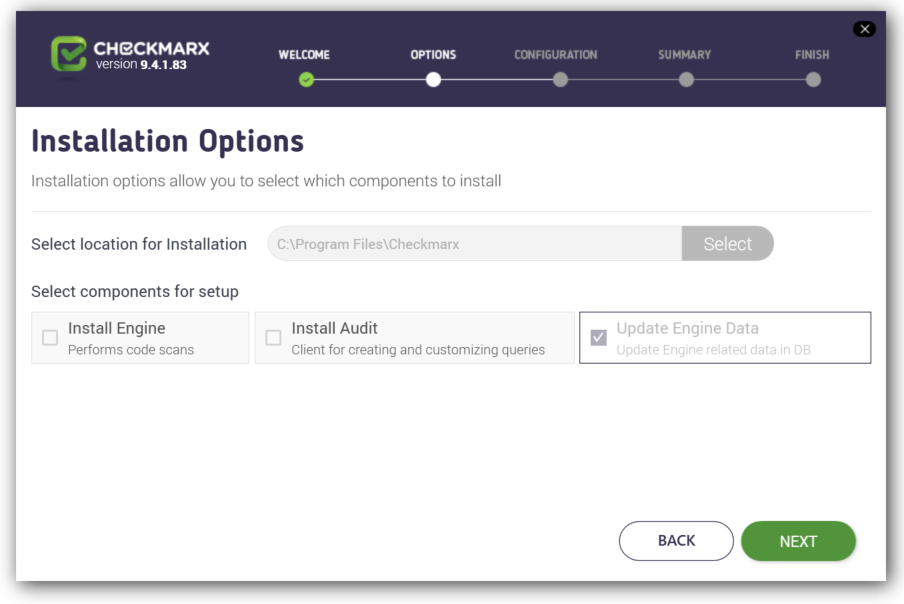
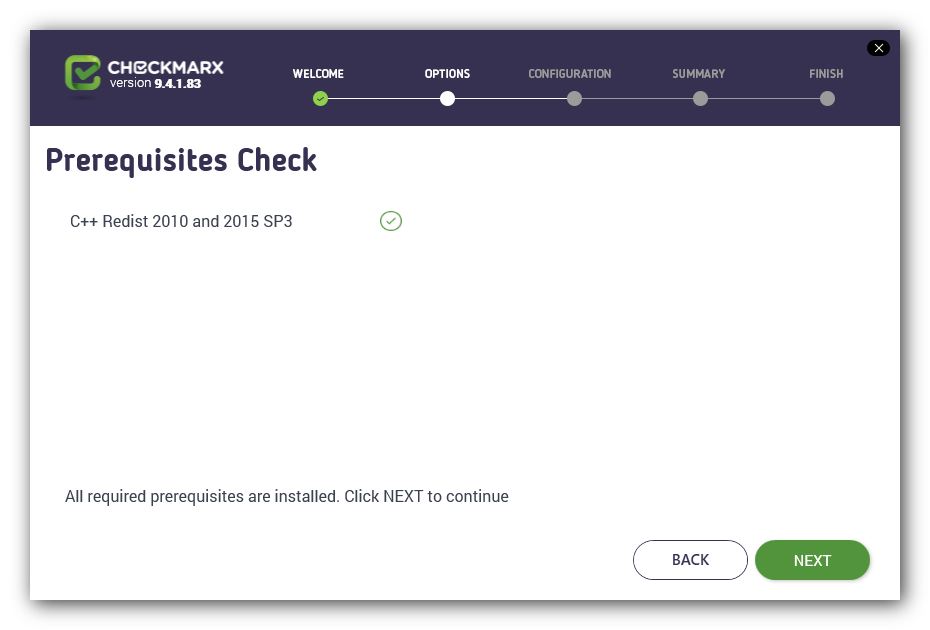
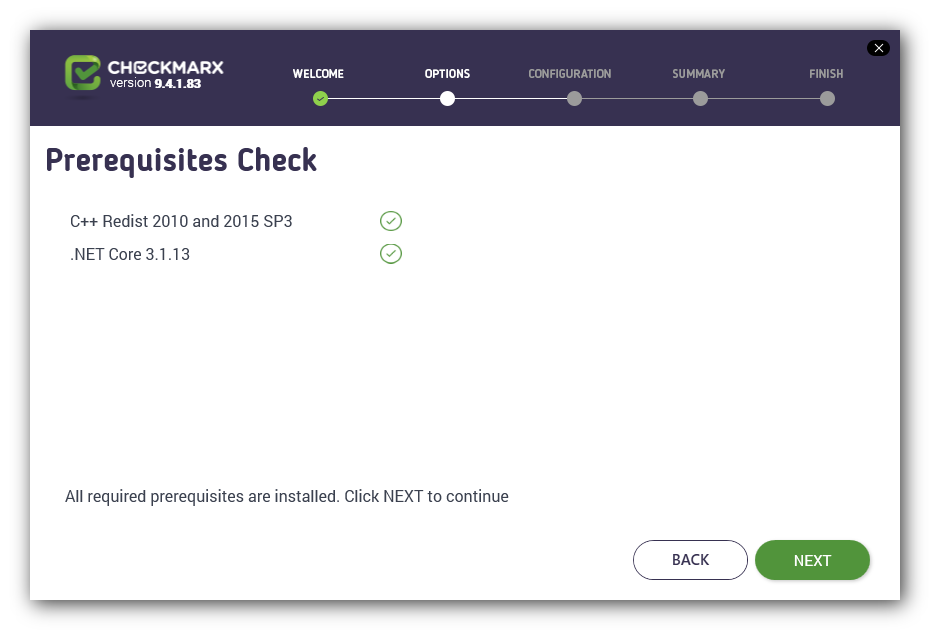
Click <NEXT>. The Prerequisites Check window is displayed, indicating the status of the required third-party components.
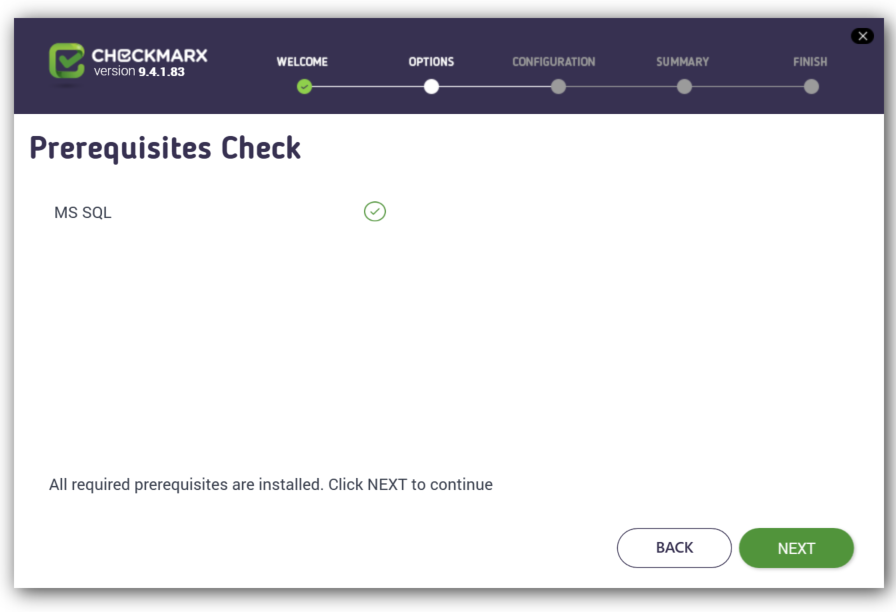
Click <NEXT> to continue. The CxSAST SQL Server Configuration window is displayed.
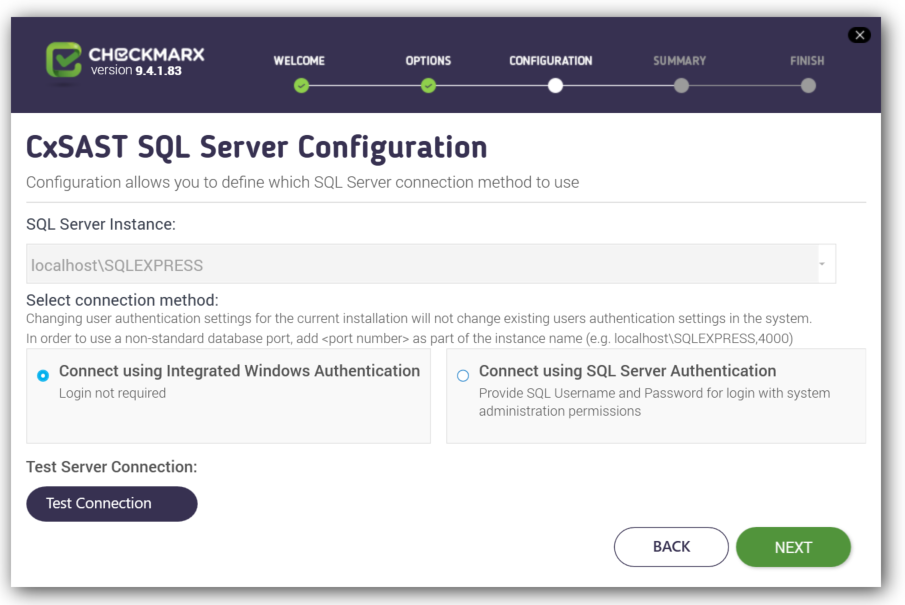
Select the server from the SQL Server Instance list. If using a non-standard database port, provide the server name with a comma followed by the port number (e.g., LOCALHOST\SQLEXPRESS,25).
NOTE:For upgrades, previously defined SQL Server instance settings are loaded from the existing configuration and cannot be changed.
For CxSAST, define a connection to the installed SQL Server or to any other SQL server on your network, by selecting one of the following:
o Connect using Integrated Windows Authentication (login not required).
o Connect using SQL Server Authentication (provide SQL user name and password for login with SA permissions).
Click <Test Connection>. A message appears that the connection was successful.
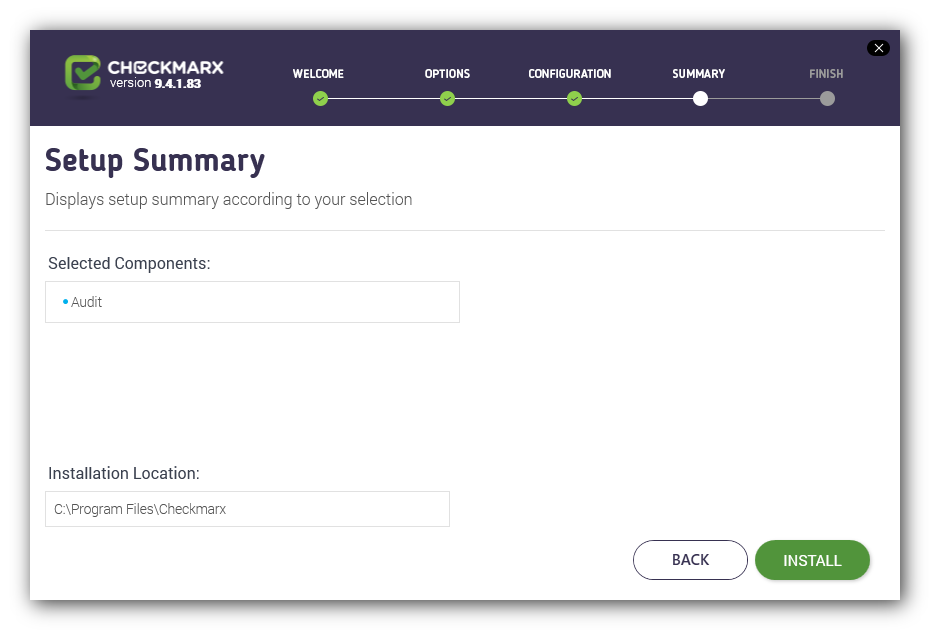
Click <OK>, and then click <NEXT> to continue. The Setup Summary appears.
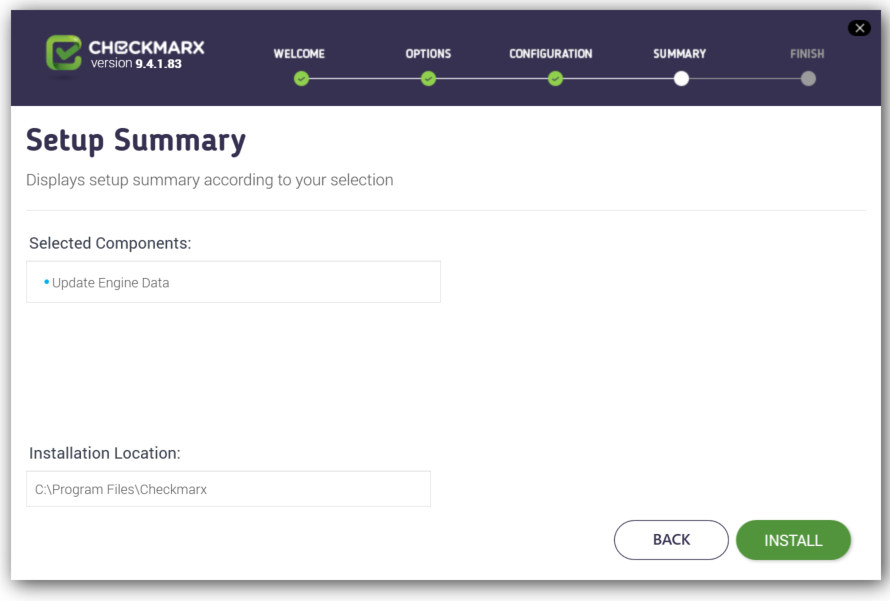
Click <INSTALL> to continue. The Installation in Progress window is displayed, indicating that the engine data is being updated.

NOTE 1: Once the installation is complete, the Installation Completed Successfully window is displayed.
NOTE 2: If the installation fails, the "Setup Failed" message is displayed. For more information, refer to the installation logs. If you need further assistance, please open a support ticket.

