Managing Groups
The Groups section allows you to manage a common set of attributes and role mappings for a set of users.
Users can be members of one or more groups.
Users inherit the attributes and role mappings assigned to each group.
It is possible to perform the following in the Groups section:
Manually create groups in Checkmarx One.
Manage the groups in Checkmarx One.
Represent the reflection of all the organization groups via LDAP\SAML\OpenID Connect.
For a detailed procedure for connecting a provider (LDAP\SAML\OpenID Connect), see Configuring LDAP Integration or Managing Identity Providers pages.
Groups are hierarchical. A group can have many subgroups, but a group can only have one parent.
Subgroups inherit the attributes and role mappings from the parent. This applies to the users as well.
If you have a parent group, a child group, and a user that only belongs to the child group, the user inherits both parent and child's attributes and role mappings.
Notice
When logging in for the first time to Checkmarx One, the Groups screen will be empty.
Creating a New Group
To create a new group, perform the following: navigate to the Groups tab:
Click on Settings
 > Identity and Access Management.
On the Identity and Access Management console, click on the Groups tab.
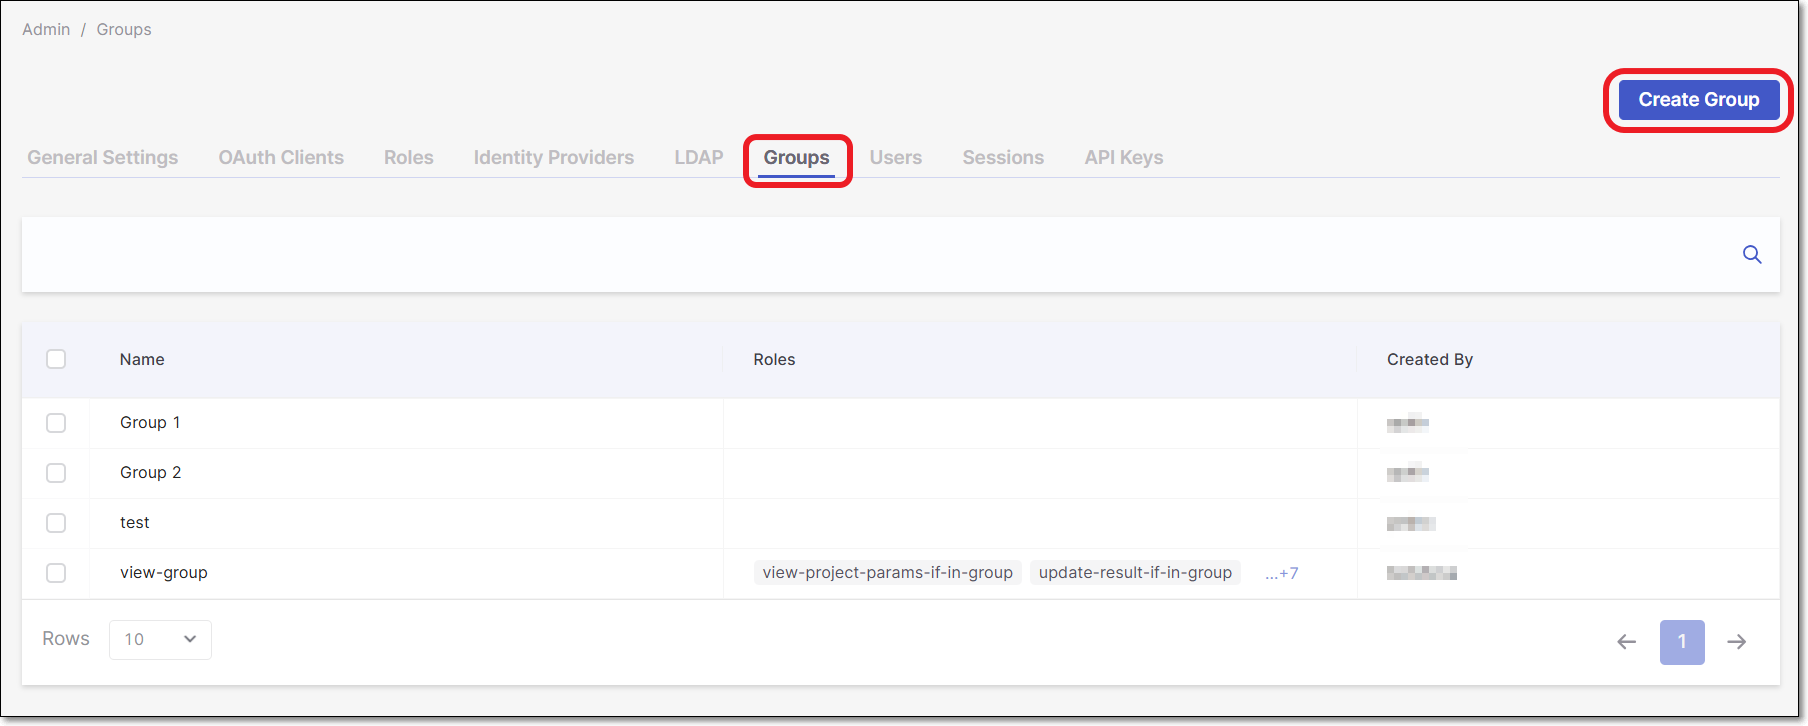
Click Create Group.
In the Name field, enter a name for the group.
Note
The following characters are allowed: Letters (A–Z, a–z), numbers (0–9), spaces, and the following special characters:
. ( ) [ ] { } - _ & ' " : @Click Create.
The Group Settings page is displayed.
Tip
You can click
 at the end of a group row and then Edit to open the settings page for an existing group.
The following configuration options are shown:
Name
Role Mapping
Users
Managers
Role Mapping
Roles and actions can be set according to types. Role mapping consists of three role types:
Checkmarx One roles
CB roles
IAM roles
Checkmarx One roles consist of two types of roles:
Composite role
Action role
Checkmarx One roles
Composite role
A composite role has one or several roles associated with it. Each composite role is a combination of action roles. When a composite role is mapped to a user, the user gains the roles associated with that composite. This inheritance is recursive, meaning that any composites are inherited. There are eight composite roles included in the system:
Name | Description |
|---|---|
ast-admin | Can do everything in the Checkmarx One app and manage users, groups, and permissions. |
ast-risk-manager | Can manage applications, projects, scans, results, risks, and policies. |
ast-scanner | Can scan, manage results, and manage projects. |
ast-viewer | Can view projects, scans, and results. |
manage-application | Can update, delete, create, and view the application. |
manage-project | Can update, delete, create, and view the project. |
manage-webhook | Can update, delete, create, and view webhooks. |
queries-editor | Can view projects, scans, and results, and update queries. |
For a list of the permissions for Checkmarx One roles, see Managing Roles.
Action role
An action role is a single action. This role type defines permissions for actions in the system.
For the full list of the action roles provided for Checkmarx One and their respective permissions, see Managing Roles.
IAM role
IAM roles are identity and access management roles or system roles. The two roles included for IAM are:
Name | Description |
|---|---|
iam-admin | Manages users, client credentials, identity provider, and user federation. |
manage-keys | Manage keys. |
manage-groups | Manages groups in the system. |
manage-users | Manages the users in the system. |
Assigning a Group to an Application
Important
Currently, groups can only be assigned to a project or application via the Access Management settings, not during project or application creation. This limitation will be resolved in an upcoming release.
To assign a group to an application, perform the following:
Navigate to Applications.
At the end of the application's row, click
then Application Settings.Click the Authorization tab. A side panel appears.
Select Group.
Search and select the Group and associated roles (optional) to assign to the application.
Select Done.
Assigning a Group to a Project
Important
Currently, groups can only be assigned to a project or application via the Access Management settings, not during project creation. This limitation will be resolved in an upcoming release.
To assign a group to a project, perform the following:
Navigate to Projects.
At the end of the project, click
then Project Settings.Click the Authorization tab. A side panel appears.
Select Group.
Search and select the Group and associated roles (optional) to assign to the project.
Select Done.
Assigning a Group to an Environment (DAST)
In DAST, groups can be assigned to an environment in the Environment Setup Wizard when creating a new environment or in the settings of an existing environment. Non-admins can only view the groups to which they are members. For more information on setting up a DAST environment, please see here.
To assign a group to an existing environment, perform the following:
Navigate to Environments.
At the end of the environment row, click
> Settings. The settings panel opens.Click the General & Config Files tab.
Select the dropdown Groups Permissions.
Search and select the Group to assign to the environment. You may assign multiple groups.
Click Save when done.
Assigning a Role to a Group
Select the name of the group to assign the role to.
The Group Preview pane slides in from the left, displaying an overview of the three role types.
If any roles have been assigned to the group, they are displayed with the permissions listed.
The Members tab shows a list of users included in the group.
Click Edit Group.
Select Role Mapping.
Select the type of role to apply to the group from Checkmarx One roles, CB roles and IAM roles.
Click Add. The role with all the Effective roles and Actions is added to the group.
Click Save. For additional information regarding roles & permissions, see Managing Roles.
Adding a User to a Group
Navigate to Settings and select Identity and Access Management.
Click on the Groups tab. This displays all groups in your environment.
Select the group you want to add users to. On the pop-up side panel, select Edit
Navigate to the Users dropdown and click Add Users.
In the Add Users pop-up, mark the checkboxes next to the users you want to add. You can also use the search or navigate the pages to help.
Click Save when done.
Deleting a User from a Group
To delete a user from a group:
Select the user by clicking the relevant checkbox.
Click Delete.

Adding Group Managers
The Group Manager feature is a distinct position with specialized permissions, based on the internal Keycloak permissions mechanism. A Group Manager has the authority to manage only the specific groups to which they are assigned. They can add or remove users from the group, view available users for adding, and see the list of other groups.
With the IAM role manage-groups, you can assign or remove group managers across all groups.
When a user is assigned as a Group Manager, they automatically become the manager of all subgroups recursively, extending down the entire group tree. If a Group Manager is assigned to the highest group level, all subgroups inherit the managerial role, creating a hierarchical structure.
However, it is important to note that once subgroups inherit a Group Manager, they cannot be removed from lower levels but only from the highest level.
To add Group Managers, perform the following:
Expand the Managers section.
Click Add Managers.
Mark the relevant user checkboxes to add.
Click Add Managers.
Click Save
Deleting a Manager from a Group
To delete a manager from a group:
Select the manager by clicking the relevant checkbox.
Click Delete.
Creating a Subgroup
Subgroups inherit the attributes and role mappings from the parent. This applies to the user as well.
If you have a parent group and a child group and a user who only belongs to the child group, the user inherits both the parent and child's attributes and role mappings.
To create a subgroup:
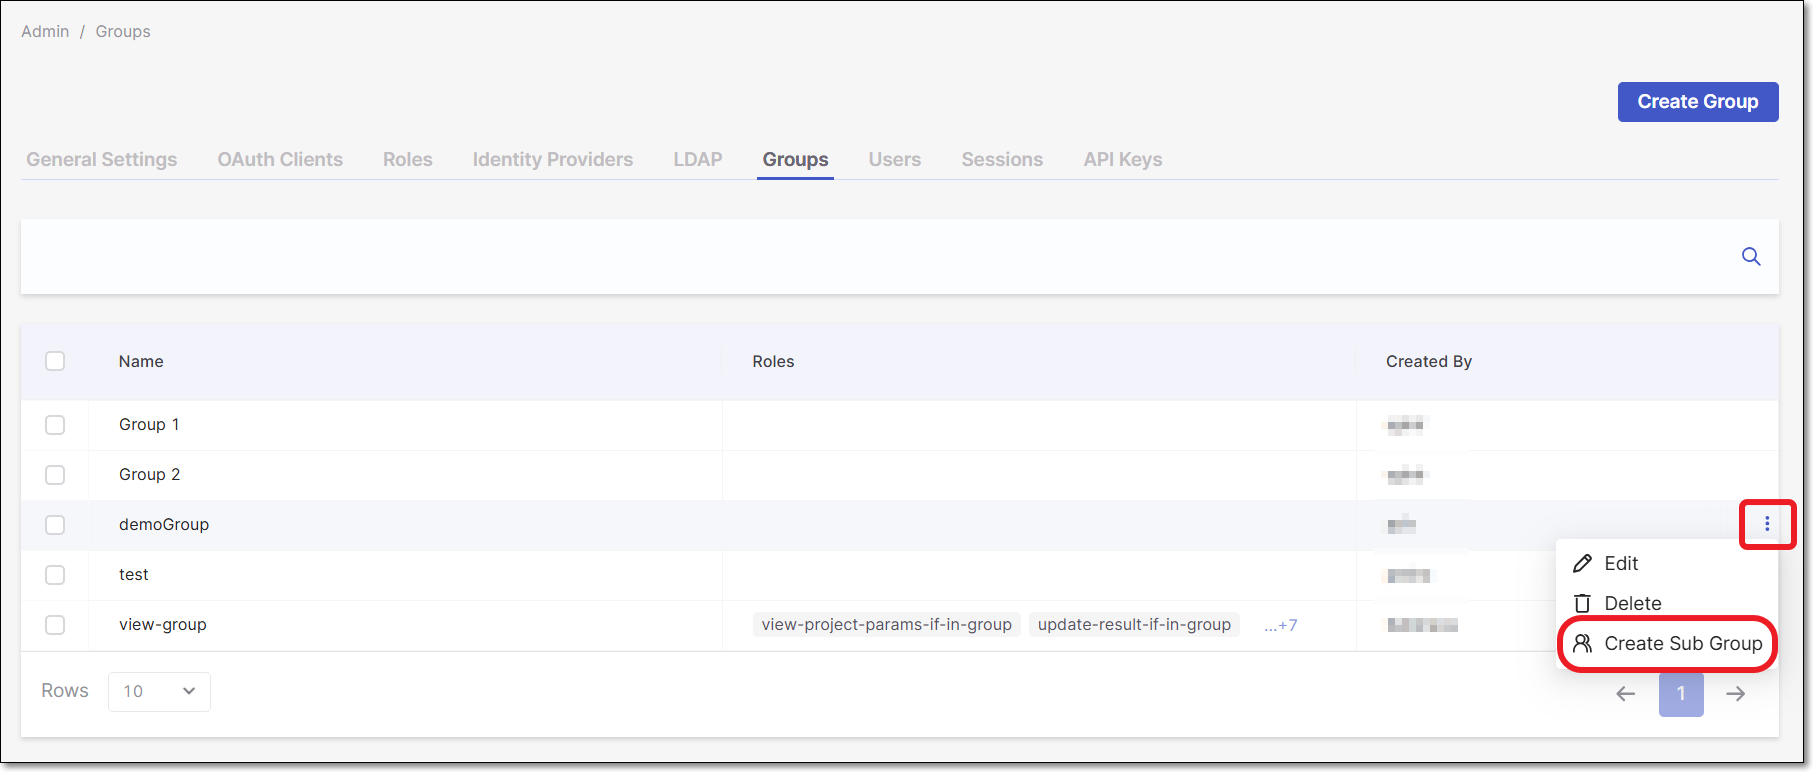
Click the ellipses at the end of the relevant group row to add the sub-group.
Click Create a Sub-Group.
The Create Sub Group for... panel opens.
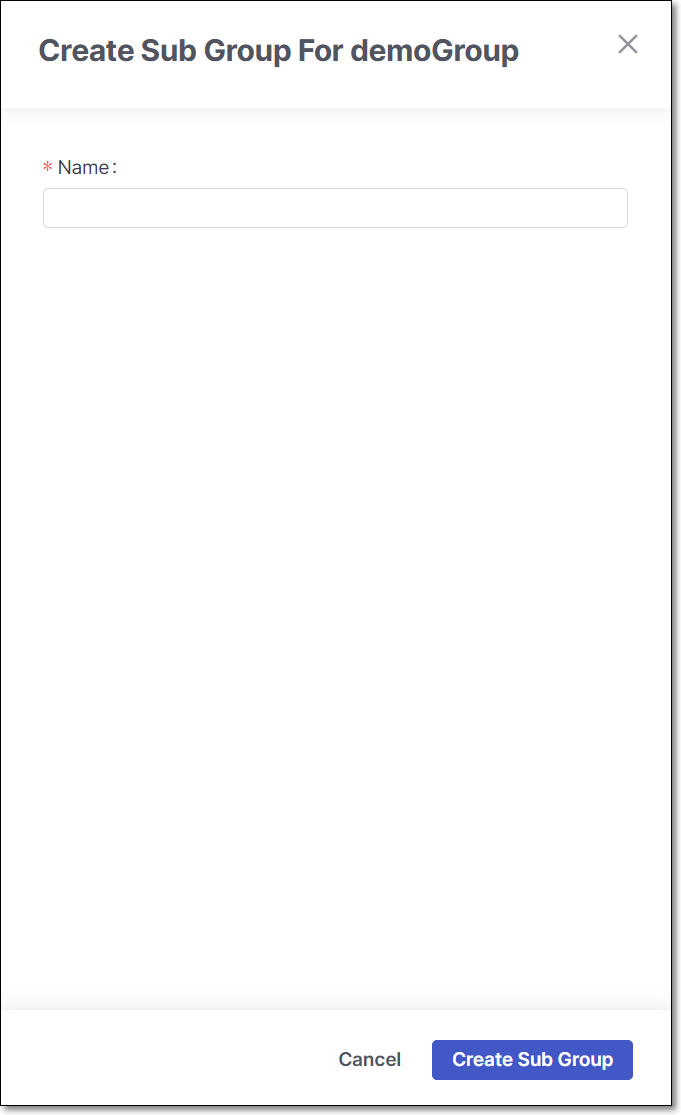
Enter a name for the Subgroup.
Click Create Sub Group.
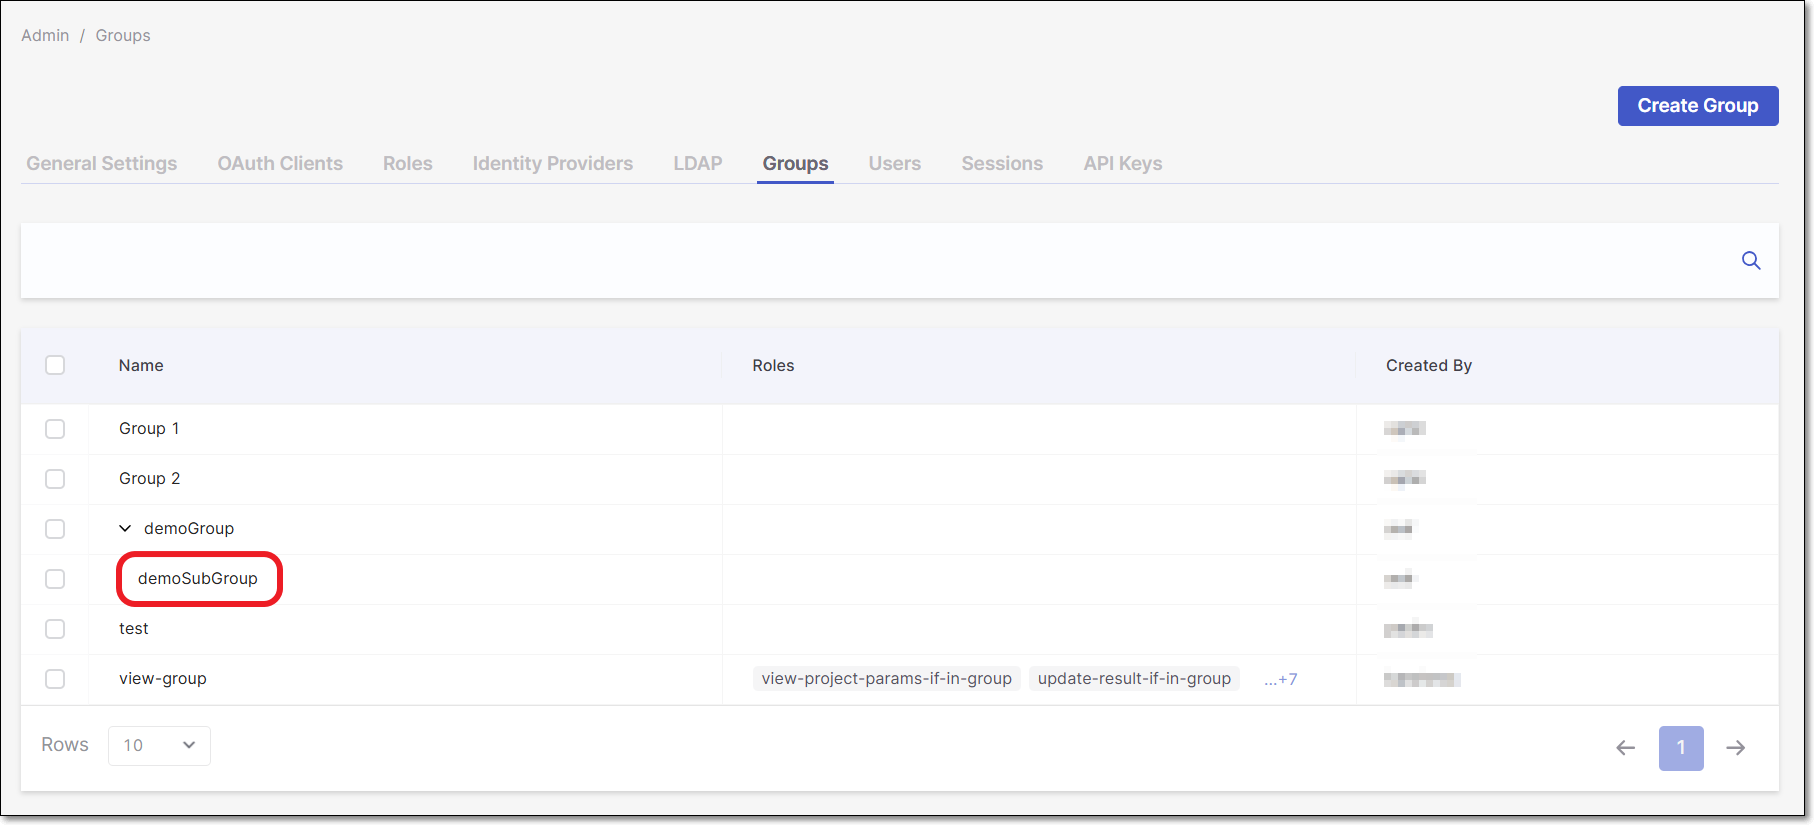
The subgroup is created below the parent. Users, Managers, and Roles can be added to the subgroup, as covered in the sections above.