Installing and Setting up the Checkmarx One Eclipse Plugin
The plugin can be installed from the Eclipse marketplace. There is an alternative method for installing the plugin from a zip archive.
Installing the Plugin from Marketplace
To install the plugin from marketplace:
In the Eclipse console, click on Help > Eclipse Marketplace…
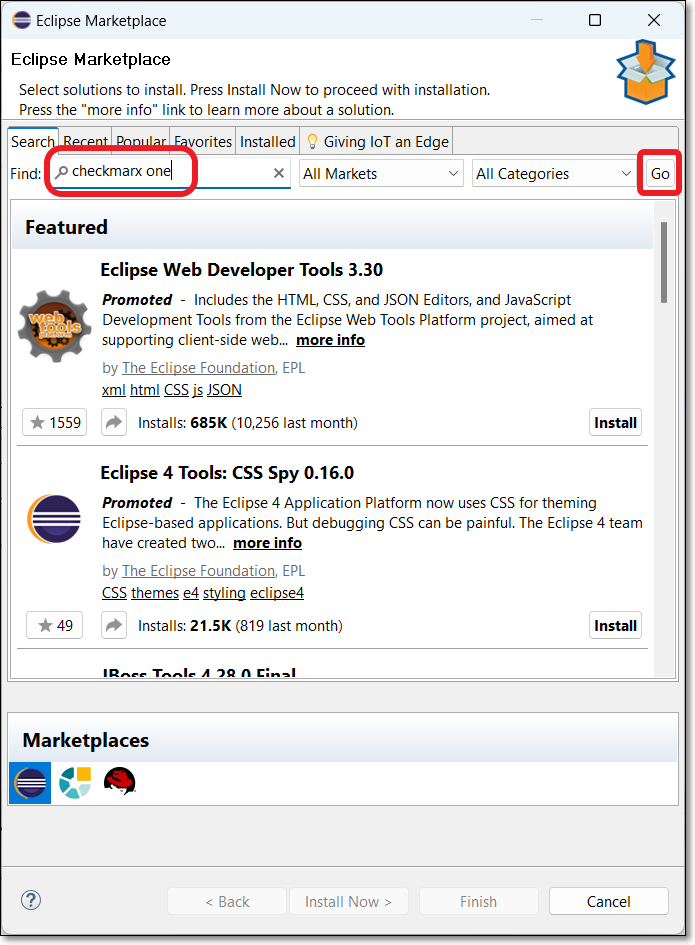
In the Find box, enter “checkmarx one” and click Go.
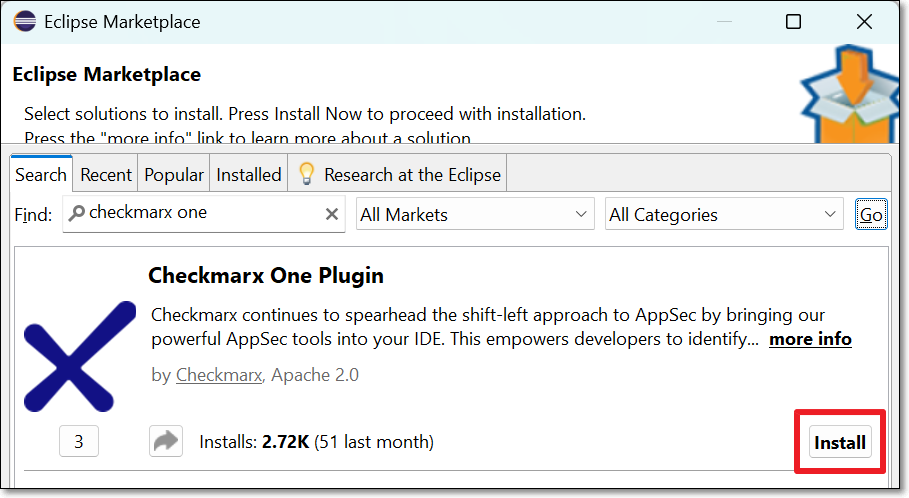
Click Install for the Checkmarx One Plugin.
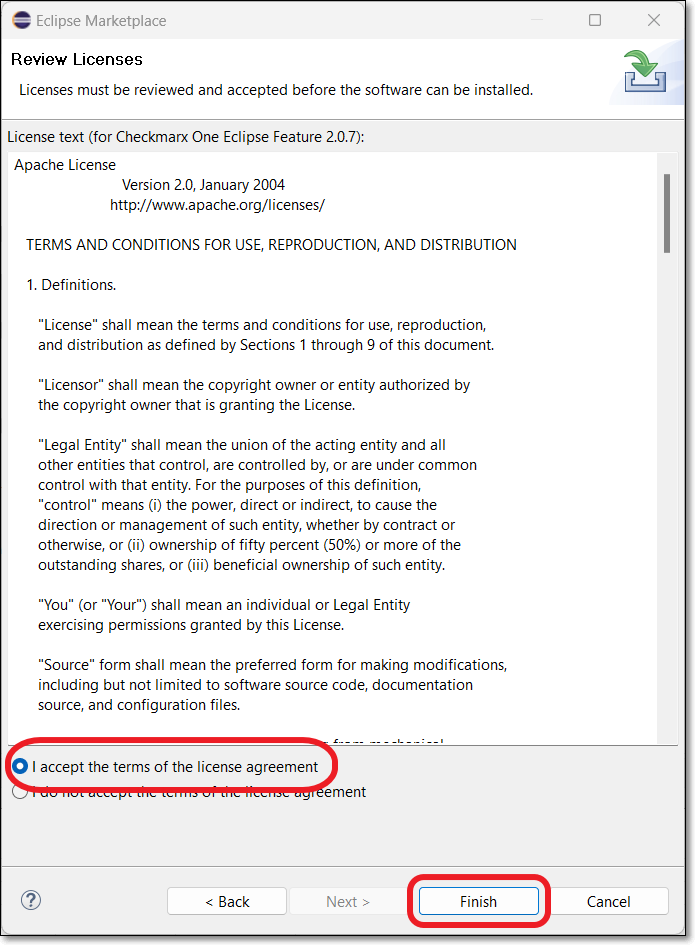
In the Review Licenses window, after reviewing the license information, select the I accept... radio button and click Finish.
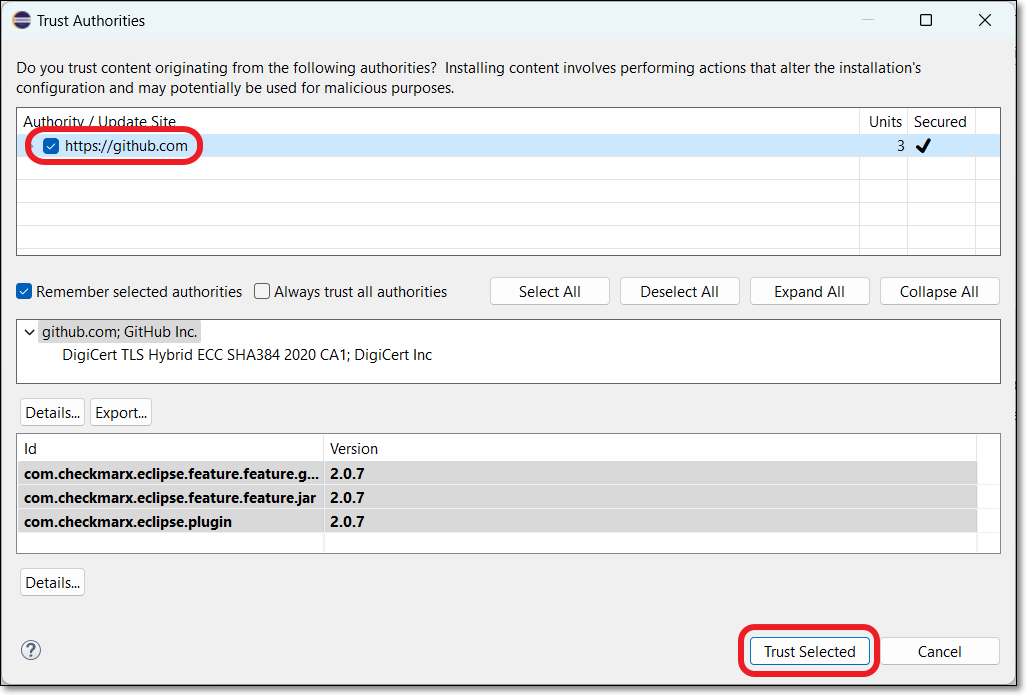
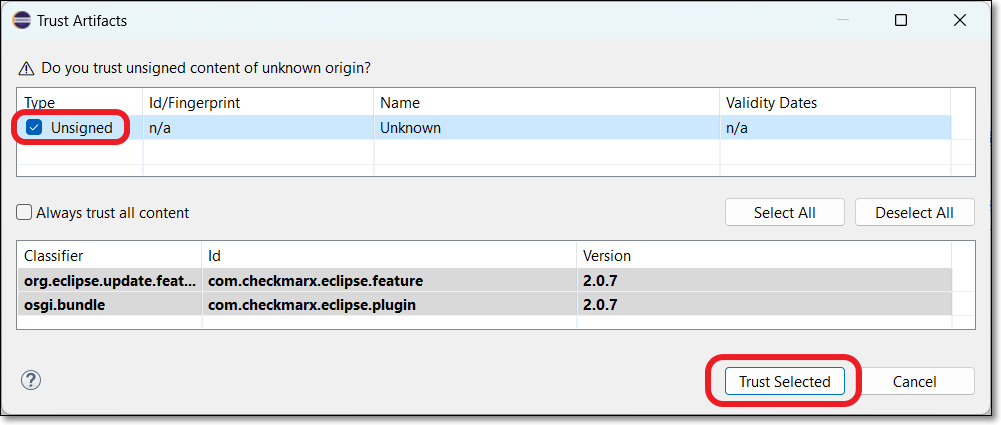
In the Trust Authorities and Trust Artifacts windows, select the trusted content and click Trust Selected.
If a security warning is shown, click Install anyway to complete the plugin installation.
When the installation is finished, you will be prompted to restart the Eclipse IDE to apply the plugin update.
To install the plugin manually from a zip archive:
Download the “com.checkmarx…” zip file here.
In the Eclipse console, click on Help > Install New Software > Add > Archive.
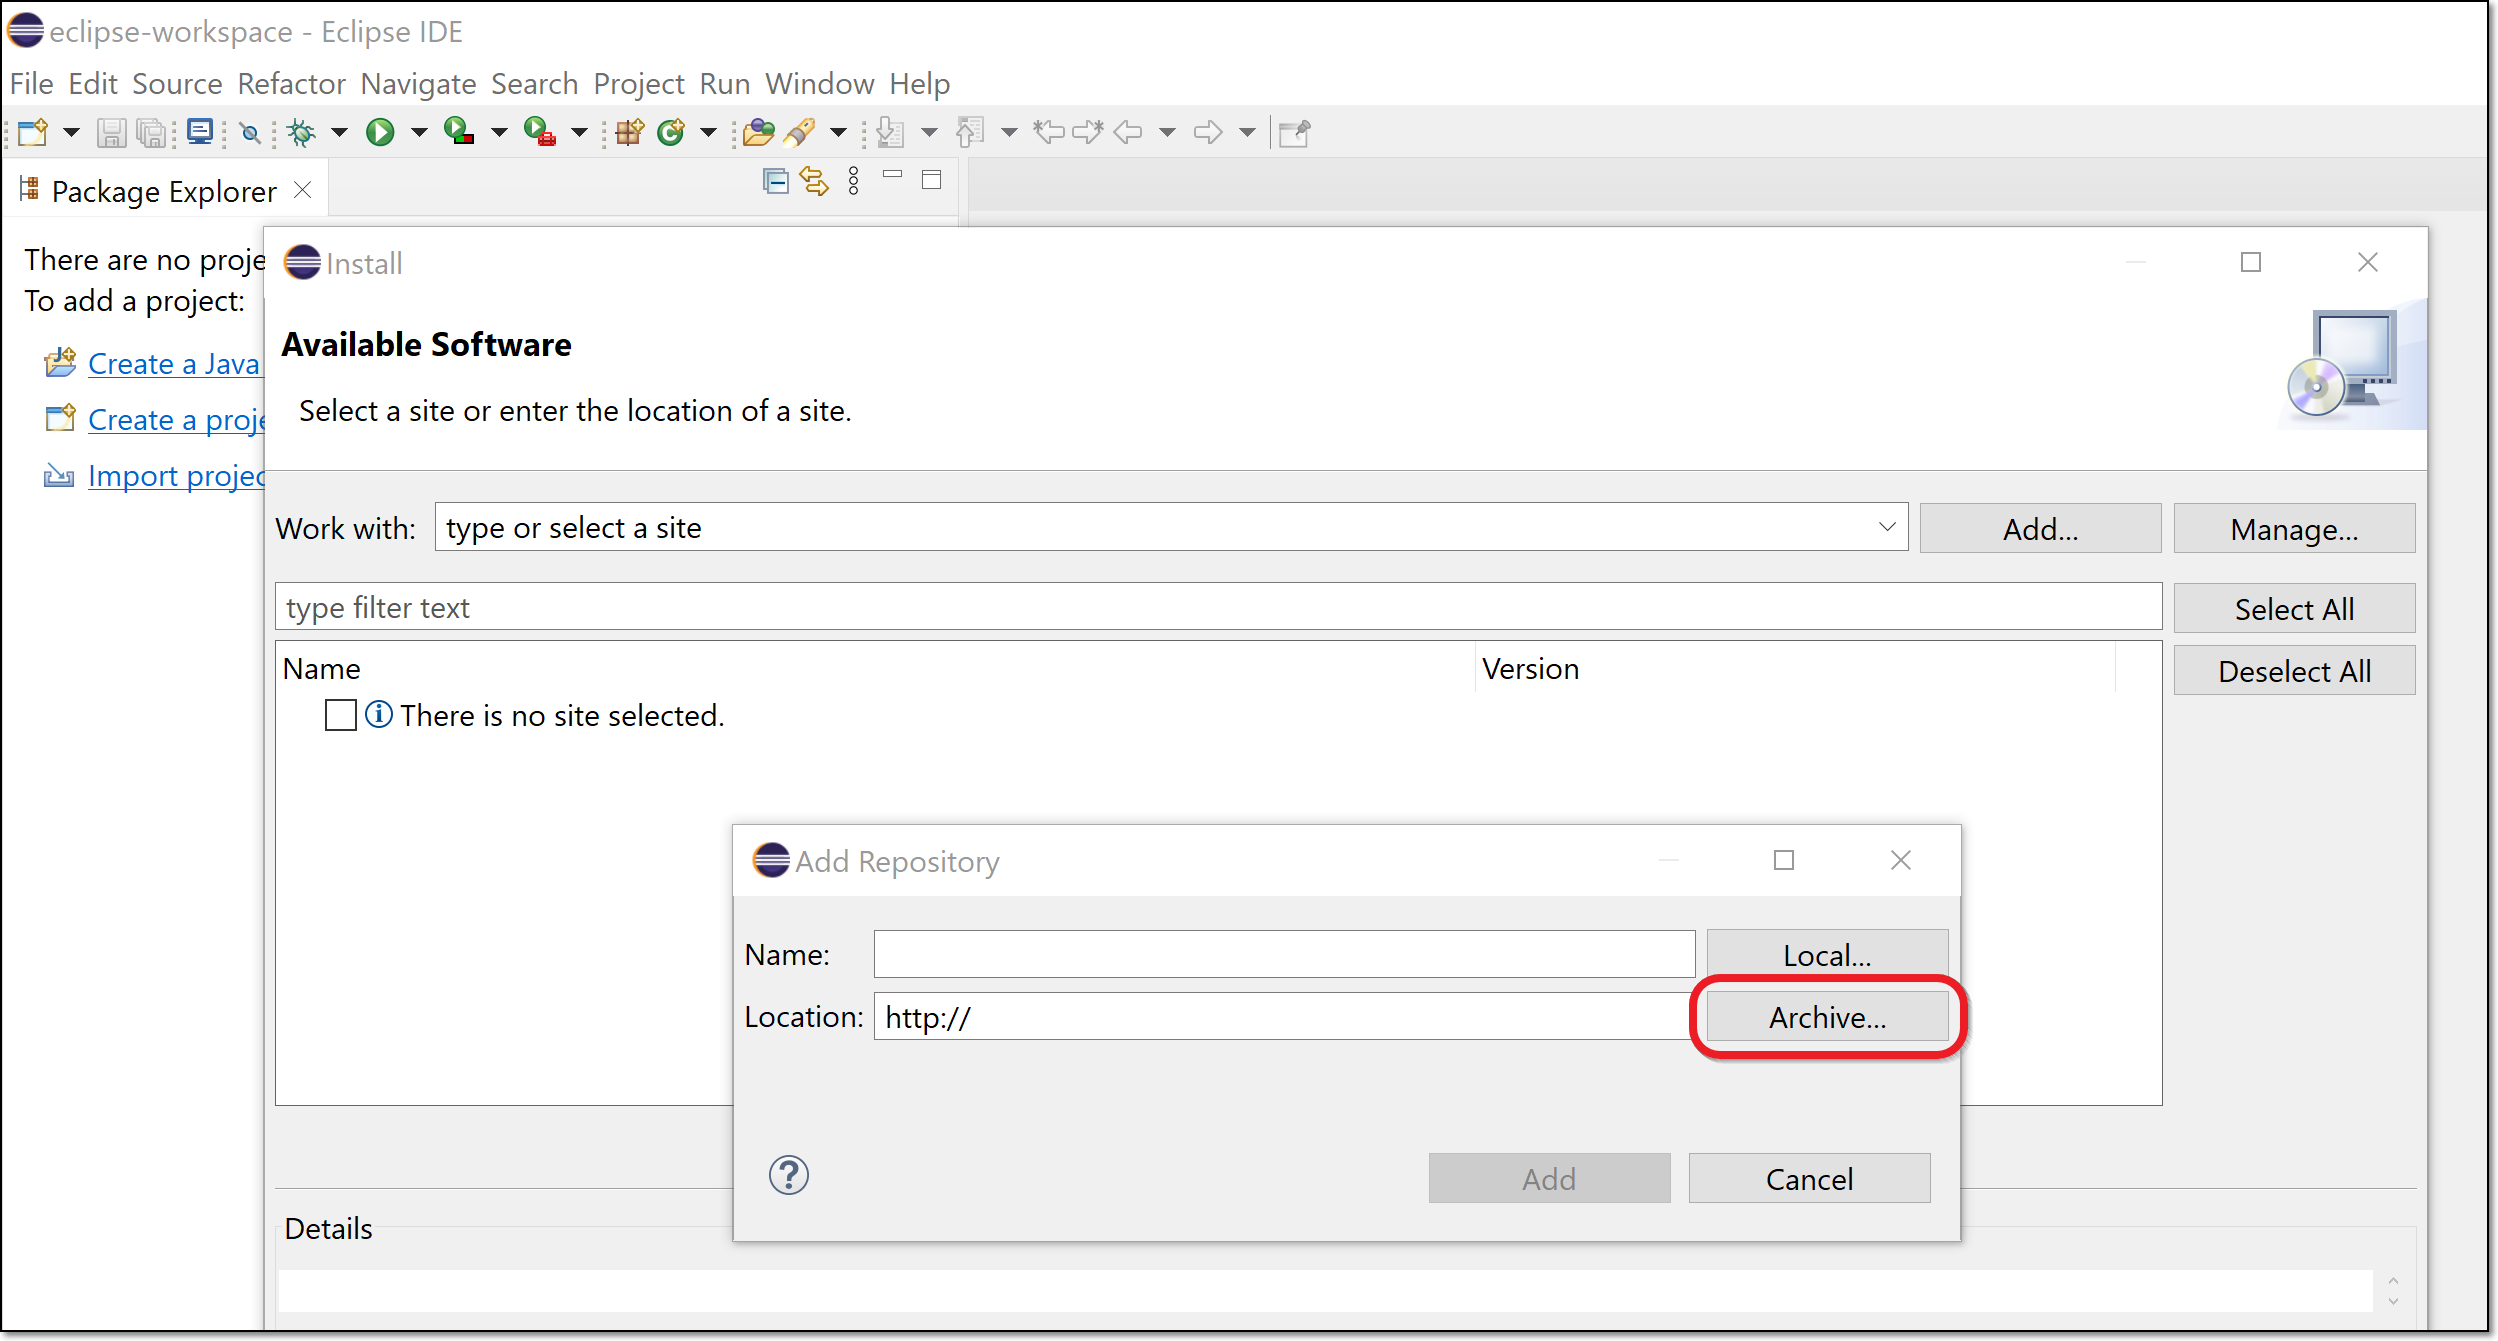
In the window that opens, navigate to the downloaded zip file and click Open.
In the Add Repository window, optionally enter a Name for the plugin (e.g., Checkmarx One Plugin) then click Add.
In the Available Software window, select the Checkmarx One Eclipse Plugin checkbox, and click Next.
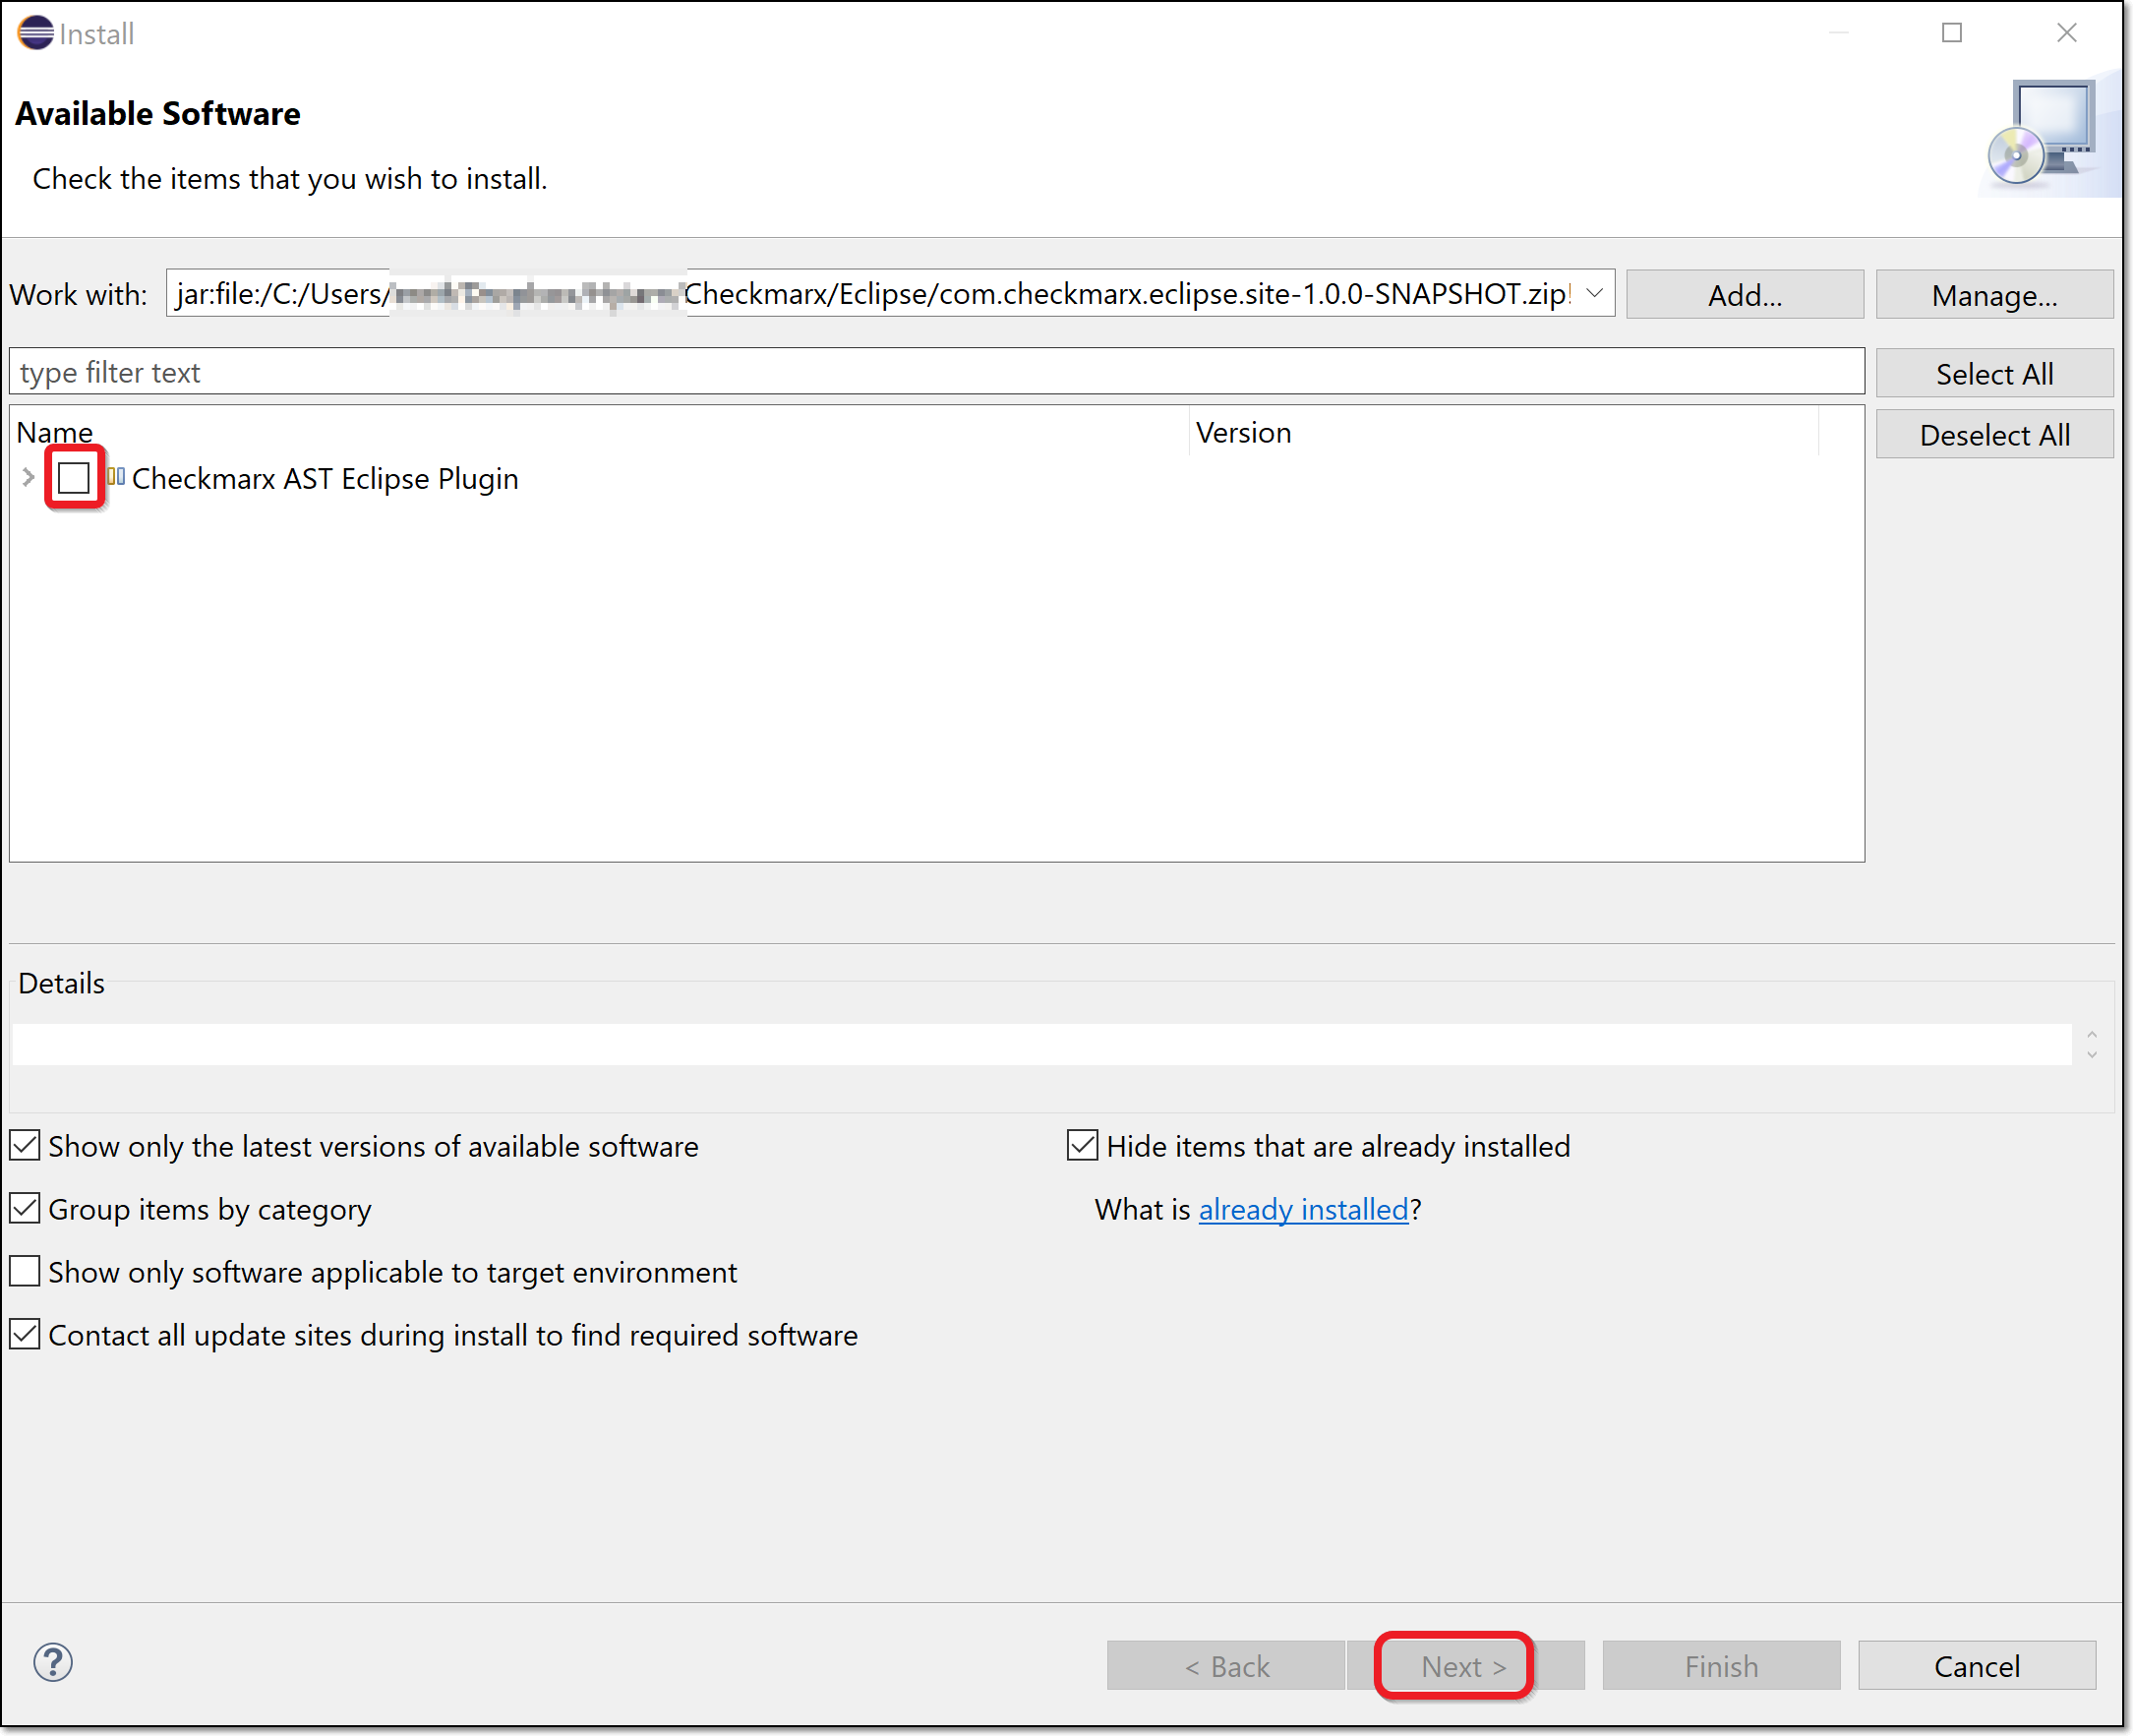
Review the information in the Install Details window, and click Next.
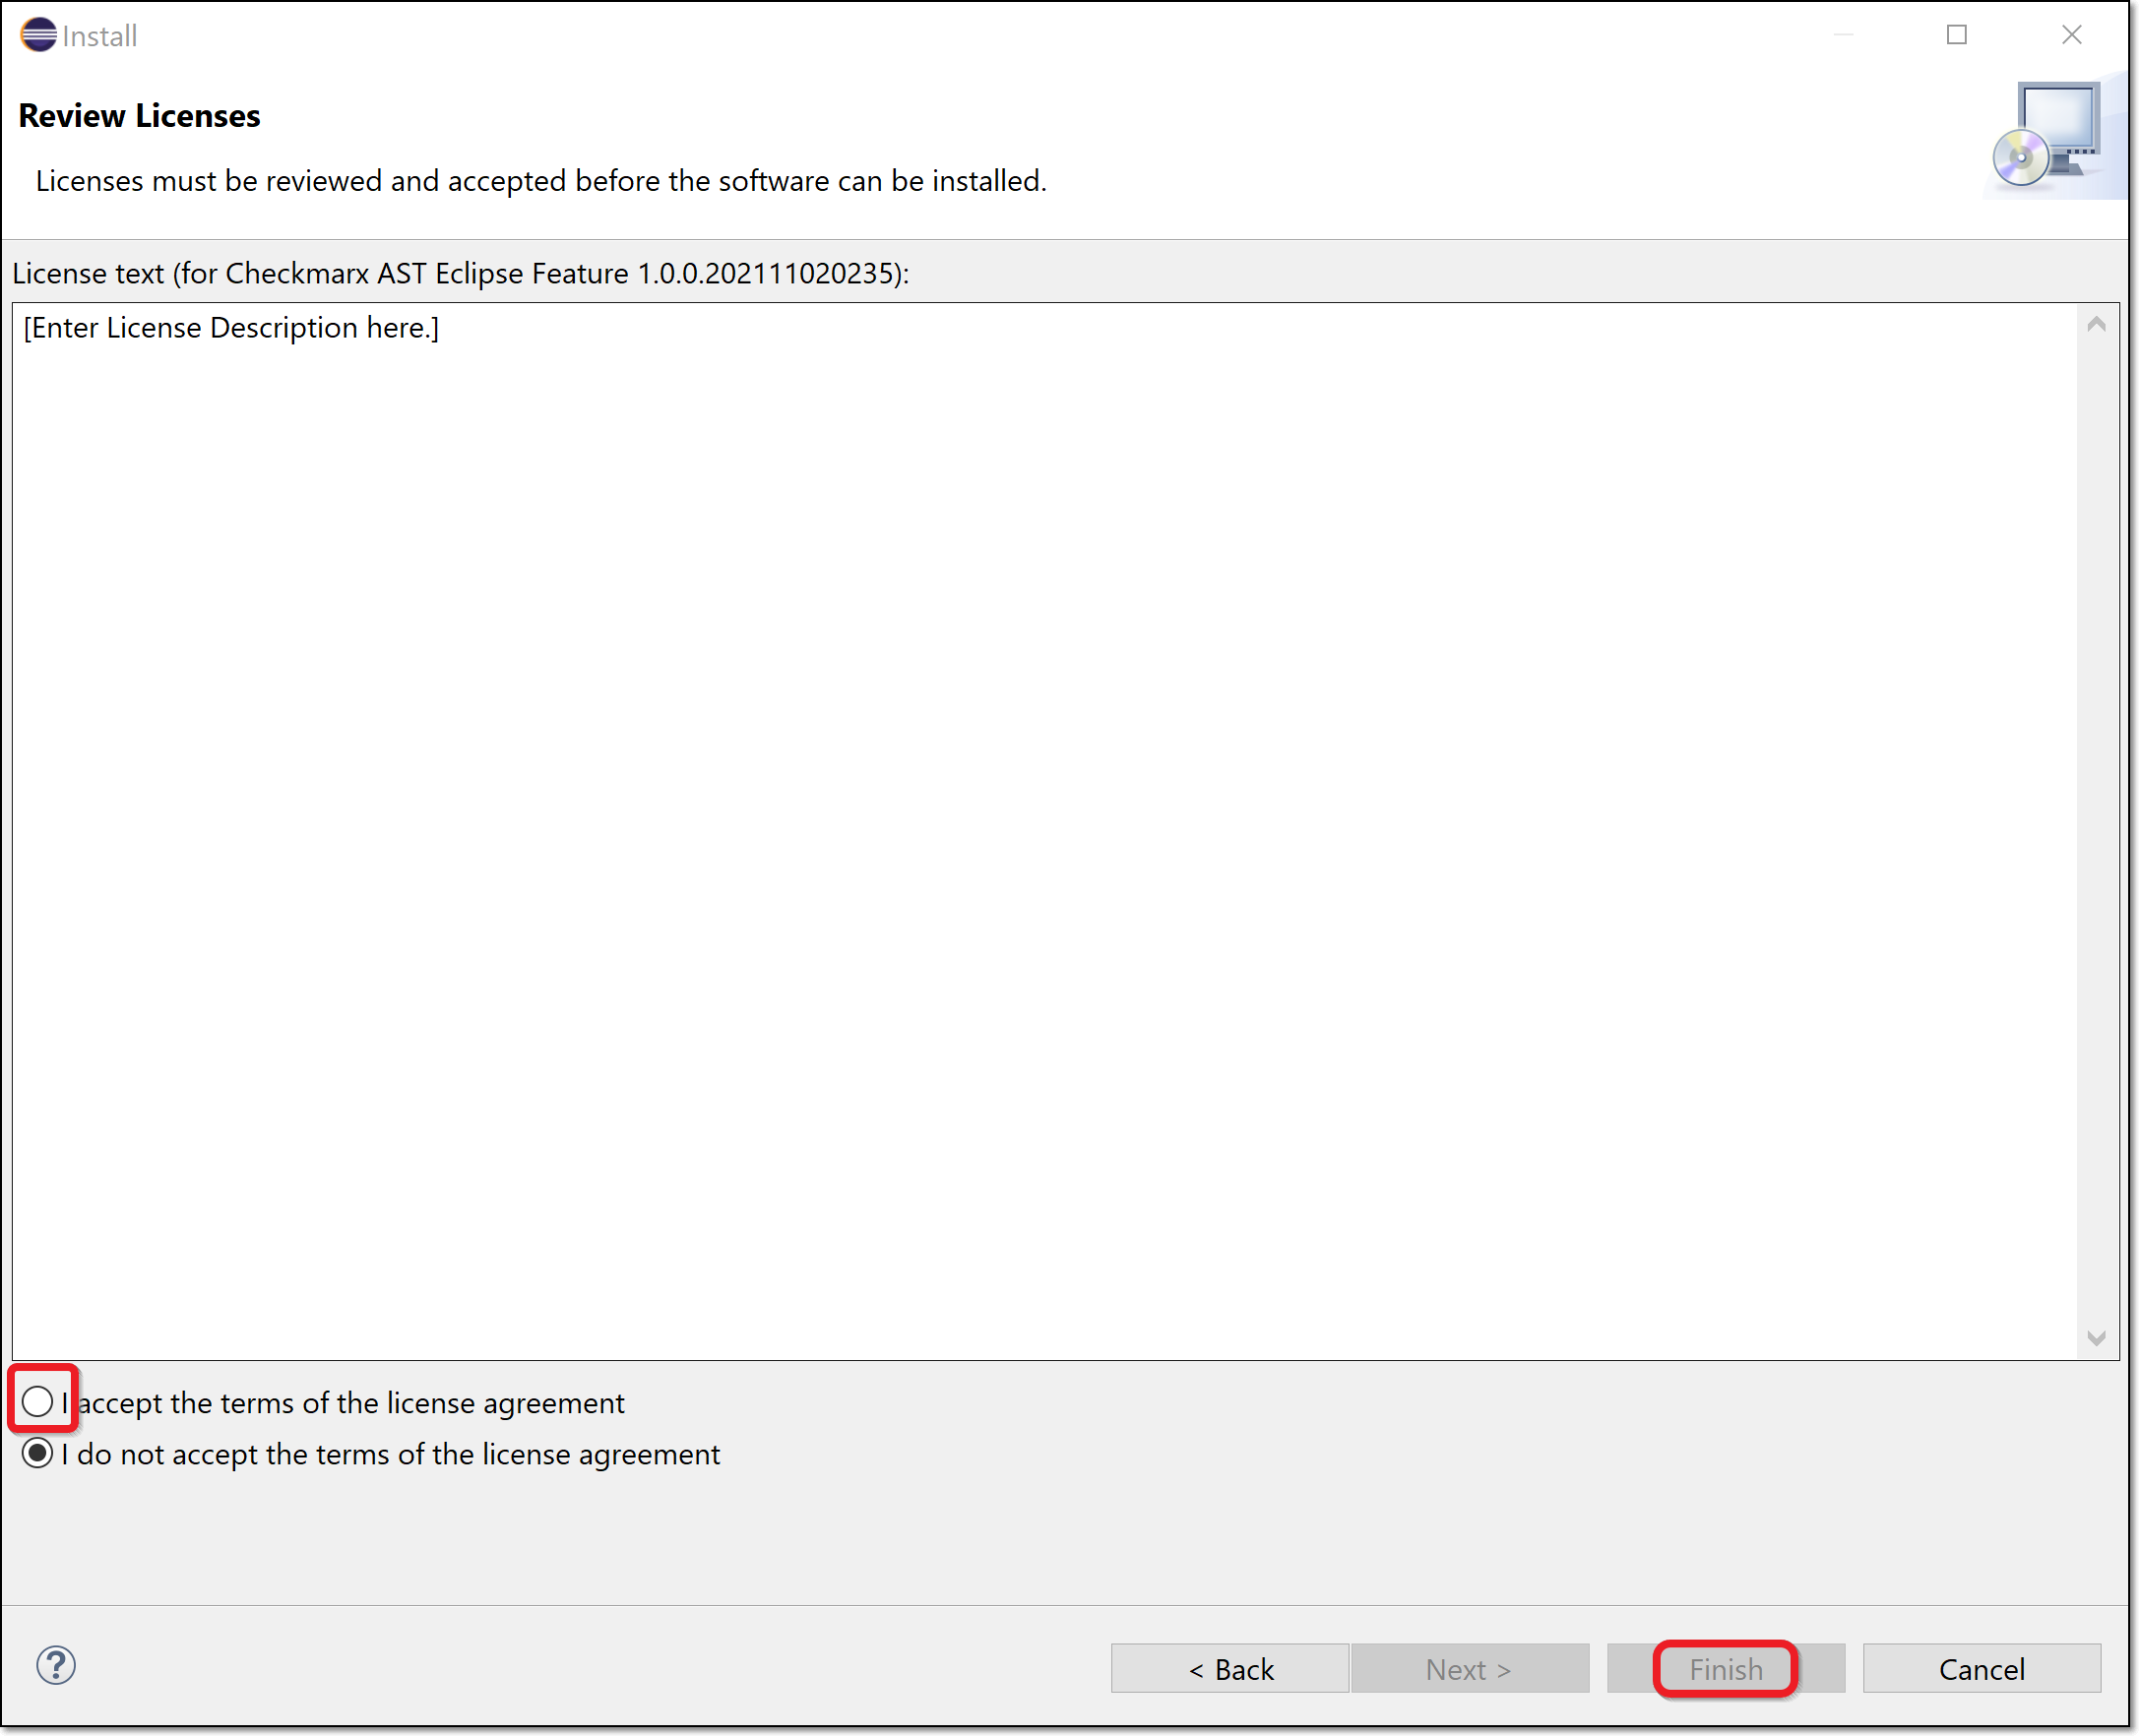
In the Review Licenses window, after reviewing the license information, select the I accept… radio button and click Finish.
If a security warning is shown, click Install anyway to complete the plugin installation.
When the installation is finished, you will be prompted to restart the Eclipse IDE to apply the plugin update.
Setting up the Plugin
After installing the plugin, you need to configure access to the Checkmarx One server before you can start importing results in your Eclipse IDE.
To set up the plugin:
In the top menu, click Window > Preferences. (For Mac OS, click Eclipse > Preferences.)
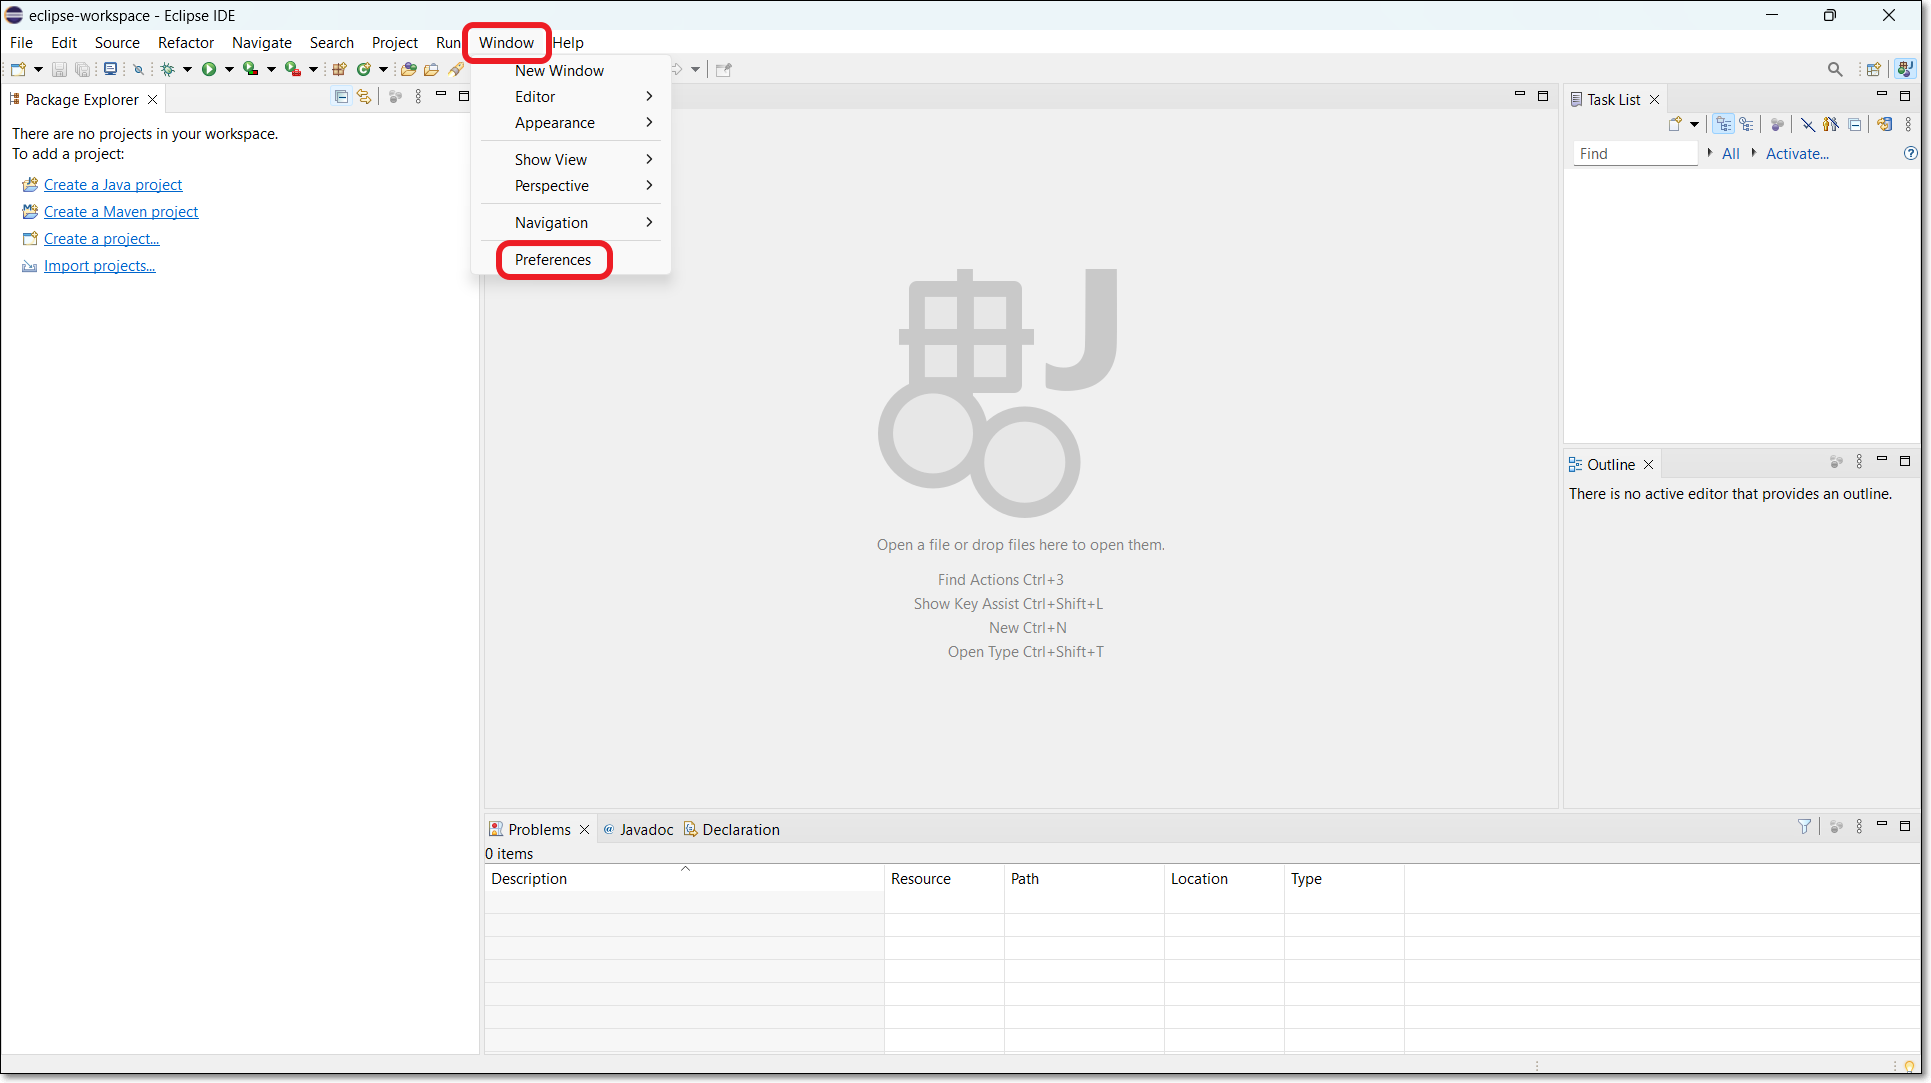
The Preferences configuration window is shown.
In the Preferences window, click Checkmarx One (or search for Checkmarx One in the search box).
The Checkmarx One Eclipse plugin configuration settings are shown.
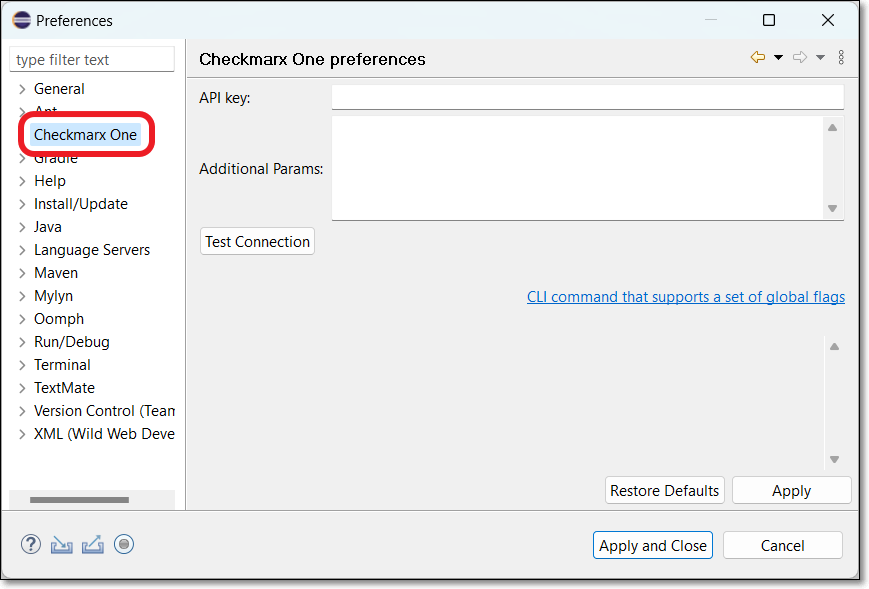
In the API Key field, enter your Checkmarx One API key.
Notice
To create an API key, see Generating an API Key
The roles (permissions) assigned to the API Key are inherited from the user account that generates the key. Therefore, make sure that you are logged in to an account with the appropriate roles.
In order to use this integration for running an end-to-end flow of scanning a project and viewing results with the minimum required permissions, the API Key or user account should have the role
plugin-scanner. Alternatively, they can have at a minimum the out-of-the-box composite roleast-scanneras well as the IAM roledefault-roles.In the Additional Params field, you can submit additional CLI params. This can be used to manually submit the base url and tenant name if there is a problem extracting them from the API Key. It can also be used to add global params such as
--debugor--proxy. To learn more about CLI global params, see Global Flags.Click on Test Connection, to test that the connection works.
Notice
If the connection fails, you can view detailed error logs by entering
--debugin the Additional Options section and retrying the connection.Click Apply and Close at the bottom of the screen to save your settings.