Creating a New Status Page in Hund.io
To create a new status page in Hund.io, proceed as follows:
Click here to open Hund.
In the Global Dashboard drop-down list, select New Status Page.
Enter a Status Page Name, Status Page Address, and Subdomain.
Under Components, add a new Group.
Add new components into the new group

Choose the PagerDuty option.

Enter the PagerDuty API key and click on Connect PagerDuty Account.
Enter the component name and description according to the client’s license on the BO. You can copy the required information from the MT status page (Services >
emptyservice_statuspage”.Click Create component and create as many components as needed.
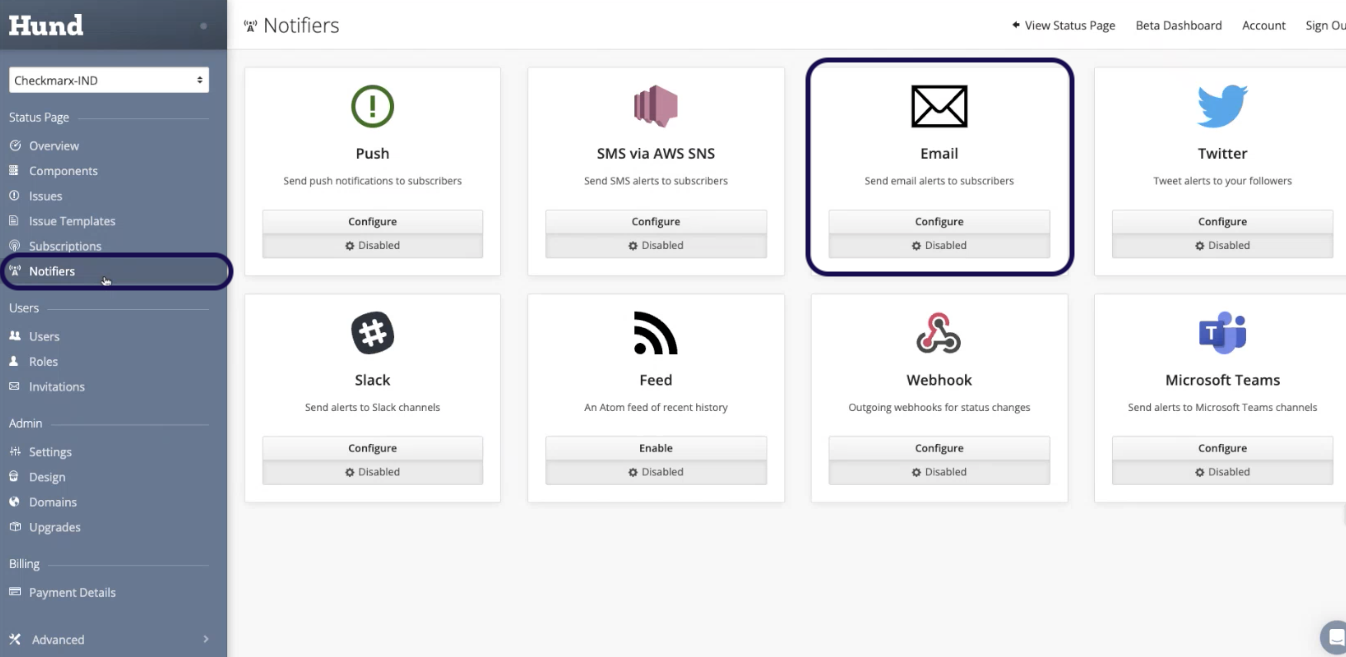
Navigate to Notifiers and select Email.
Enter the following parameters: : email-smtp.us-east-1.amazonaws.com
SMTP hostname
SMTP User
SMTP Password
SMTP Authentication Method
Sender address
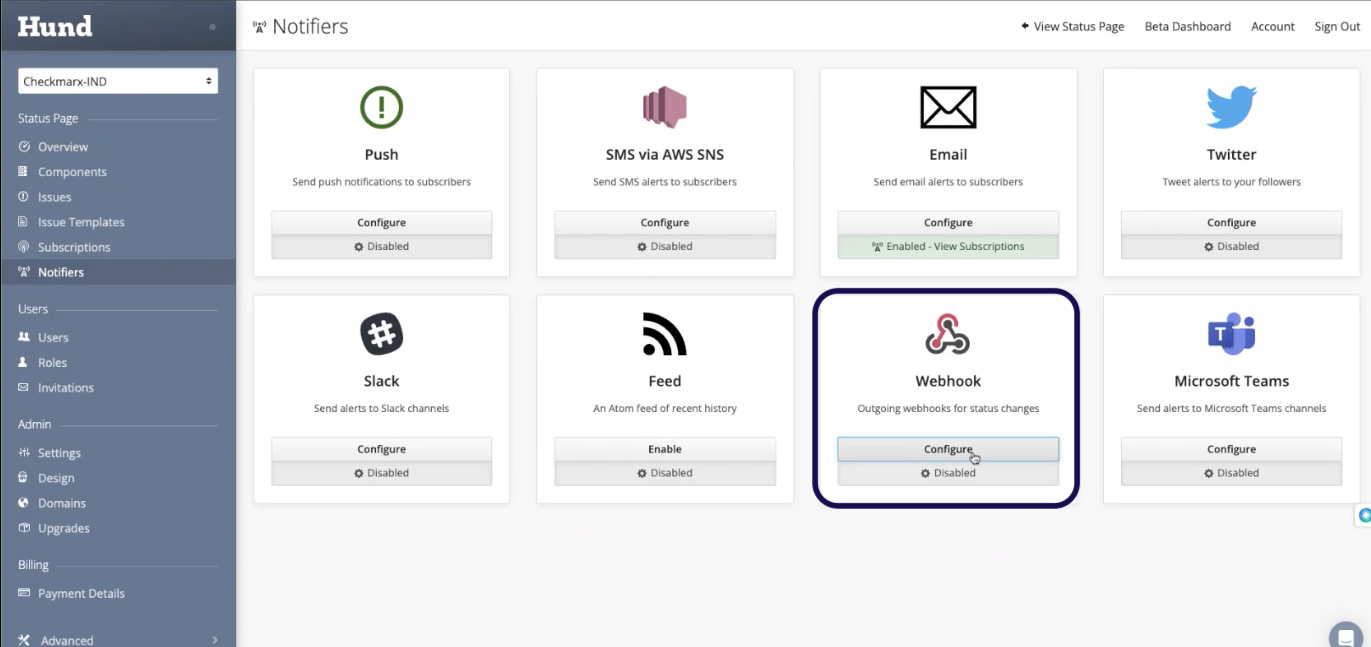
Click Create Notifier and select Webhook.
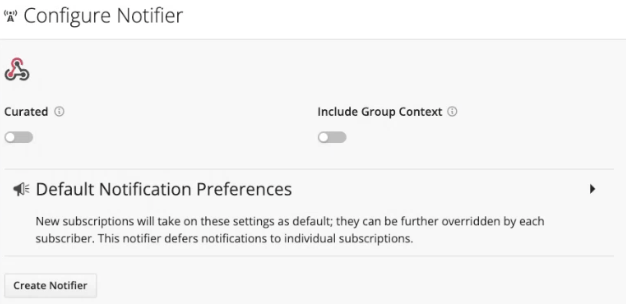
Click Create Notifier.
The status page is ready, but you still need to create a URL to access it. To do it, connect to the AWS account CxAST-Production and create a new record in Route53 > Hosted zones > ast.checkmarx.net.
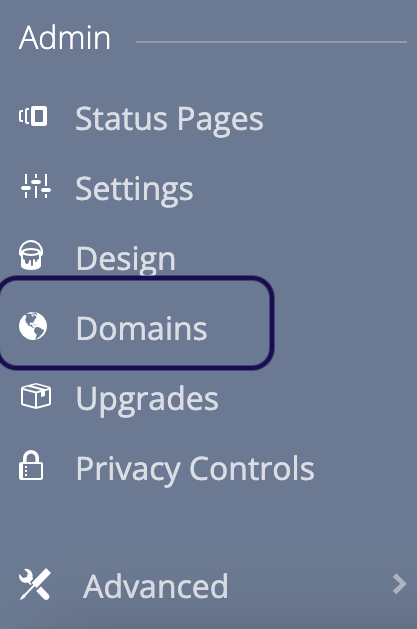
Go back to status page and select Domains.
Enter the Subdomain and Custom Domain you just created in AWS Route53.
Click Update Domain.