- Checkmarx Documentation
- Checkmarx SAST
- SAST User Guide
- System Management
- Management Settings
- Custom Field Management
Custom Field Management
Custom fields can be used to define project attributes (metadata). The process of implementing and utilizing project attributes through the Custom Fields feature involves three steps:
1. Creation, editing, or deletion of custom fields.
2. Populate each project's custom fields while ensuring mandatory fields are validated.
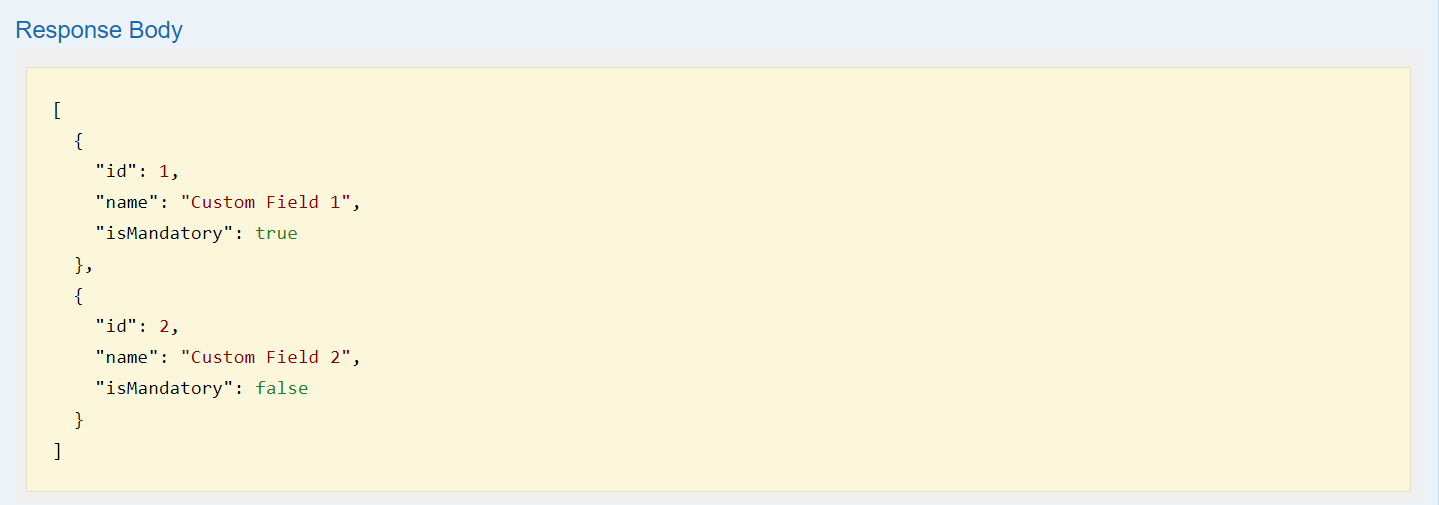
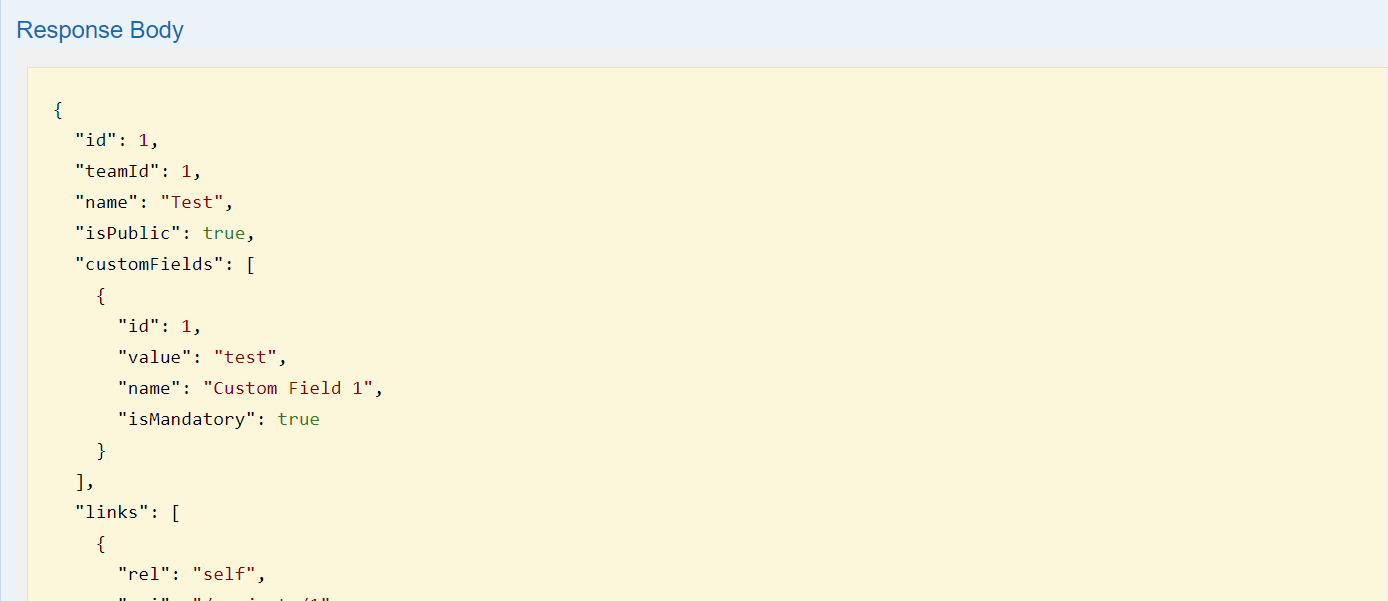
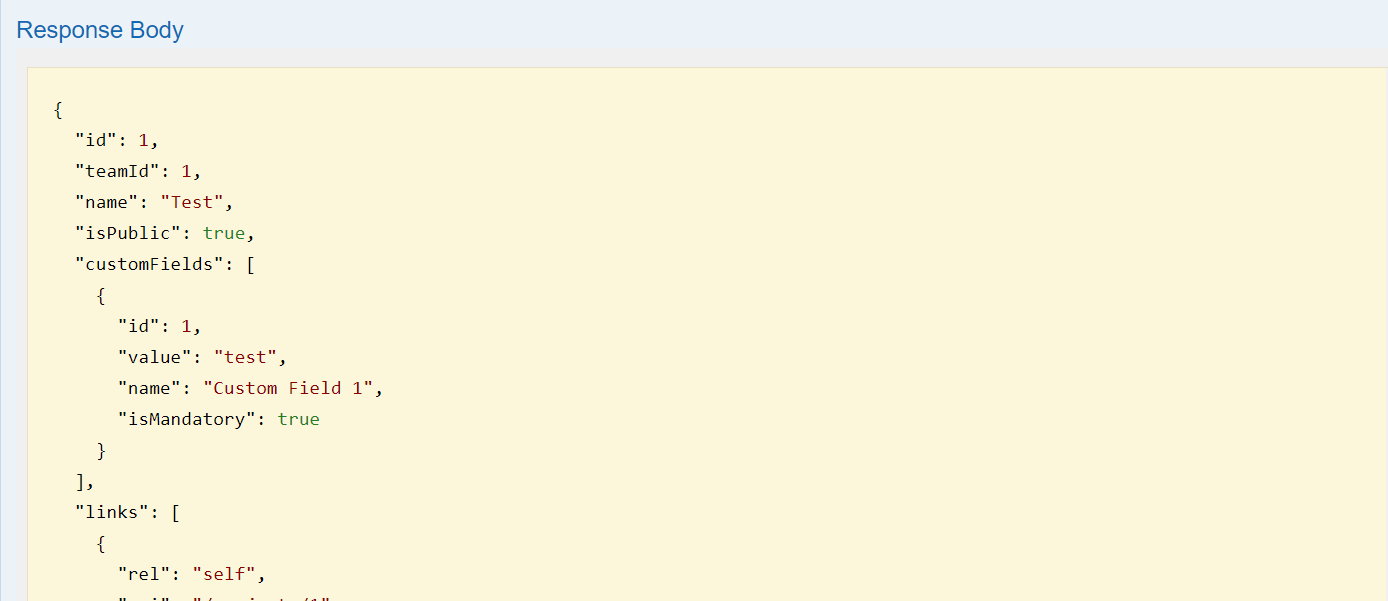
3. Accessing the custom fields by making use of the REST APIs.
To Define Custom Fields:
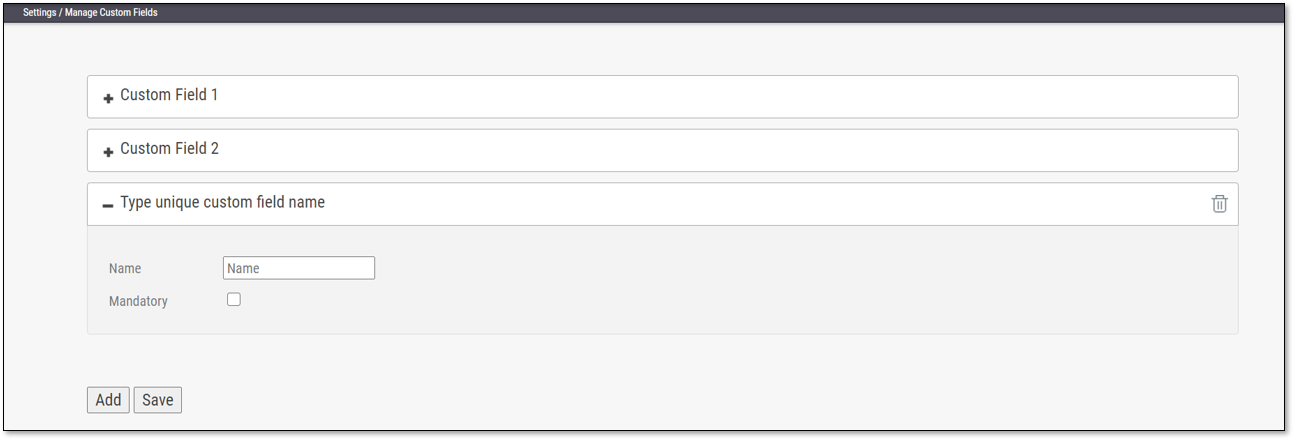
1. Go to Settings > Manage Custom Fields.

2. Click <Add>.
3. Enter a unique custom field name in the designated field. Check the Mandatory box to set the field as mandatory.
4. Click <Save>.
Each newly added custom field (up to 10) is displayed on the list and can be edited or deleted.

To Edit the Custom Field Name:
1. Click + to the left of the field name.
2. Make the desired change in the editable row that appears.
3. Click <Save>.
To Delete a Custom Field Row:
1. Click Delete next to the desired custom field and confirm when prompted.
2. Click <Save>.
Project with Custom Fields
Custom fields can be filled out when creating a new project or editing an existing one. If a custom field is marked as mandatory, an asterisk symbol will be displayed during project creation and editing. It is mandatory to provide a value for these custom fields. Otherwise, a warning message will be shown.
 |
 |
GET GENERAL/customFields

GET /projects/{id}

GET /projects

PUT /projects/{id}
Warning
If a custom field is invalidated, then it will display the following: Custom Fields are not valid, some empty values or IDs do not exist