Creating a New Feedback Profile
A Feedback Profile is a Checkmarx One entity that connects a Feedback App to Checkmarx One Projects.
To create a new Feedback Profile, use the following procedure:
Click on Integrations
 > Profiles > Create Profile
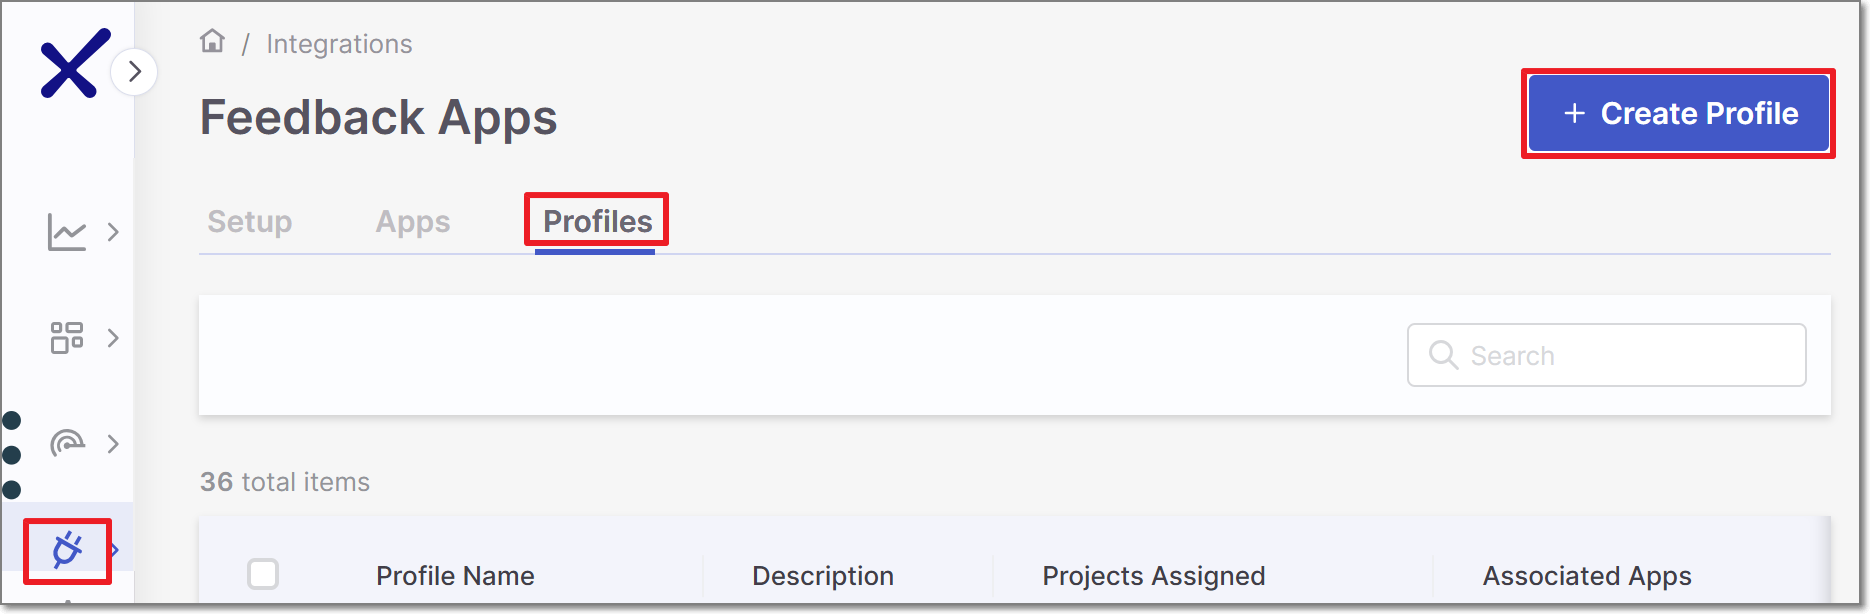
In the General Settings panel, configure the following and click Next.
Feedback profile name
Description
Associate Tags - assign tags to a feedback profile. Tags are useful for filtering purposes.
The Feedback Apps panel is displayed.
In the Feedback Apps panel, select Feedback Apps from the list of available apps to assign them to this Feedback Profile. You can use the Search field to find specific apps. Click Next.
The Assign Projects panel is displayed.
In the Assign Projects panel, select Projects from the list to assign them to this Feedback Profile, and click Save.
The new profile is displayed in the Integrations Profiles table.
General Settings panel is opened on the right screen side.