GitHub Container Registry Integration for SCA Scanner
Step 1 - Setting up an Integration
To set up a GitHub Private Packages Integration:
In the main navigation, select Integrations
 > Cloud Connections.
In the Setup tab, under Private Registries for Containers, hover over the GitHub tile and click on Configuration. then click Start.
In the side panel that opens, click Start.
The GitHub Integration wizard opens.
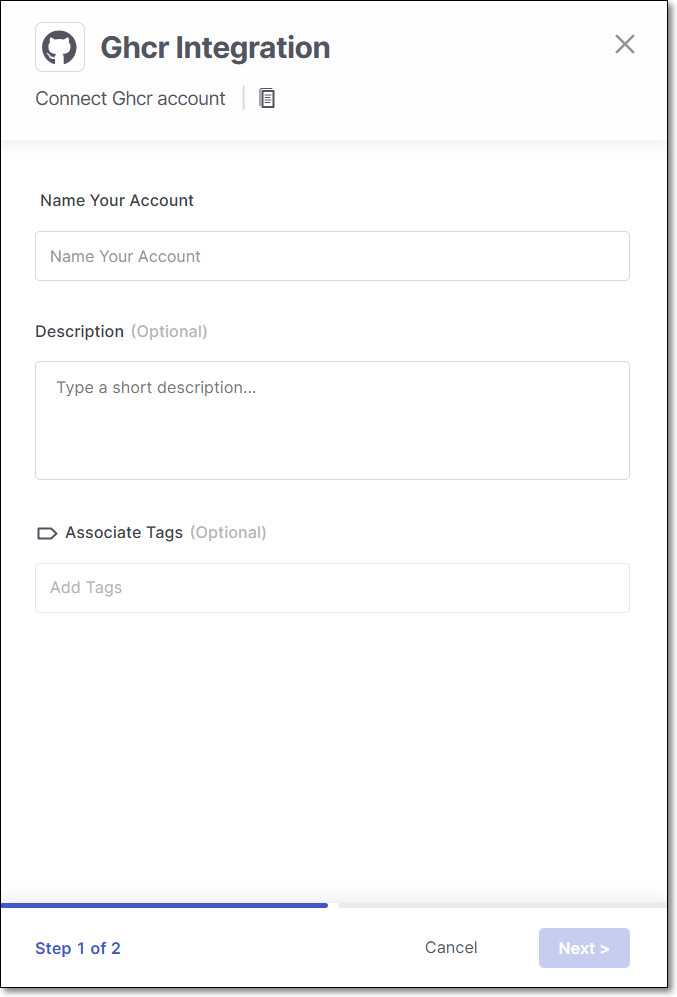
Name Your Account and optionally fill in the Description and Associate Tags fields, then click Next.
Make a note of the name that you designated, as you will need to use this name in the following step.
Under Username enter the Username for your GitHub account.
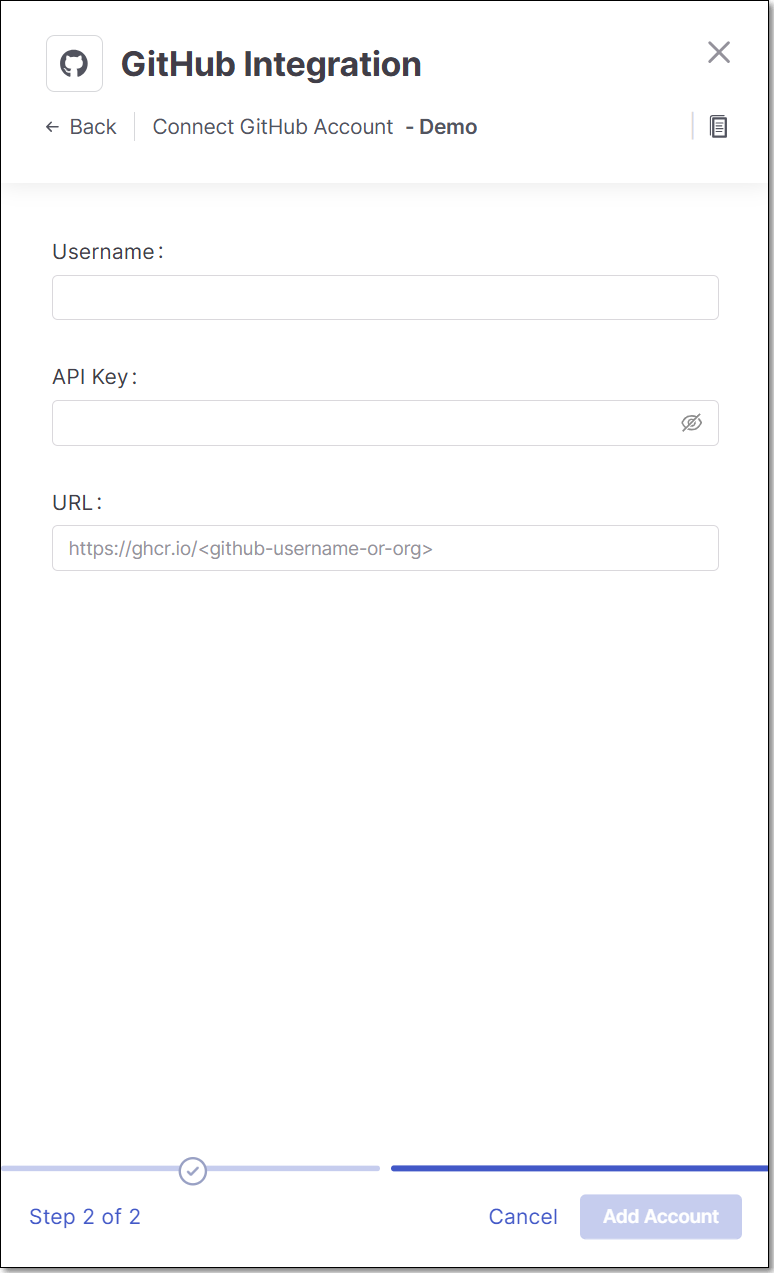
In the API Key field, enter the API key for your JFrog Artifactory (as described above in Prerequisites).
In the URL field, enter the URL for your GitHub account using the format
https://<packagemanager>.pkg.github.com.Alternatively, if you have configured a CxLink to access this repo, enter the CxLink (using the following format: https://<subdomain>.<domain>/link/<UUID>). Learn more about CxLink here.
Click Add Account.
Monitoring Integration Status
You can monitor the status of your GitHub integrations to see whether or not the integration is connected. Possible statuses are:
Pending - The integration was just set up and hasn't connected yet.
Connected - The integration is running and you are able to scan images in your GitHub packages.
Disconnected - Checkmarx One is not currently able to access your private GitHub packages.
To monitor the integration status:
In the main navigation, select Integrations
> Cloud Connections.In the Cloud Connections tab, check the Status column for each of your integrations.
Step 2 - Project Configuration
For each project you want to scan, you must configure access to your private package repositories. This is done by using the templates provided below and applying them to your project configuration.
Prepare the configuration template
Copy the relevant template and replace the placeholder <MASK_NAME> with the name of the integration you defined in the GitHub integration wizard in the previous step.
Templates
Nuget
Maven
Npm
Gradle
Pip
Apply the configuration to your project
You can apply the configuration using one of the following methods.
Option A – Add configuration files to your repository
Add the relevant template to your project’s source code using the folder structure shown below, based on your package manager.
Notice
If the config files already exist in your project, then you can add the template content to your existing file.
NuGet -
./.checkmarx/sca/nuget/NuGet.ConfigMaven: -
./.checkmarx/sca/maven/settings.xmlnpm -
./.checkmarx/sca/npm/.npmrcGradle -
./.checkmarx/sca/gradle/.npmrcPip -
./.checkmarx/sca/pip/pip.conf
Option B – Apply configuration via API (no files added)
Apply the configuration without adding any files to your project’s source code by sending one of the above templates in the request body of an API call.
This approach is useful if you prefer not to commit registry configuration or credentials to your repository.
For full details, see the
SCA Private Registry Configuration APIdocumentation.