Installing CxSAST in a Distributed Environment
A distributed architecture refers to a scenario where the server components are 'distributed' over multiple dedicated servers as explained in Checkmarx SAST System Architecture Overview. To install the CxSAST Server in a distributed environment (on different dedicated hosts), you have to install each CxSAST Server component specified below on the respective host in the outlined order.
Notice
The installation or upgrade of each component must be performed from the same setup file ( CxSetup.exe) as all components must be of the same version and build.
Starting with CxSAST 9.4, users can select the service account with which CxSAST-related services are running while installing CxSAST. Further information and instructions are available for installing the following components:
ActiveMQ
CxManager
CxEngine Server
Further information and instructions are available on the relevant pages.
Workflow
To start installing a component of CxSAST:
Verify that you downloaded the CxSAST installation package and that the third-party components have been made available as explained under Preparing CxSAST for Installation.
Run
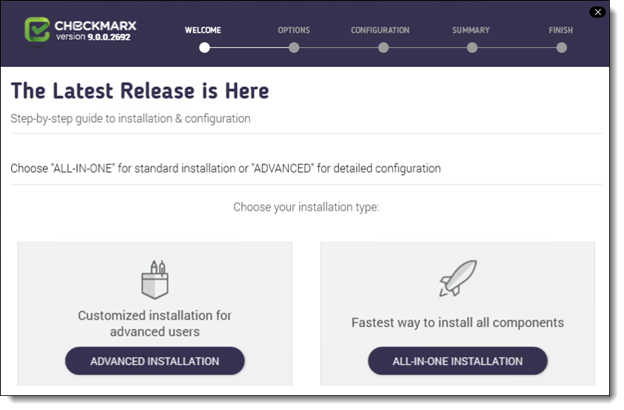
 CxSetup.exe. The Checkmarx Welcome window is displayed.
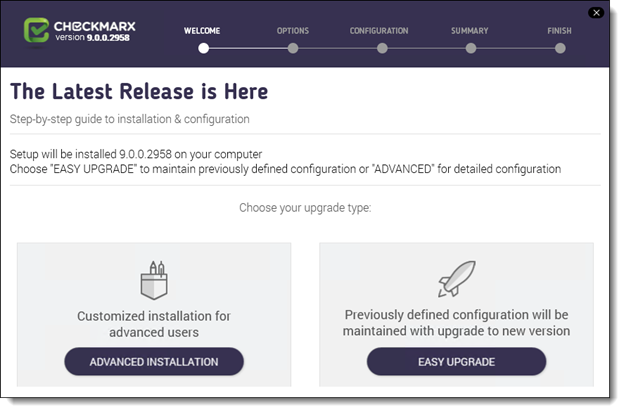
Click <ADVANCED INSTALLATION> to continue, or <X> to exit.
For upgrades, use <ADVANCED INSTALLATION> as well and select the required setup options to continue as explained below.

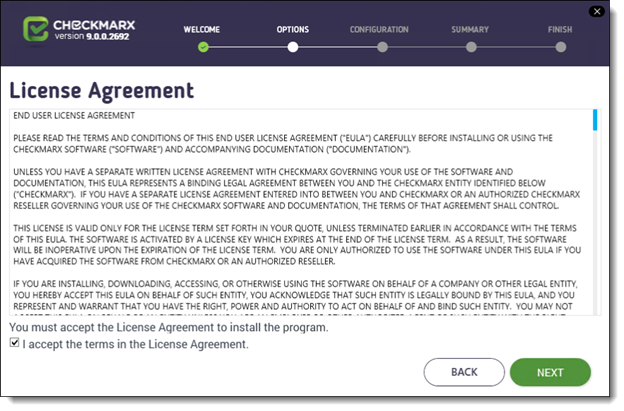
For both scenarios, the Checkmarx License Agreement window is displayed.

Review and accept the license agreement by checking I accept the terms in the License Agreement.
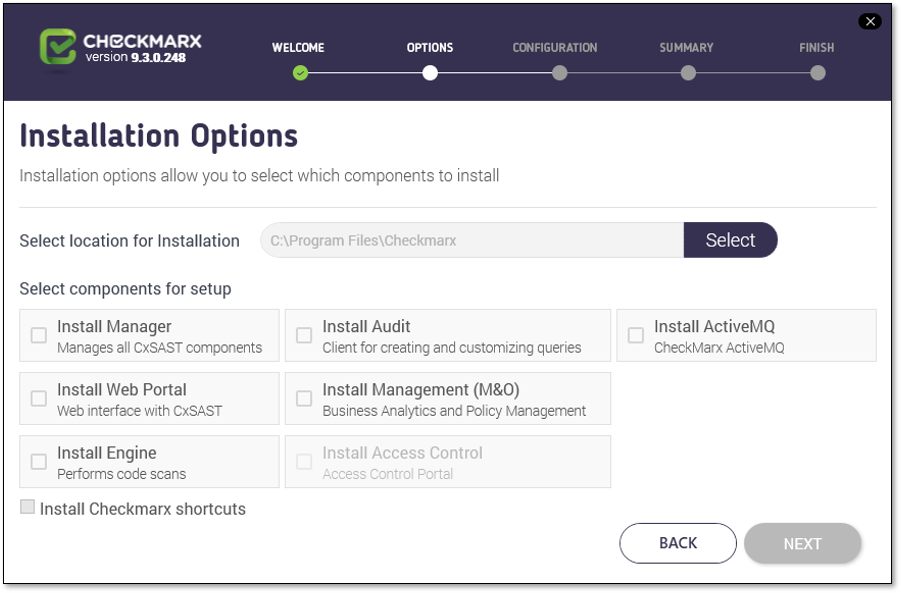
Click <NEXT> to continue. The Installation Options window is displayed.

For new installations, click <Select> to define the CxSAST installation location. Note: To avoid permission restrictions, install CxSAST in <root directory>:\Program Files .
For upgrades, previously installed location settings and product components are loaded from the existing configuration and cannot be changed. You can however install or remove product components by using the modifying feature. For further information, refer to Modifying CxSAST.
Check the required component(s), for example, Install CxManager, on the respective host where you start installing.
To continue installing the respective components on the respective dedicated hosts:
Install the components in the order outlined below.
Follow the links for further information and instructions on installing each component.
Installing and Configuring ActiveMQ. The ActiveMQ installs the database and manages the messaging queues and contributes the Message Queue parameters that are going to be loaded together with the engine configuration.
Installing CxManager. CxManager manages and integrates system components and contributes the JSON file with the engine settings that you need at a later stage.
Installing and Configuring the Web Portal. The Web Portal is required to access and interact with CxSAST through the web.
Installing CxEngine. The CxEngine performs the code scans.
Notice
When you install the CxEngine, you import the engine configuration settings stored in a JSON file that you retrieve from CxManager.
If CxManager and ActiveMQ are not available for the CxEngine installation, the installation cannot be completed.
When installing in Silent Mode, you have to use the Silent Reconfigure option to complete the installation. For further information, refer to Silent Installation.