Installing and Setting Up the Checkmarx One Visual Studio Extension
The Checkmarx One extension for Visual Studio is available on Visual Studio marketplace and can be installed directly from your Visual Studio console.
To install and set up the extension:
In the Visual Studio console header bar, click on Extensions > Manage Extensions.
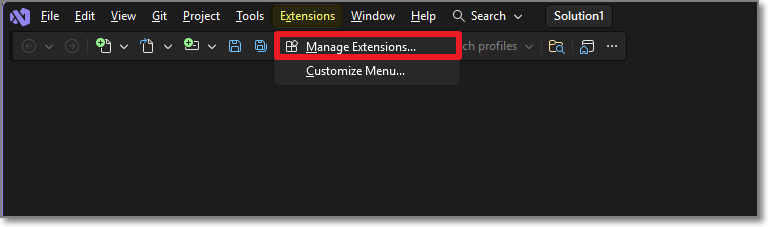
The Manage Extensions window opens with the Online tab selected by default.
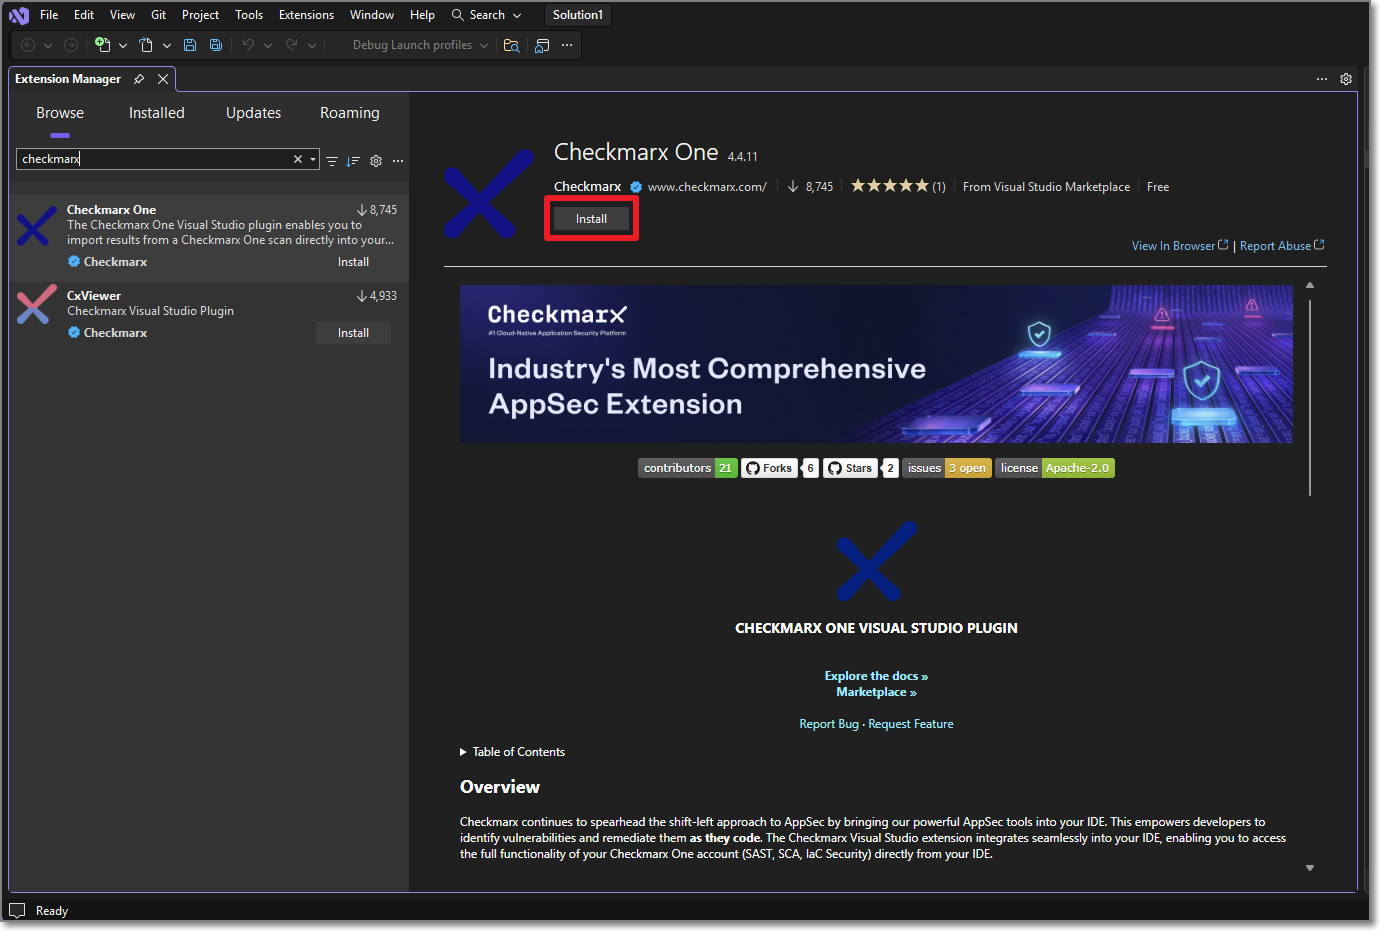
In the search box, start entering 'Checkmarx One'.
When the Checkmarx One extension is shown, click Install for that extension.
A notification at the bottom of the window prompts you to restart Visual Studio.
Click Close and then Exit the program.
The VSIX Installer dialog opens.
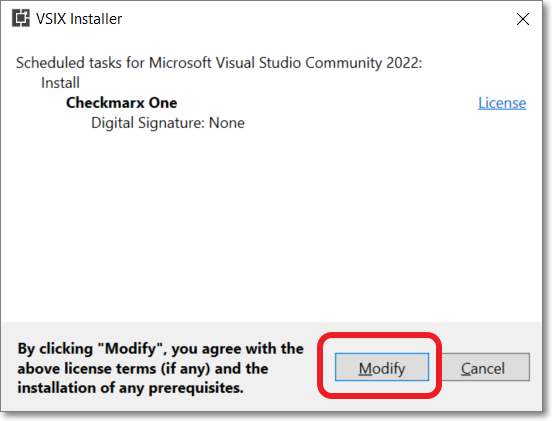
Click Modify.
Open Visual Studio and in the header bar, click View > Other Windows > Checkmarx.
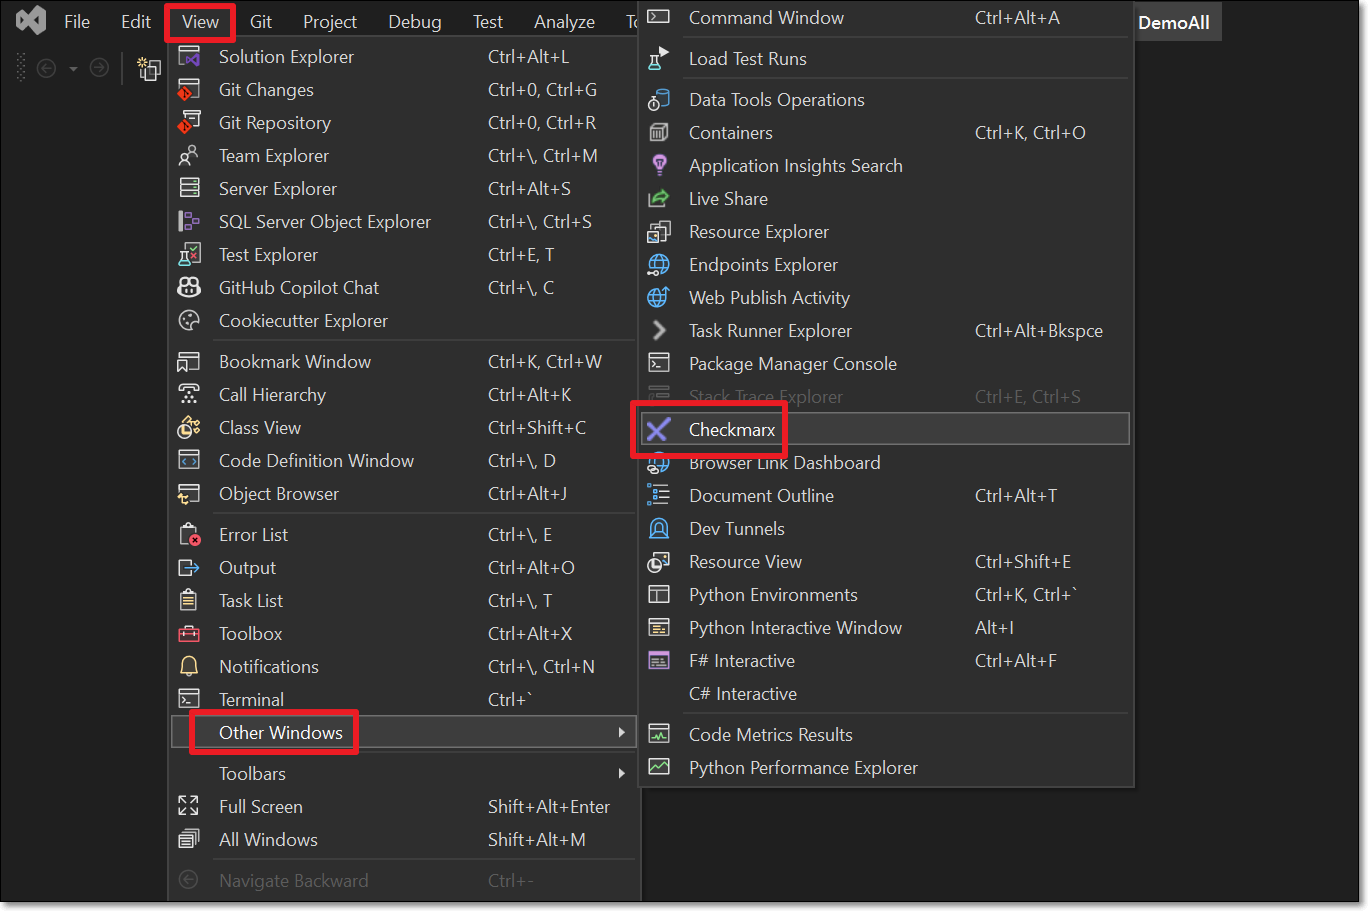
A new Checkmarx pane opens.
Click on Open Settings.
The Options window opens showing the Checkmarx settings.
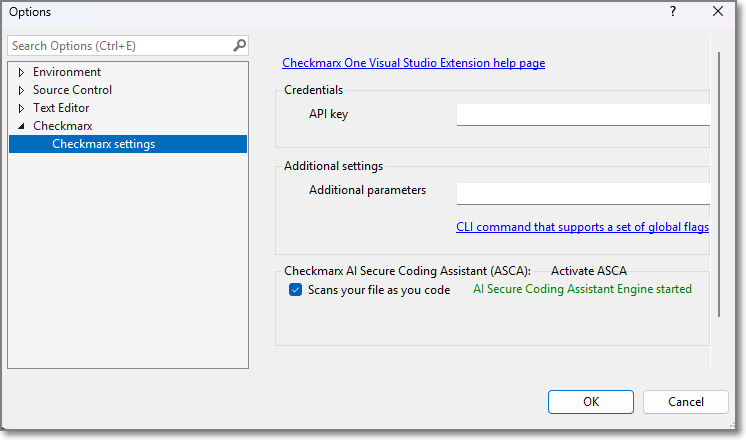
In the API key field, enter your Checkmarx One API key.
Notice
To create an API key, see Generating an API Key
The roles (permissions) assigned to the API Key are inherited from the user account that generates the key. Therefore, make sure that you are logged in to an account with the appropriate roles.
The minimum required roles for running an end-to-end flow of scanning a project and viewing results via the CLI or plugins are Checkmarx One
plugin-scannerrole and IAMdefault-roles<tenant>role.The permissions included in
plugin-scannerare shown here. If you would like to create a custom role with more granular permissions, you should refer to this list of permissions in order to determine which permissions you will need to assign.In the Additional parameters section you can specify any CLI arguments that you would like to apply as global flags (e.g., proxy servers). See documentation here.
Click OK at the bottom of the screen.
Configuring Checkmarx Developer Assist
Go to the Checkmarx settings and navigate to the Checkmarx One Assist tab.
Make sure that the desired Checkmarx One Assist checkboxes are selected.
If MCP is activated on the tenant level, then these should be selected by default. You can deselect any scanners that you don't want to run.
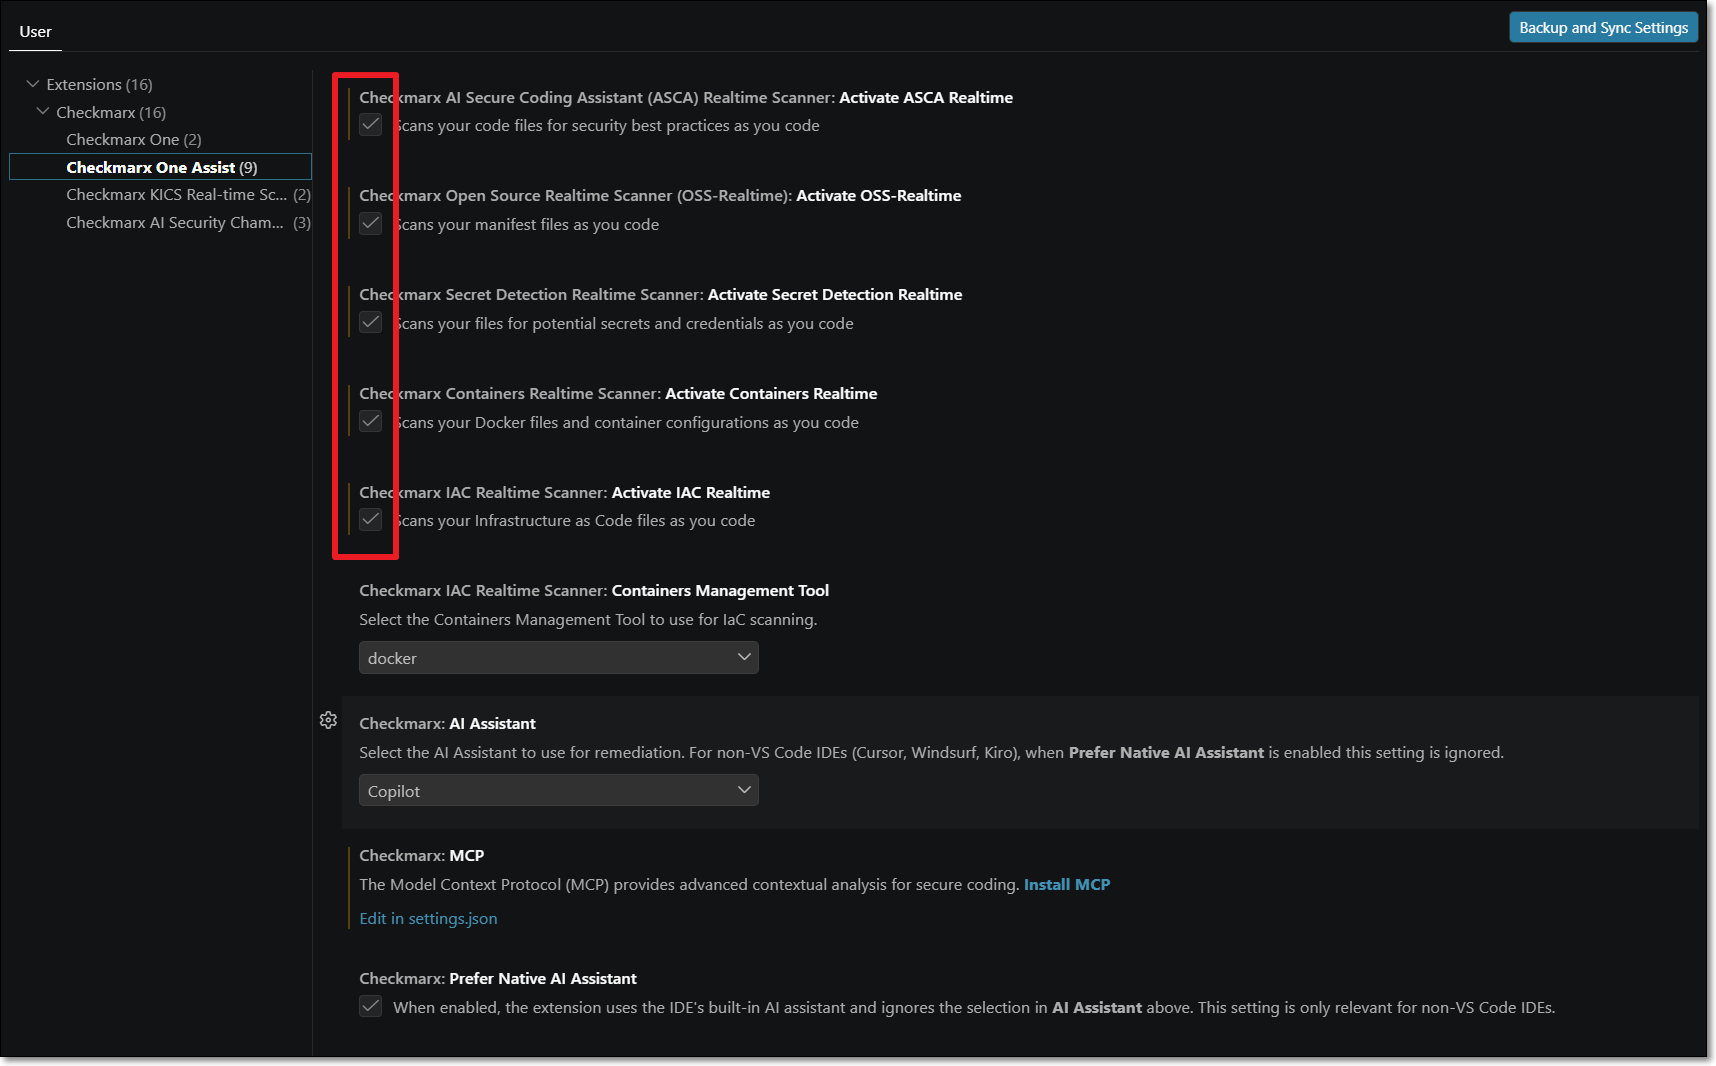
For the IaC Realtime scanner, select the Containers Management Tool used in your environment. Options are docker or podman.
Click on Install MCP.
The Checkmarx MCP is added to your mcp.json file.
Notice
In some cases the MCP is installed automatically when you authenticate with Checkmarx. However, best practice is to click onEdit in mcp.json so that the MCP file opens and you can ensure that it starts running, as shown in the following step.
If the process doesn't start automatically, you may need to open the file and click Start.
Notice
If there is a problem with the automatic installation, check Troubleshooting - Manually Configuring the MCP Server.
Click OK at the bottom of the window.
Open GitHub Copilot Chat by navigating to View > GitHub Copilot Chat.
Open the Tool Picker (wrench/tool icon).
Confirm that a Checkmarx MCP server appears in the list of available tools.
Expand the server and verify that Checkmarx tools are listed and enabled.
Checkmarx Developer Assist is now ready for use.