- Checkmarx Documentation
- Checkmarx One
- Checkmarx One Integrations
- CI/CD Integrations
- Checkmarx One Jenkins Plugin
- Configuring Checkmarx One Build Steps in Jenkins
Configuring Checkmarx One Build Steps in Jenkins
You can create a Checkmarx One build step in a Freestyle project or as part of a Jenkins Pipeline.
Configuring a Freestyle Checkmarx One Build Step
To create a Checkmarx One build step in a Freestyle project:
In the main navigation, click New Item.

The New Item menu opens.
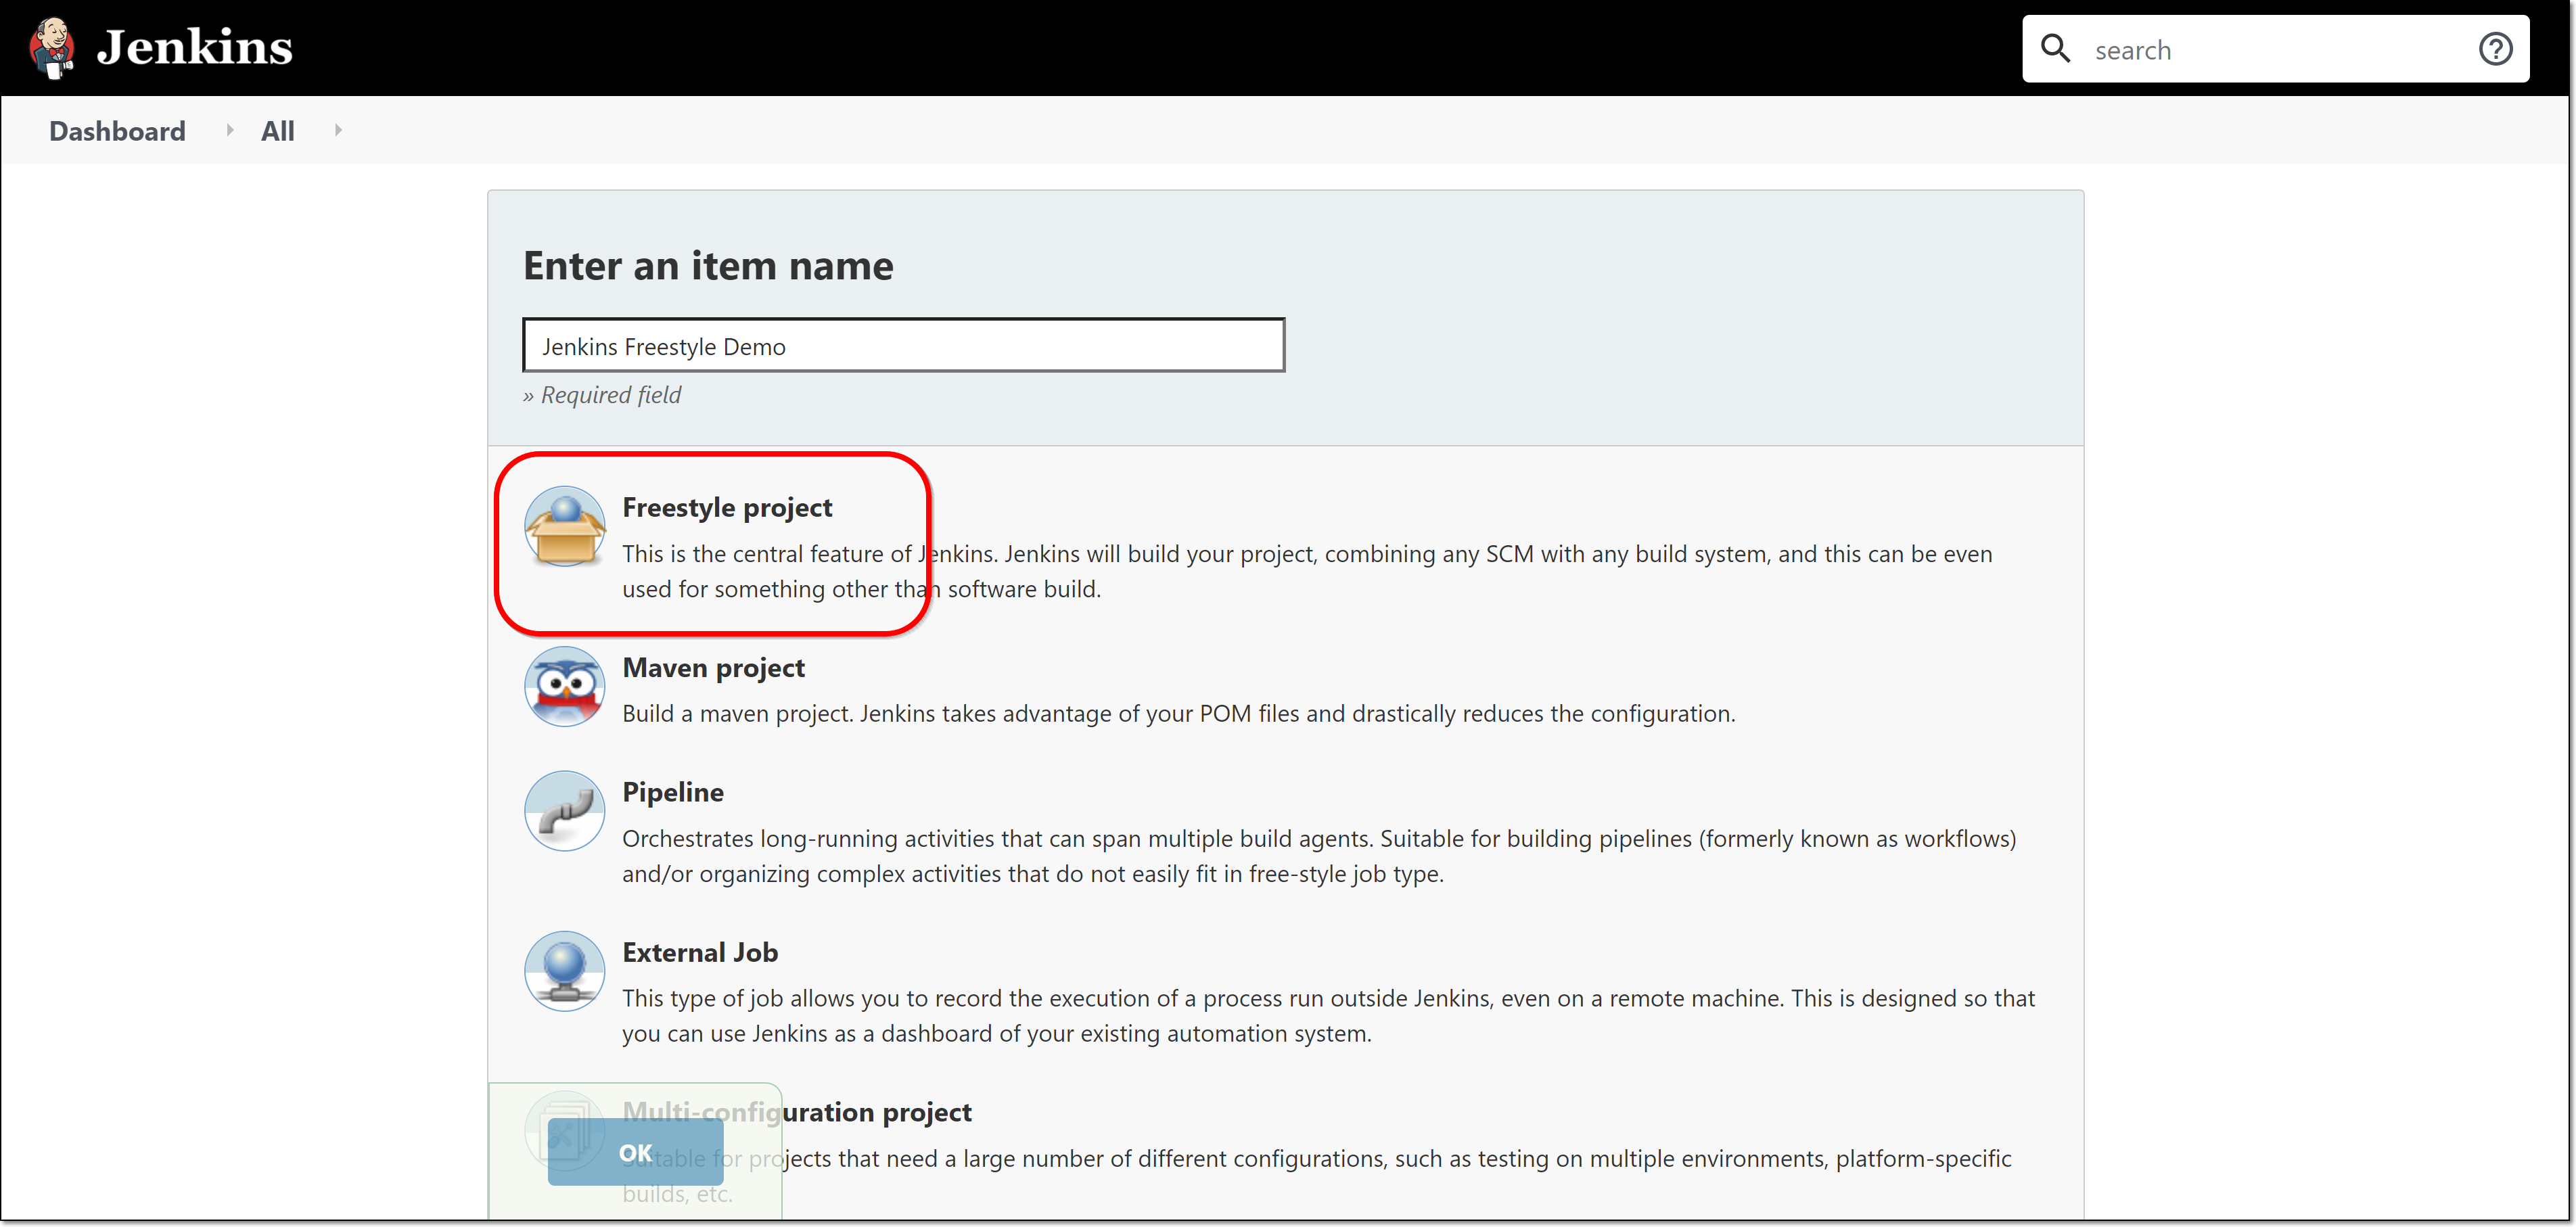
In the Enter an item name field, enter a descriptive name for the new Jenkins project.
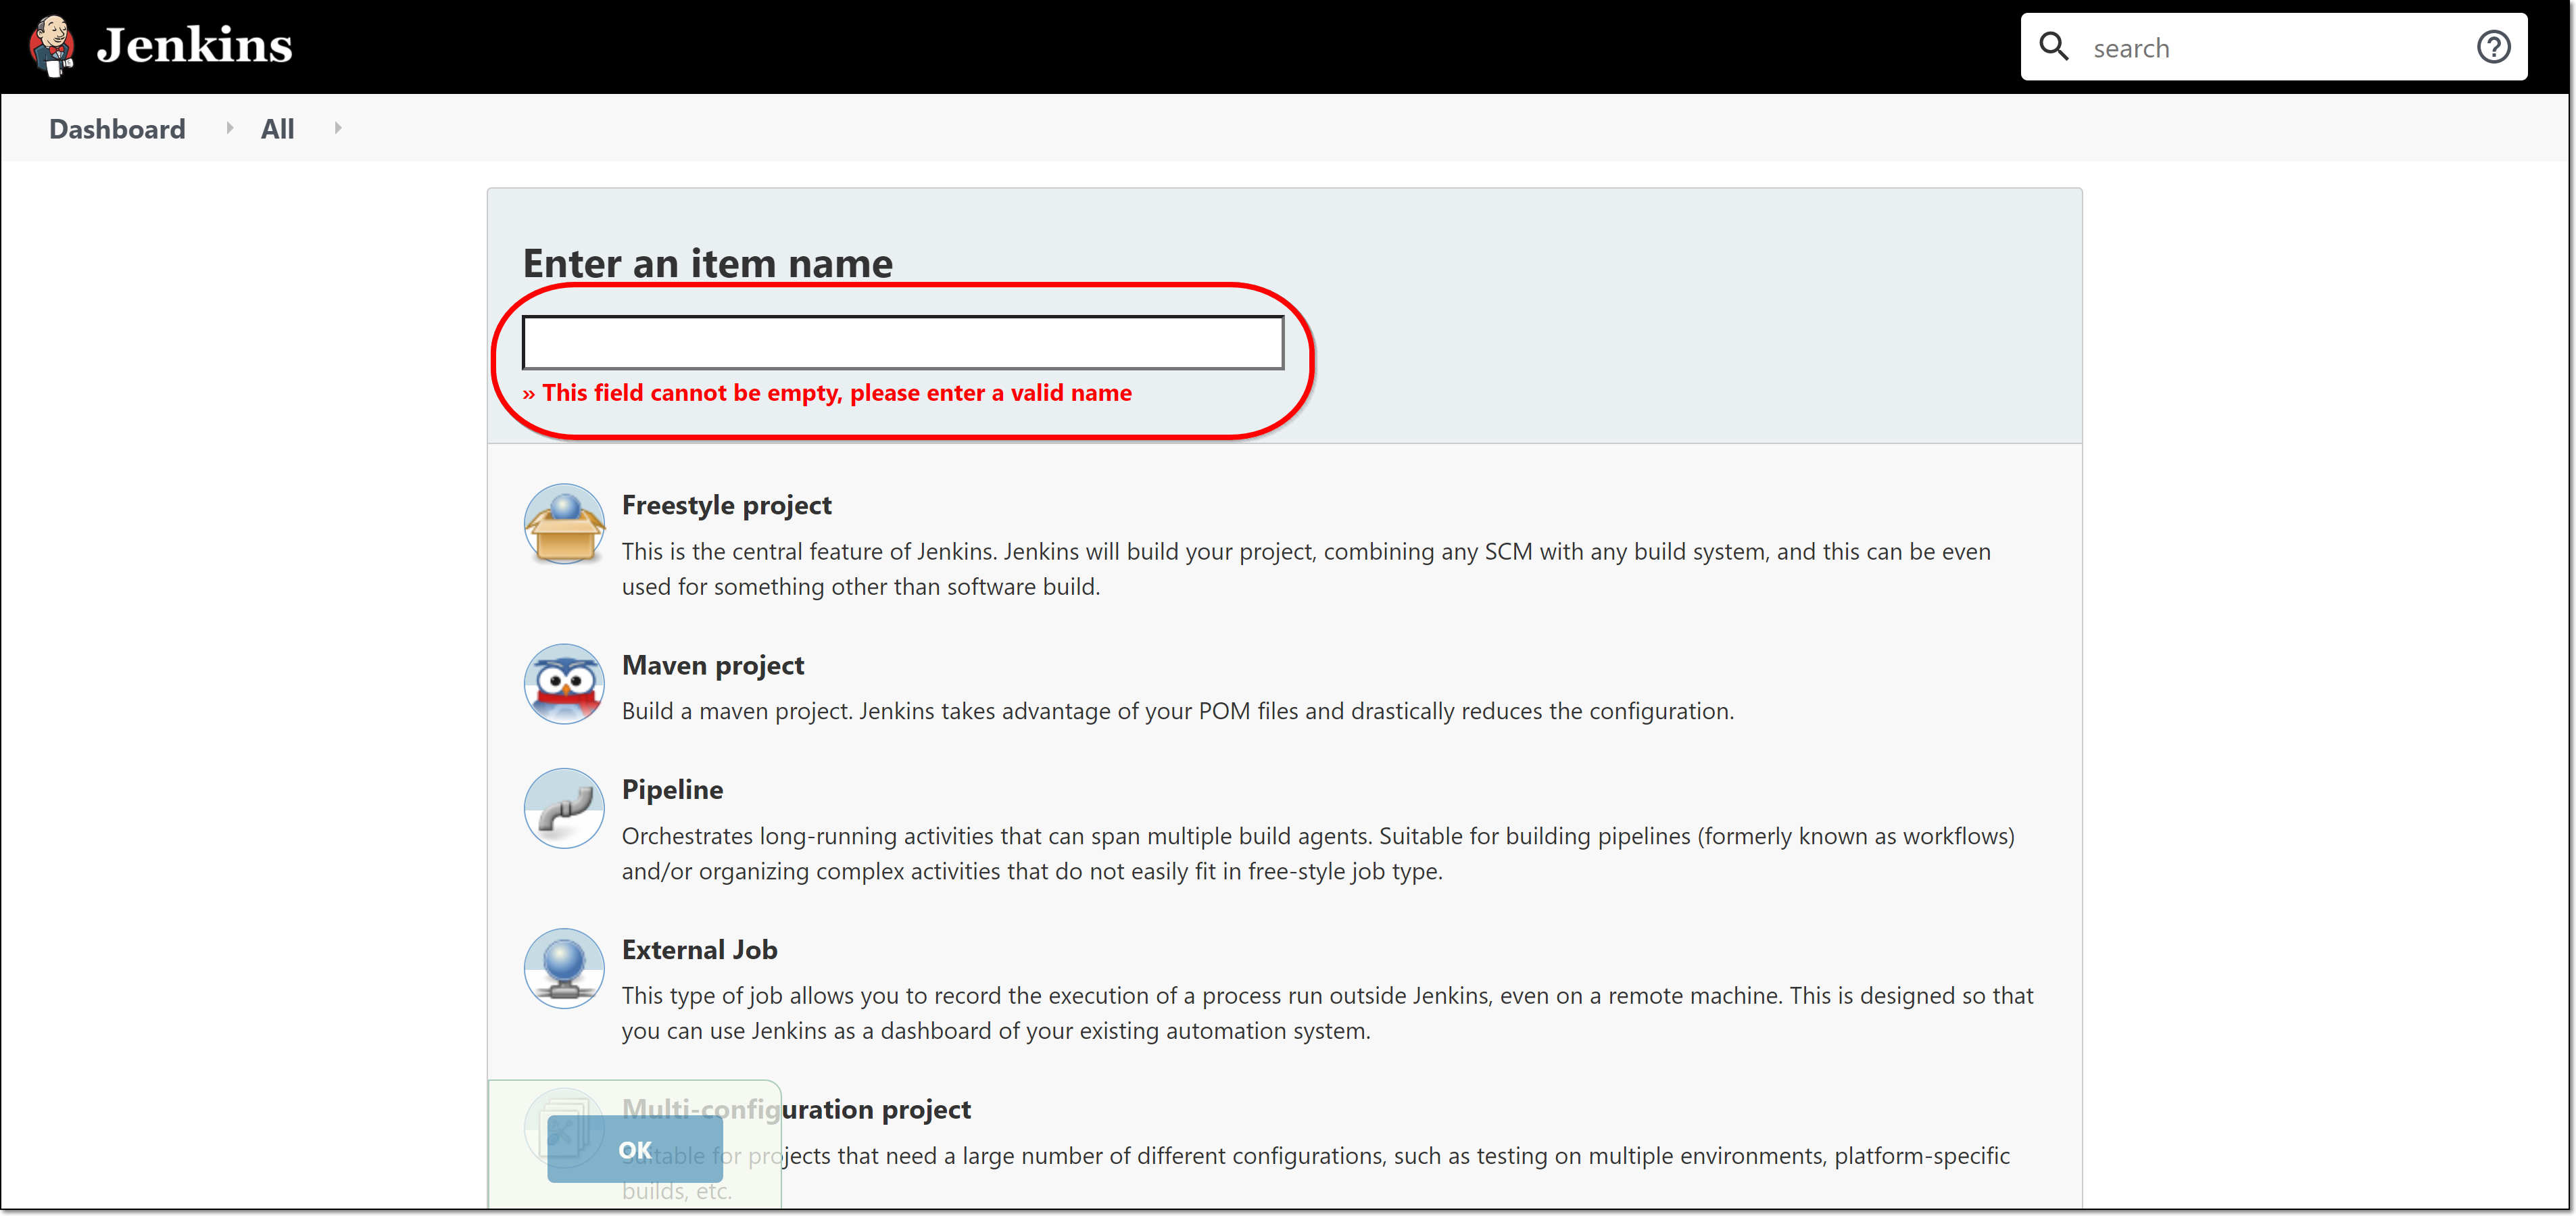
Click Freestyle project, then click OK at the bottom of the screen.
The Freestyle Project configuration form opens.
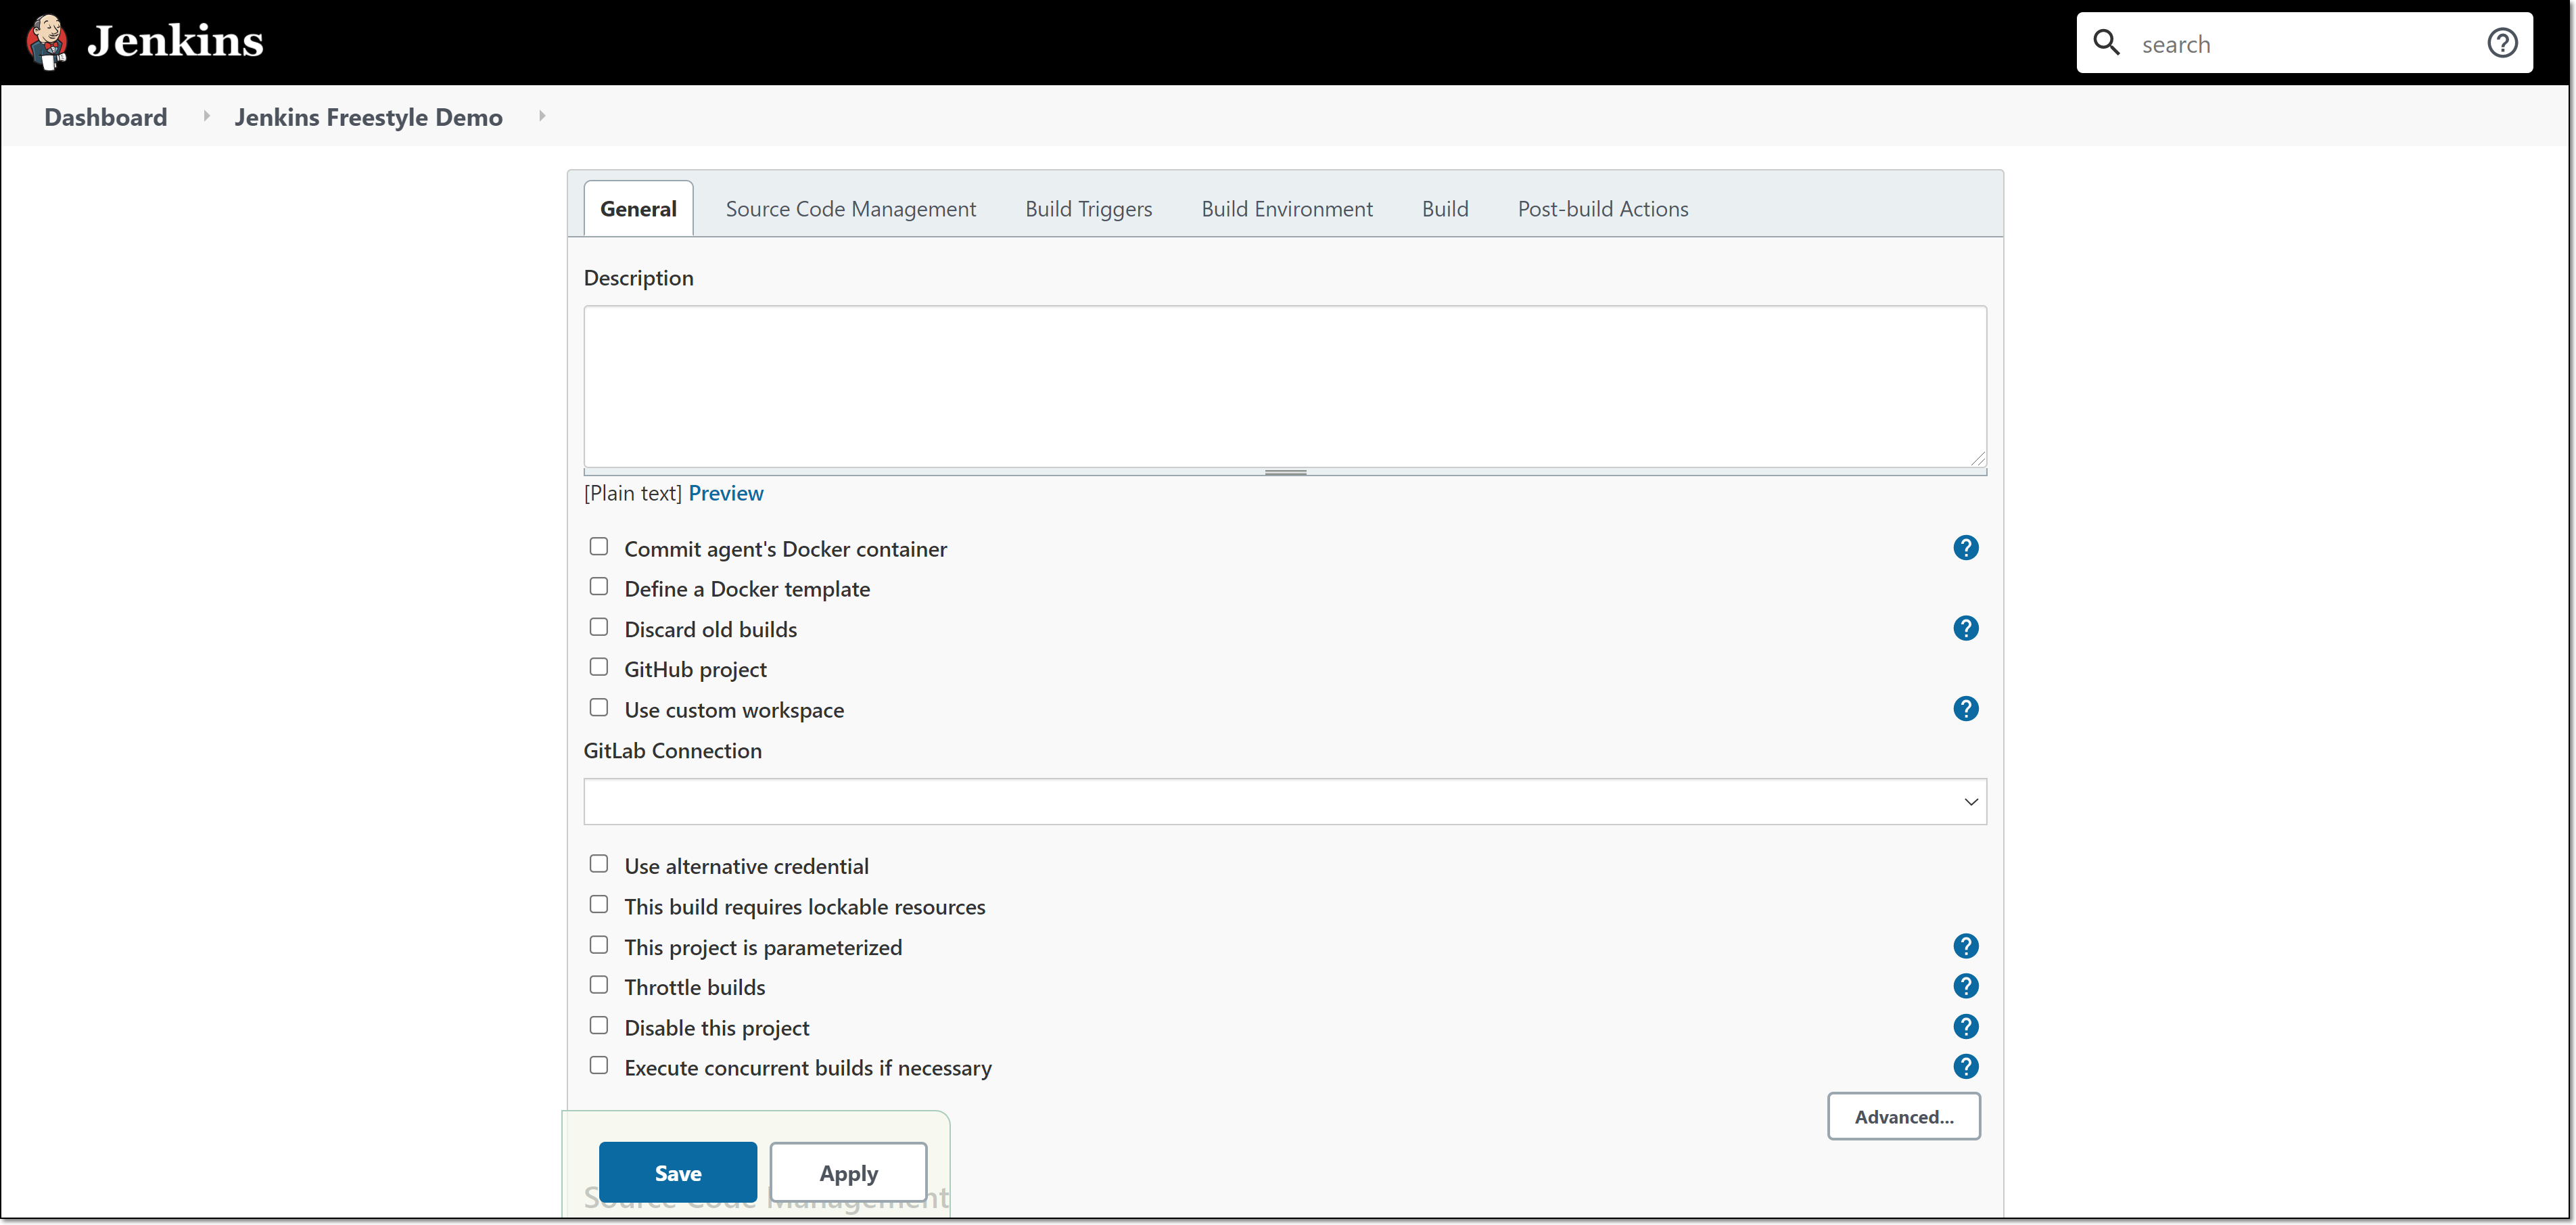
Configure the General settings as desired.
In the Source Code Management section, select the desired SCM method and configure the settings for accessing the SCM.
In the Build Triggers section, select the desired types of triggers (e.g., other project builds, periodical etc.) and configure the settings.
In the Build section, click on Add build step and select Execute Checkmarx One Scan from the dropdown list.
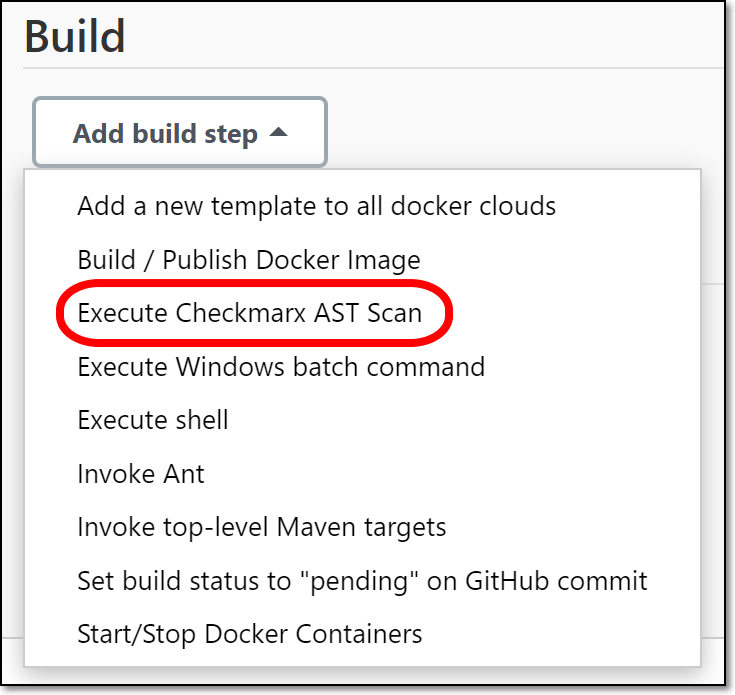
The Checkmarx One configuration options are shown.
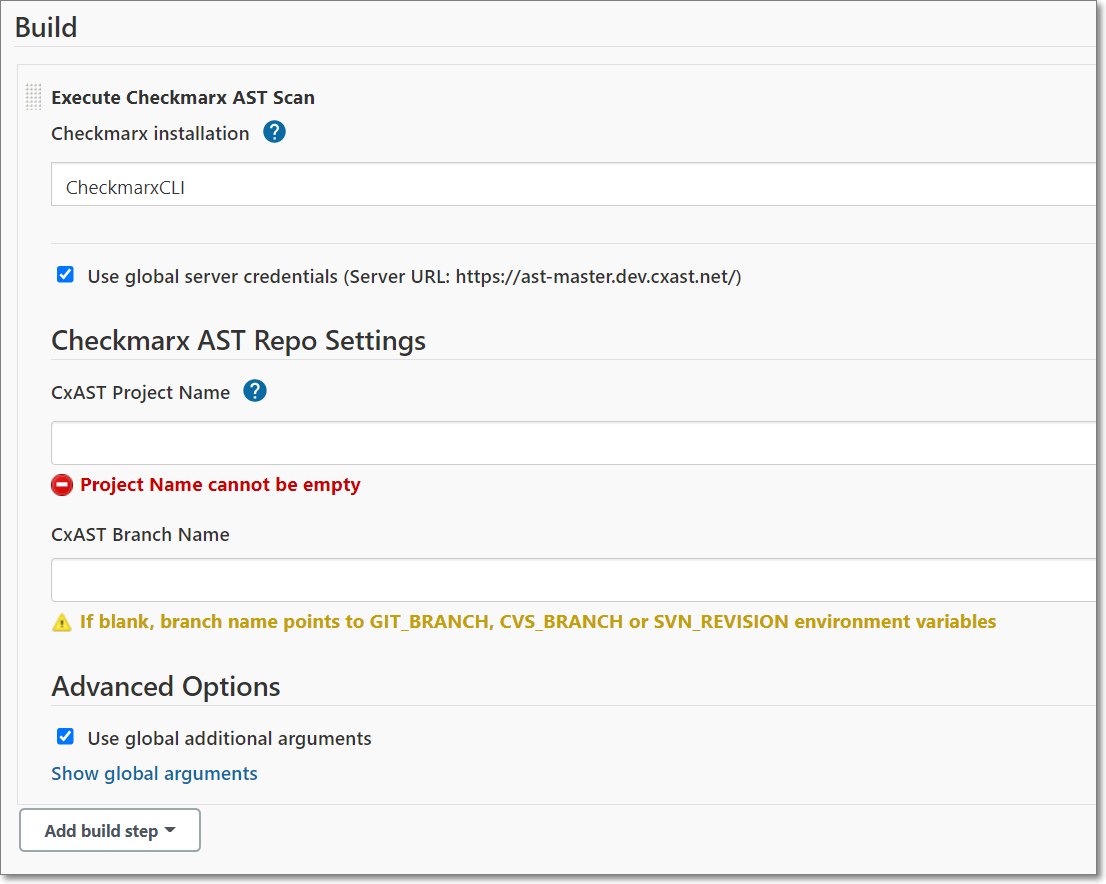
Under Checkmarx Installation, verify that the Checkmarx One CLI installation that you configured (as described in Installing the CLI Tool (Required)) is selected.
By default, the Use global server credentials… is selected, so that the server configuration created in Global Settings is applied to this project. If you would like to specify different credentials for this project, then you can deselect the checkbox and enter the server configuration that you would like to use for this project.
For Checkmarx One Project Name, specify a name for this Project in Checkmarx One.
Notice
If you enter the name of an existing Project, then this build step will trigger a scan of that Project. If you enter a new Project name, then, when a scan is triggered it will create a new Project in Checkmarx One with the specified name.
For Branch name, specify the name of the branch name to be used in Checkmarx One. If the field is left blank, then by default the branch name points to GIT_BRANCH, CVS_BRANCH or SVN_REVISION.
Notice
If you enter the name of an existing branch, then this build step will trigger a scan of that branch. If you enter a new branch name, then, when a scan is triggered it will create a new branch in Checkmarx One with the specified name.
Under Advanced Options, to apply the additional arguments defined in your Global Settings, leave the Use global additional arguments checkbox selected (default). You can view the global arguments, click Show global arguments. If you would like to apply project specific arguments, then deselect the checkbox and enter the arguments needed for this project. See documentation here.
If you wish to add an additional build step, click Add build step.
If you would like to add a post-build action, click on the Add post-build action button and specify the action.
Click Save.
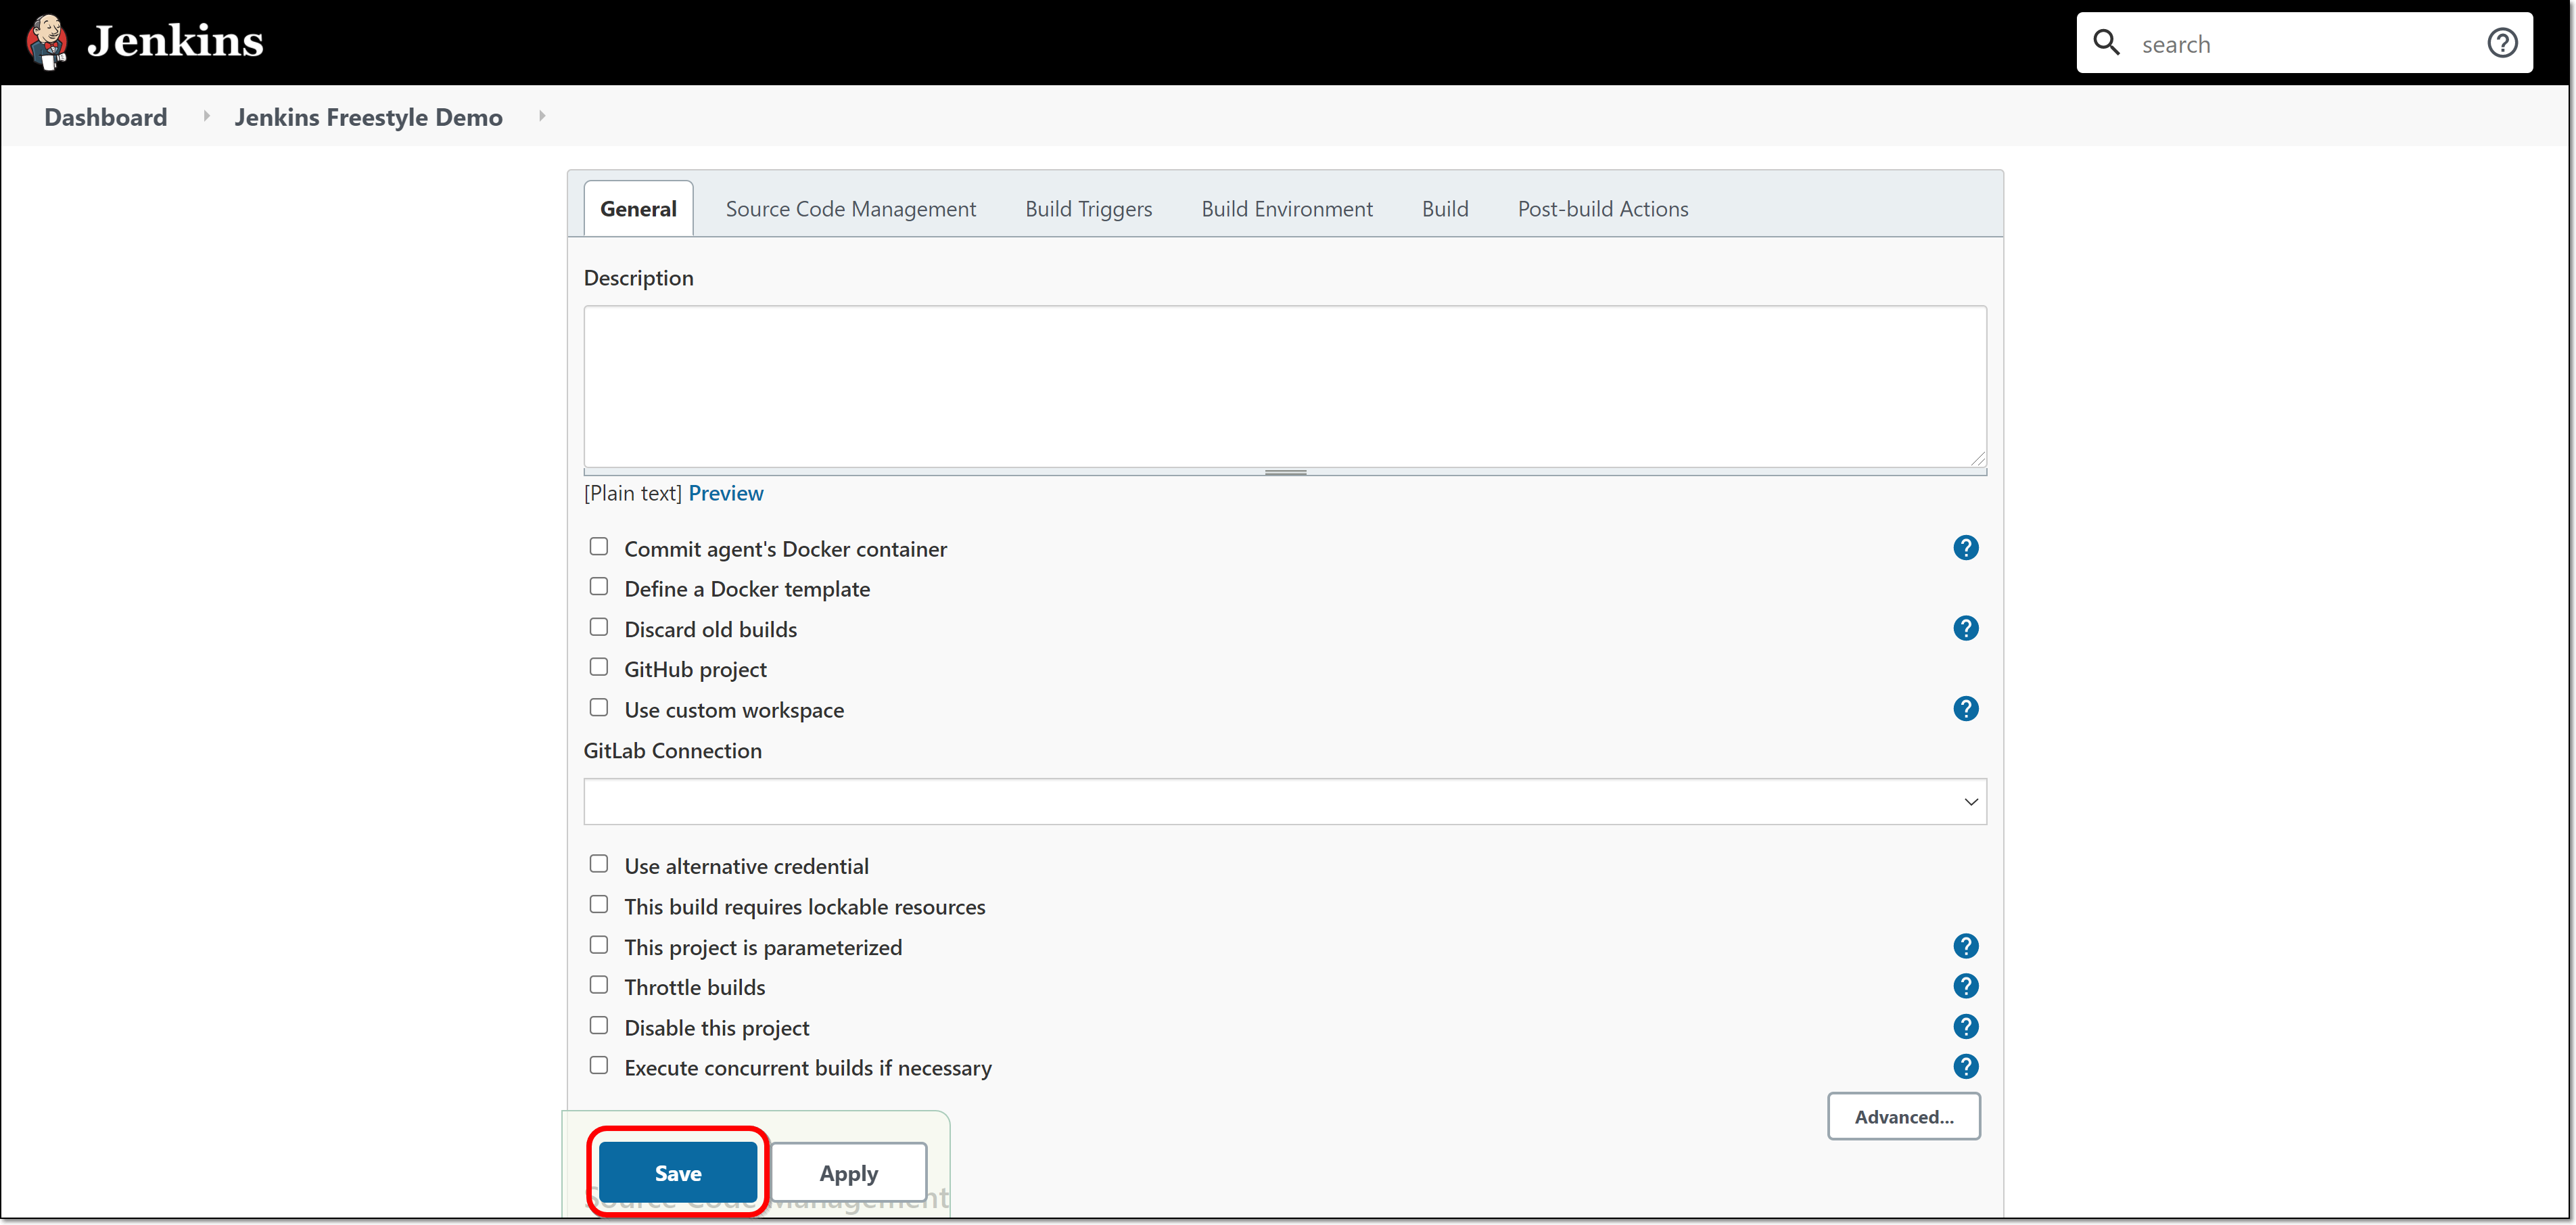
The project is created and its status page is shown.

Configuring a Checkmarx One Pipeline Build Step
To create a Checkmarx One build step in a Jenkins pipeline:
In the main navigation, click New Item.

The New Item menu opens.
In the Enter an item name field, enter a descriptive name for the new Jenkins pipeline.
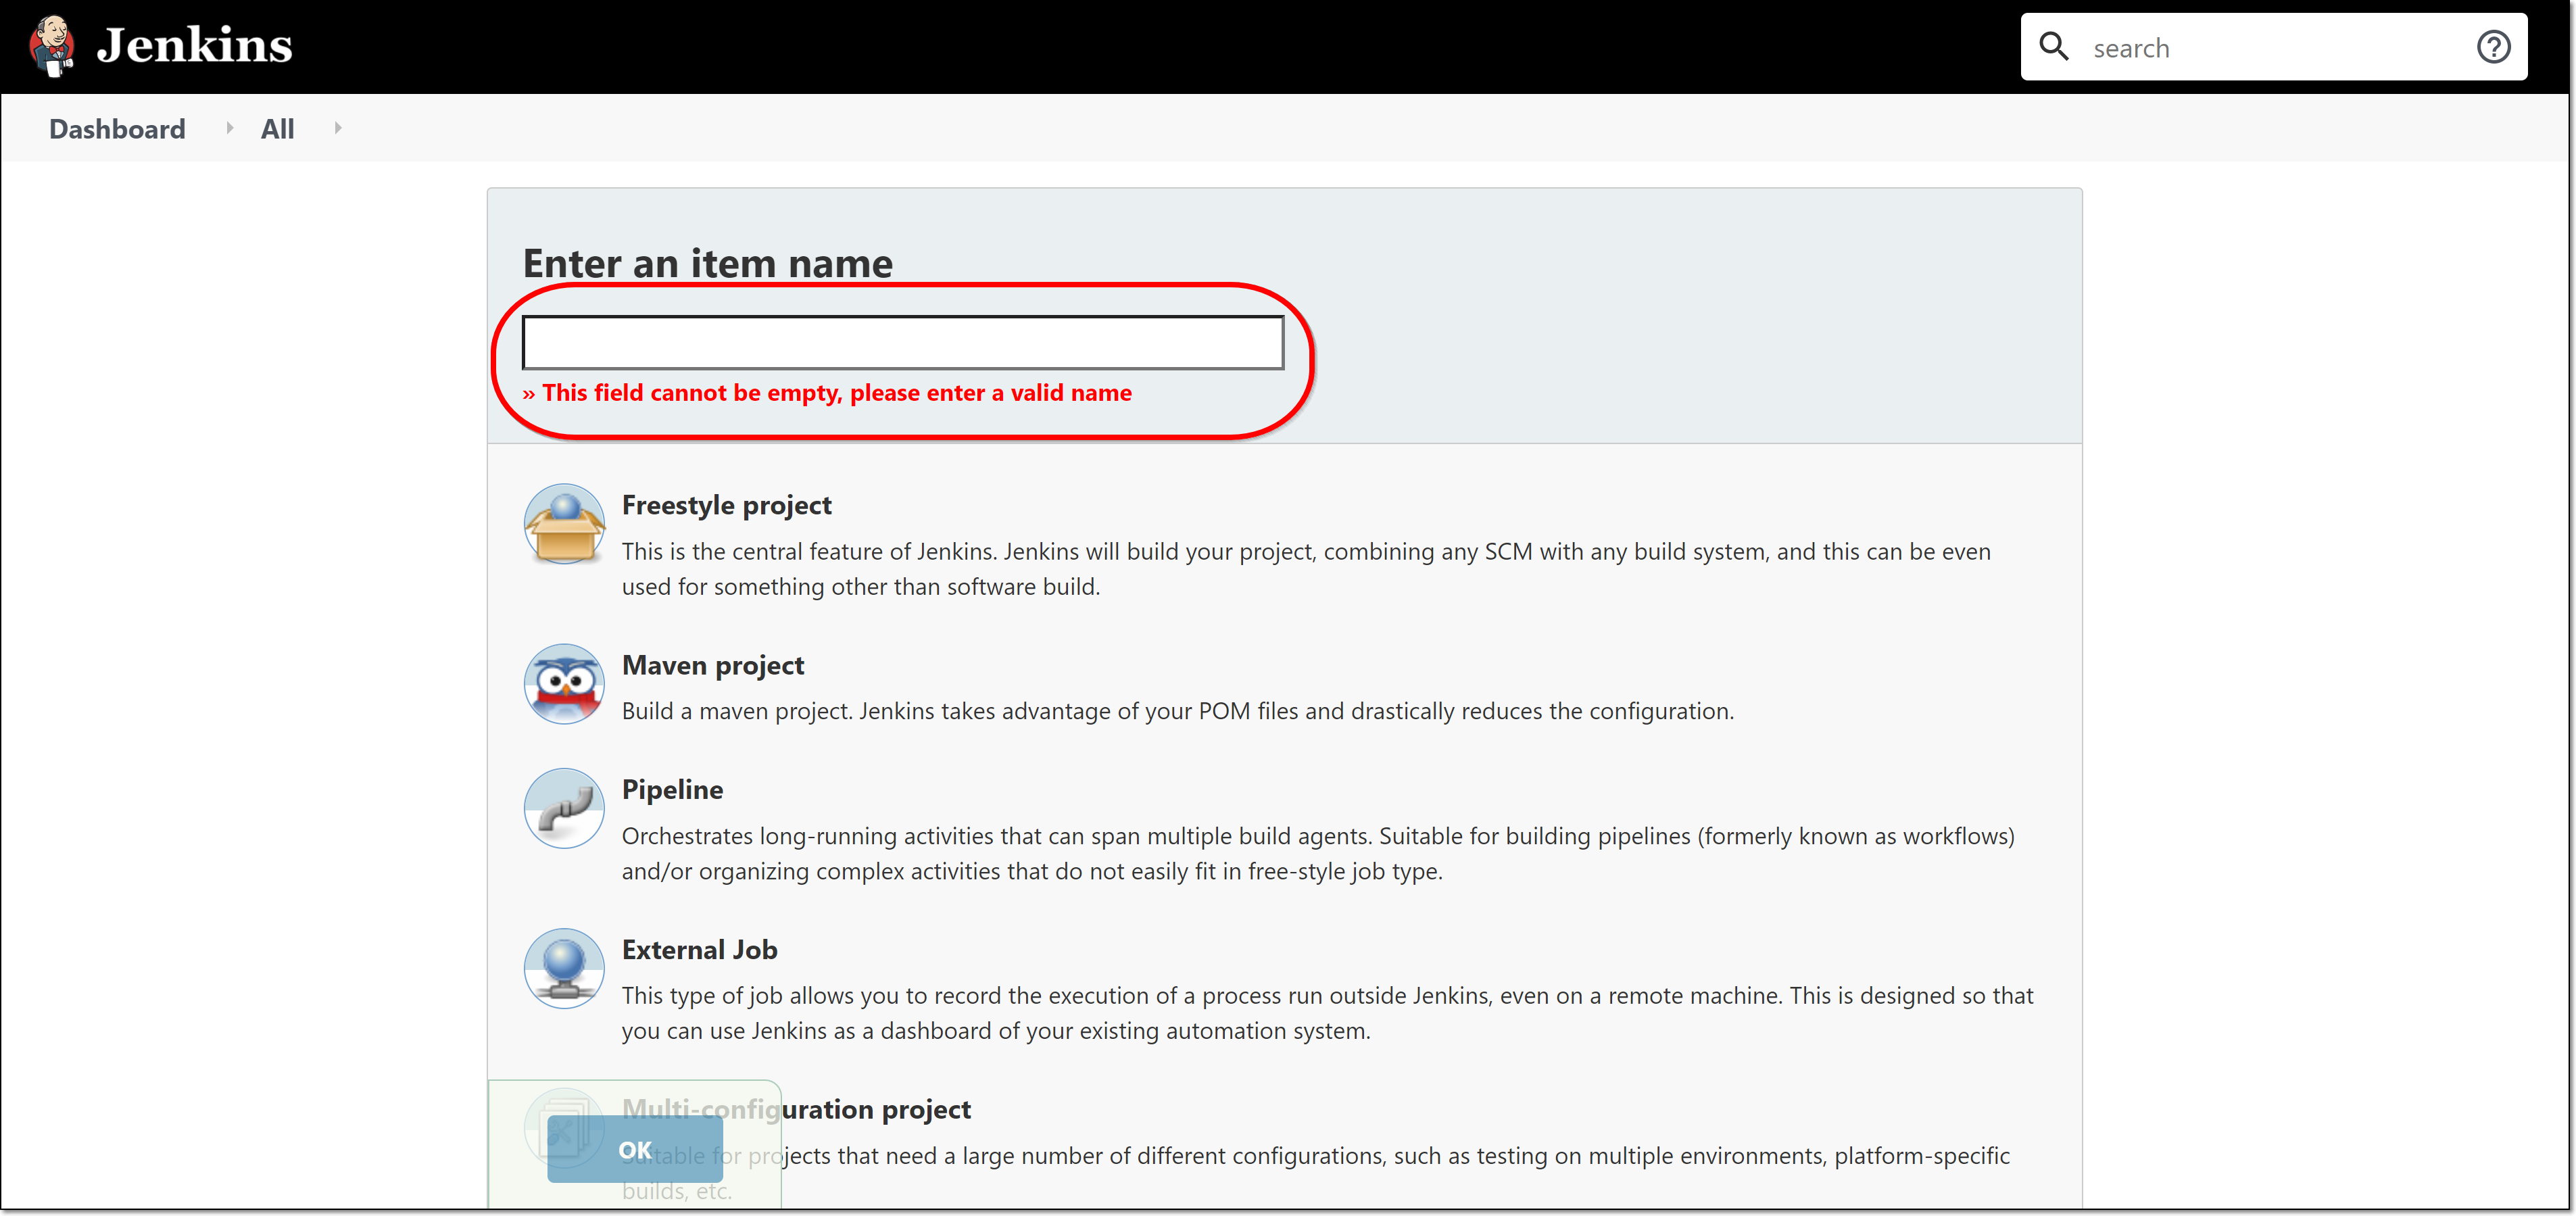
Click Pipeline, then click OK on the bottom of the screen.
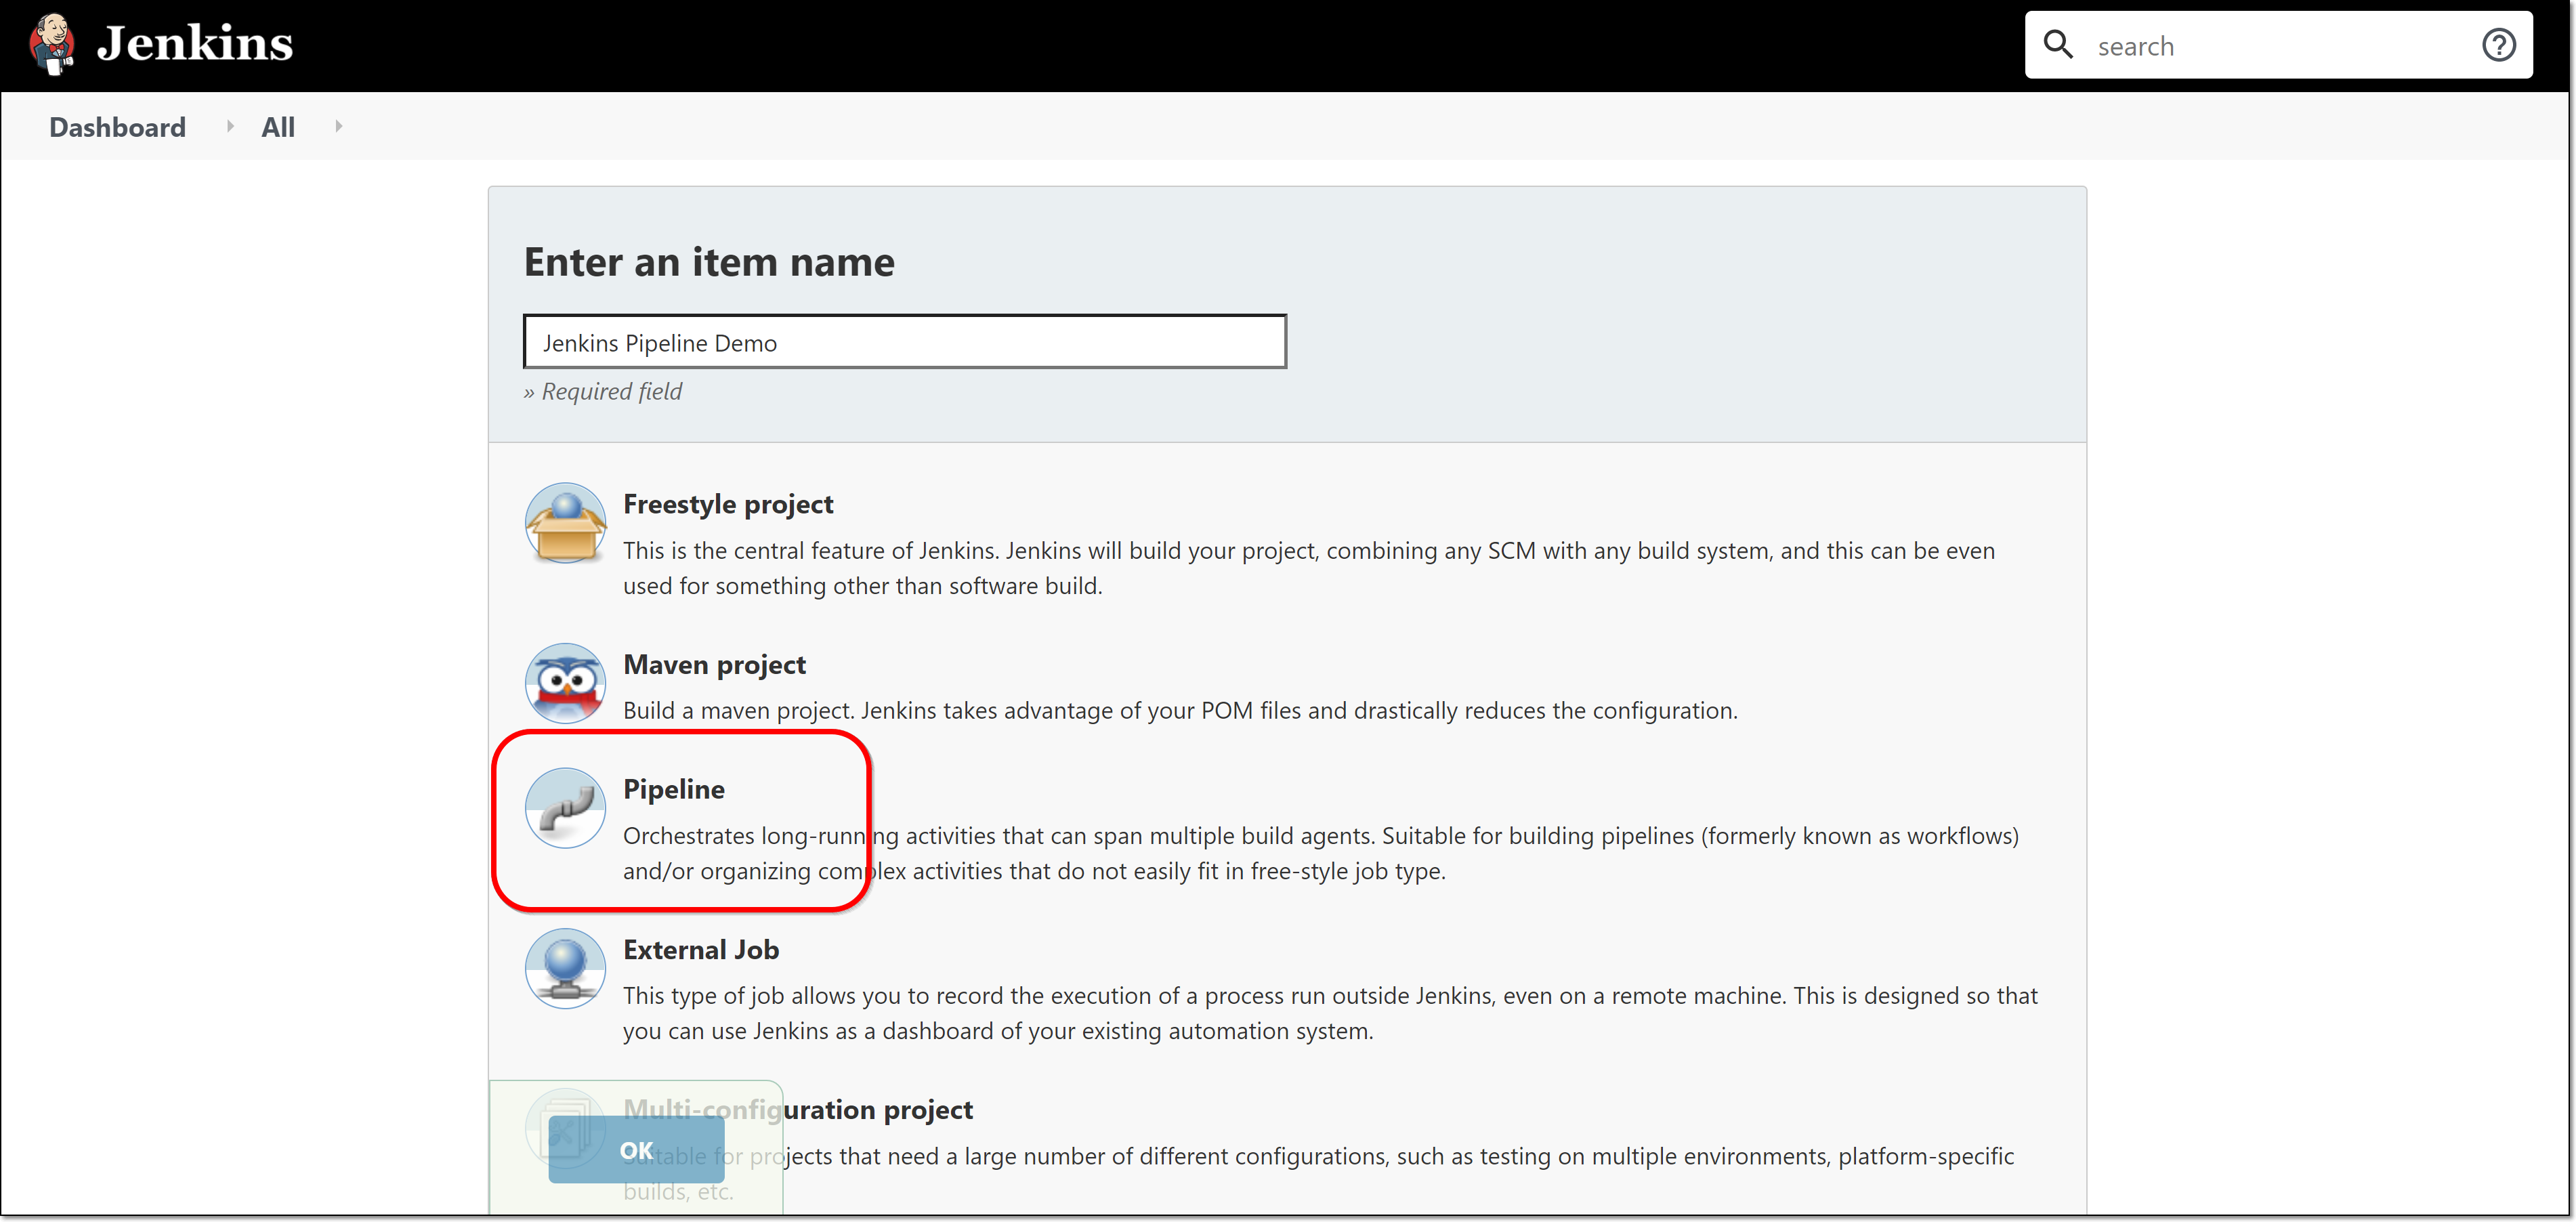
The Pipeline configuration form opens.
Enter the general Jenkins configuration options in the General, Build Triggers and Advanced Project Options sections as desired.
In the Pipeline section, in the top field verify that Pipeline script is selected.
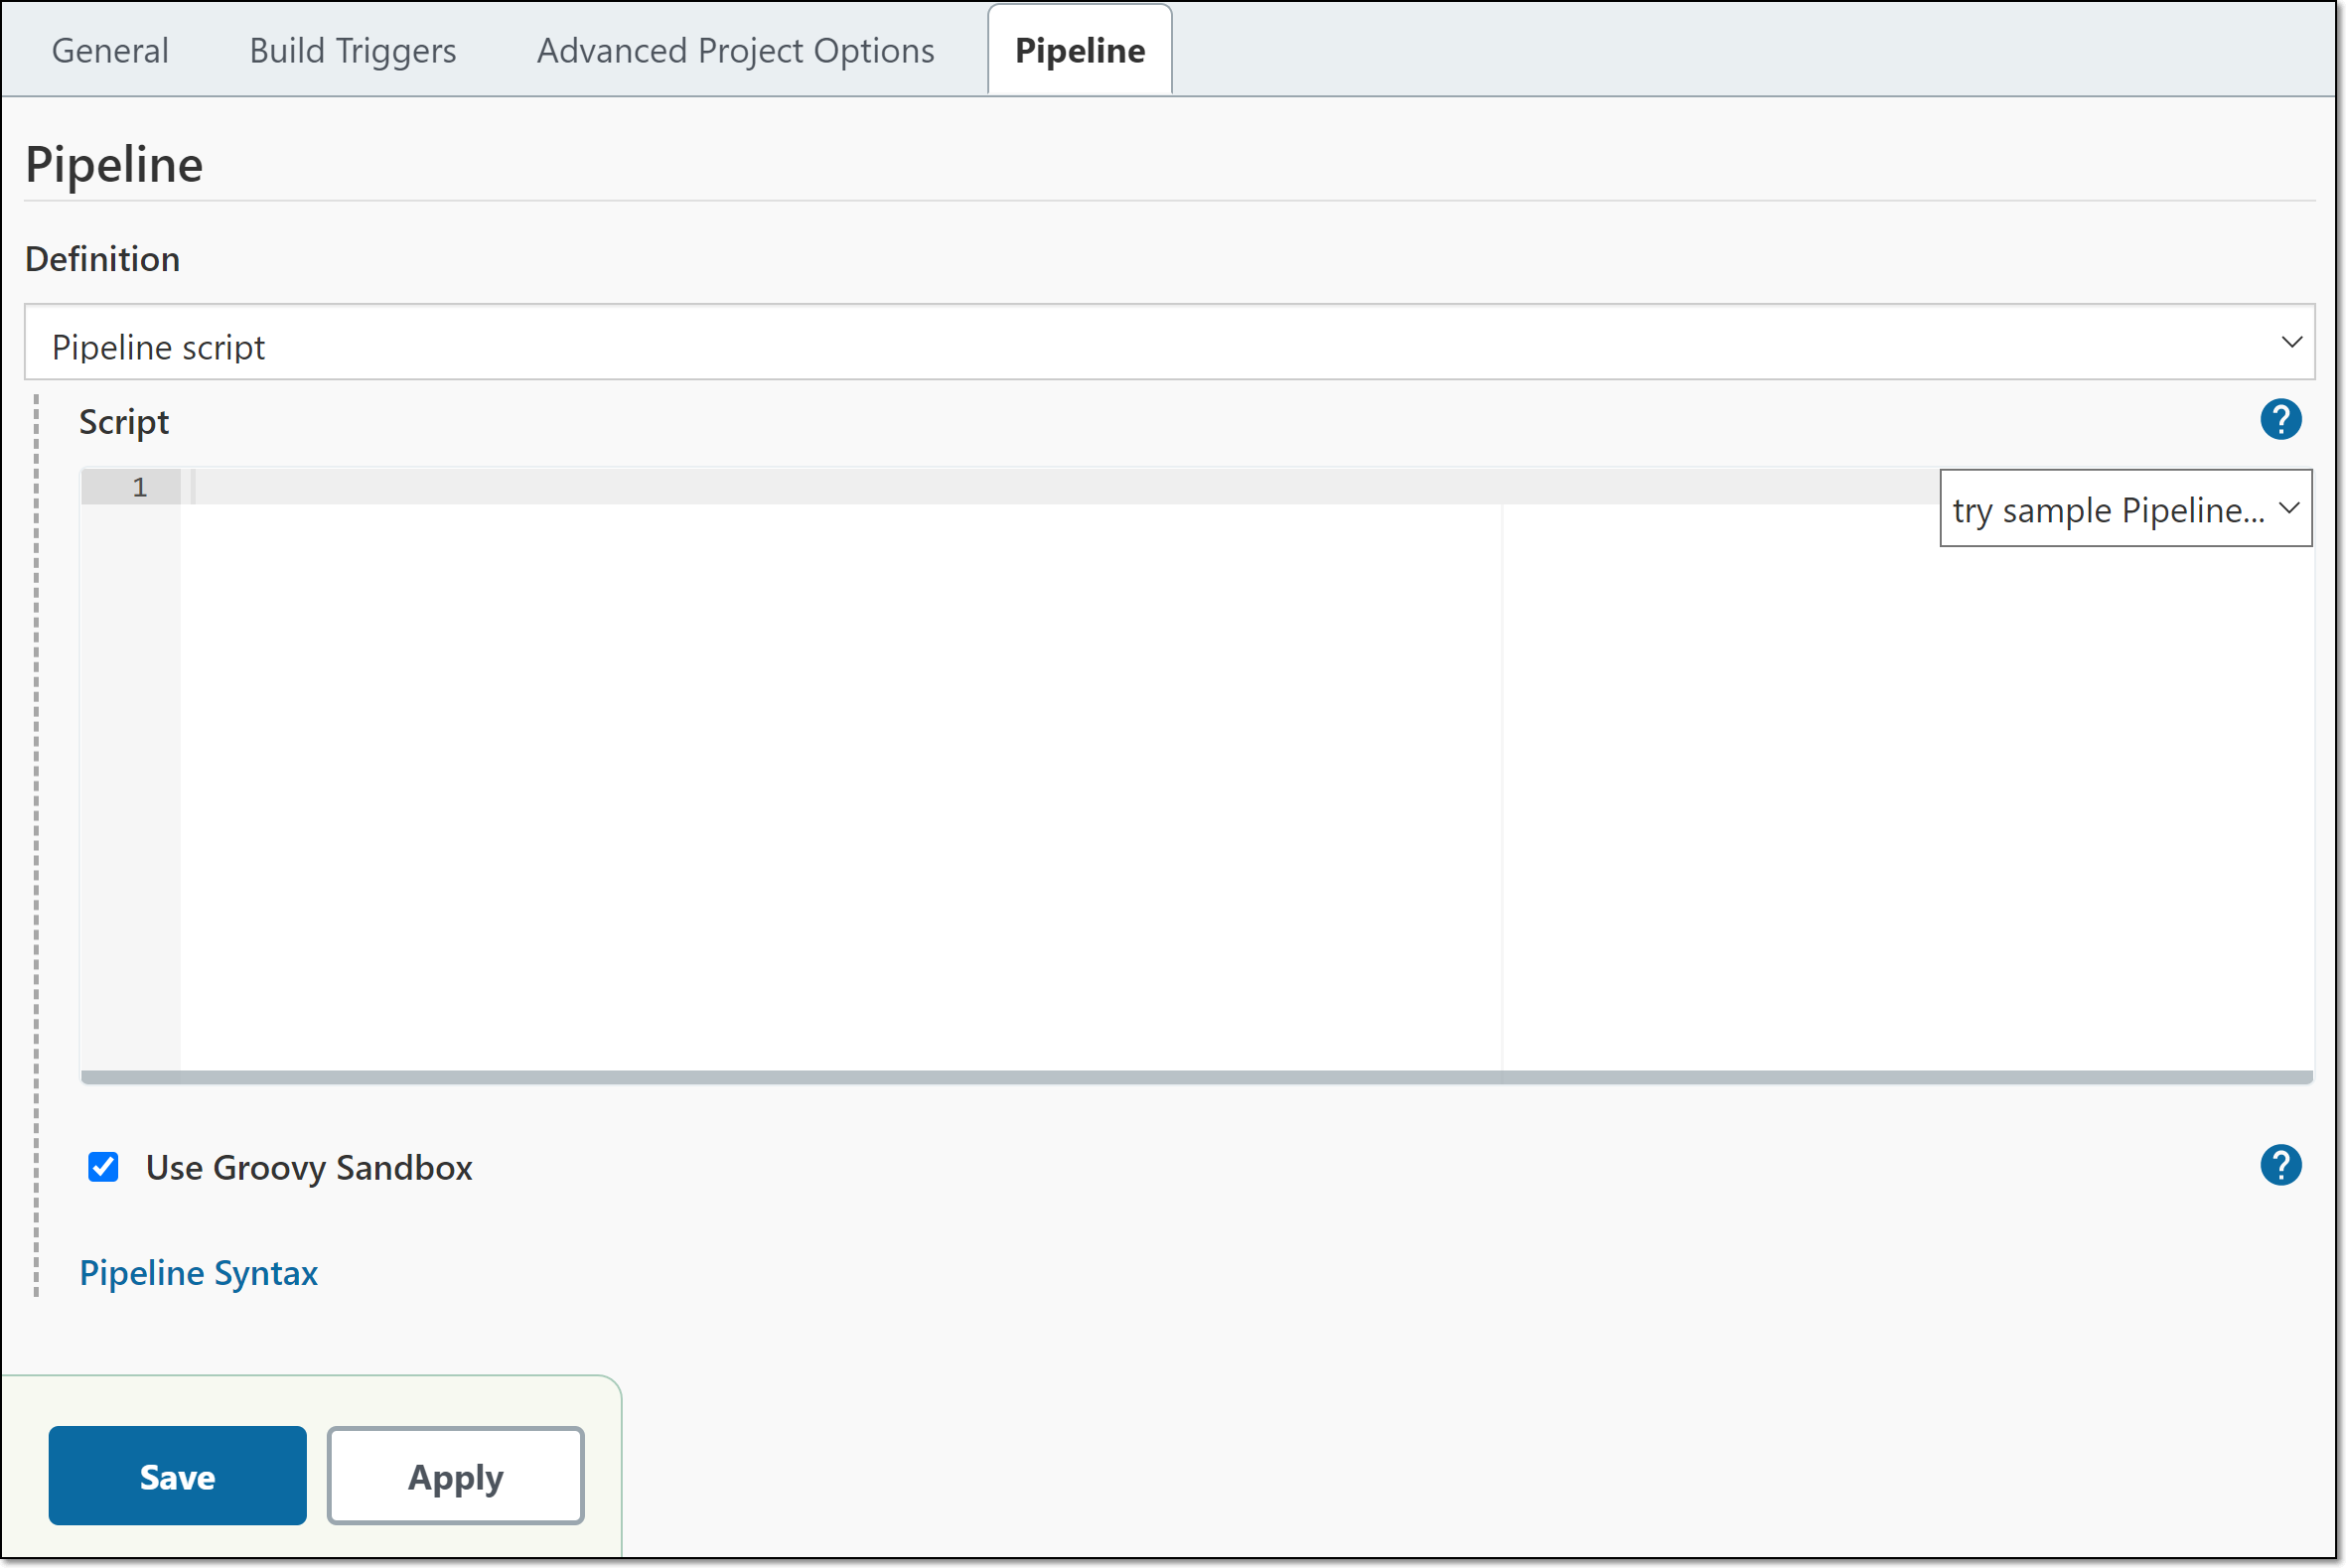
In the Script section, enter your pipeline script.
If you would like to use the Snippet Generator to help you to prepare the pipeline script, use the following procedure.
Click the Pipeline Syntax link.
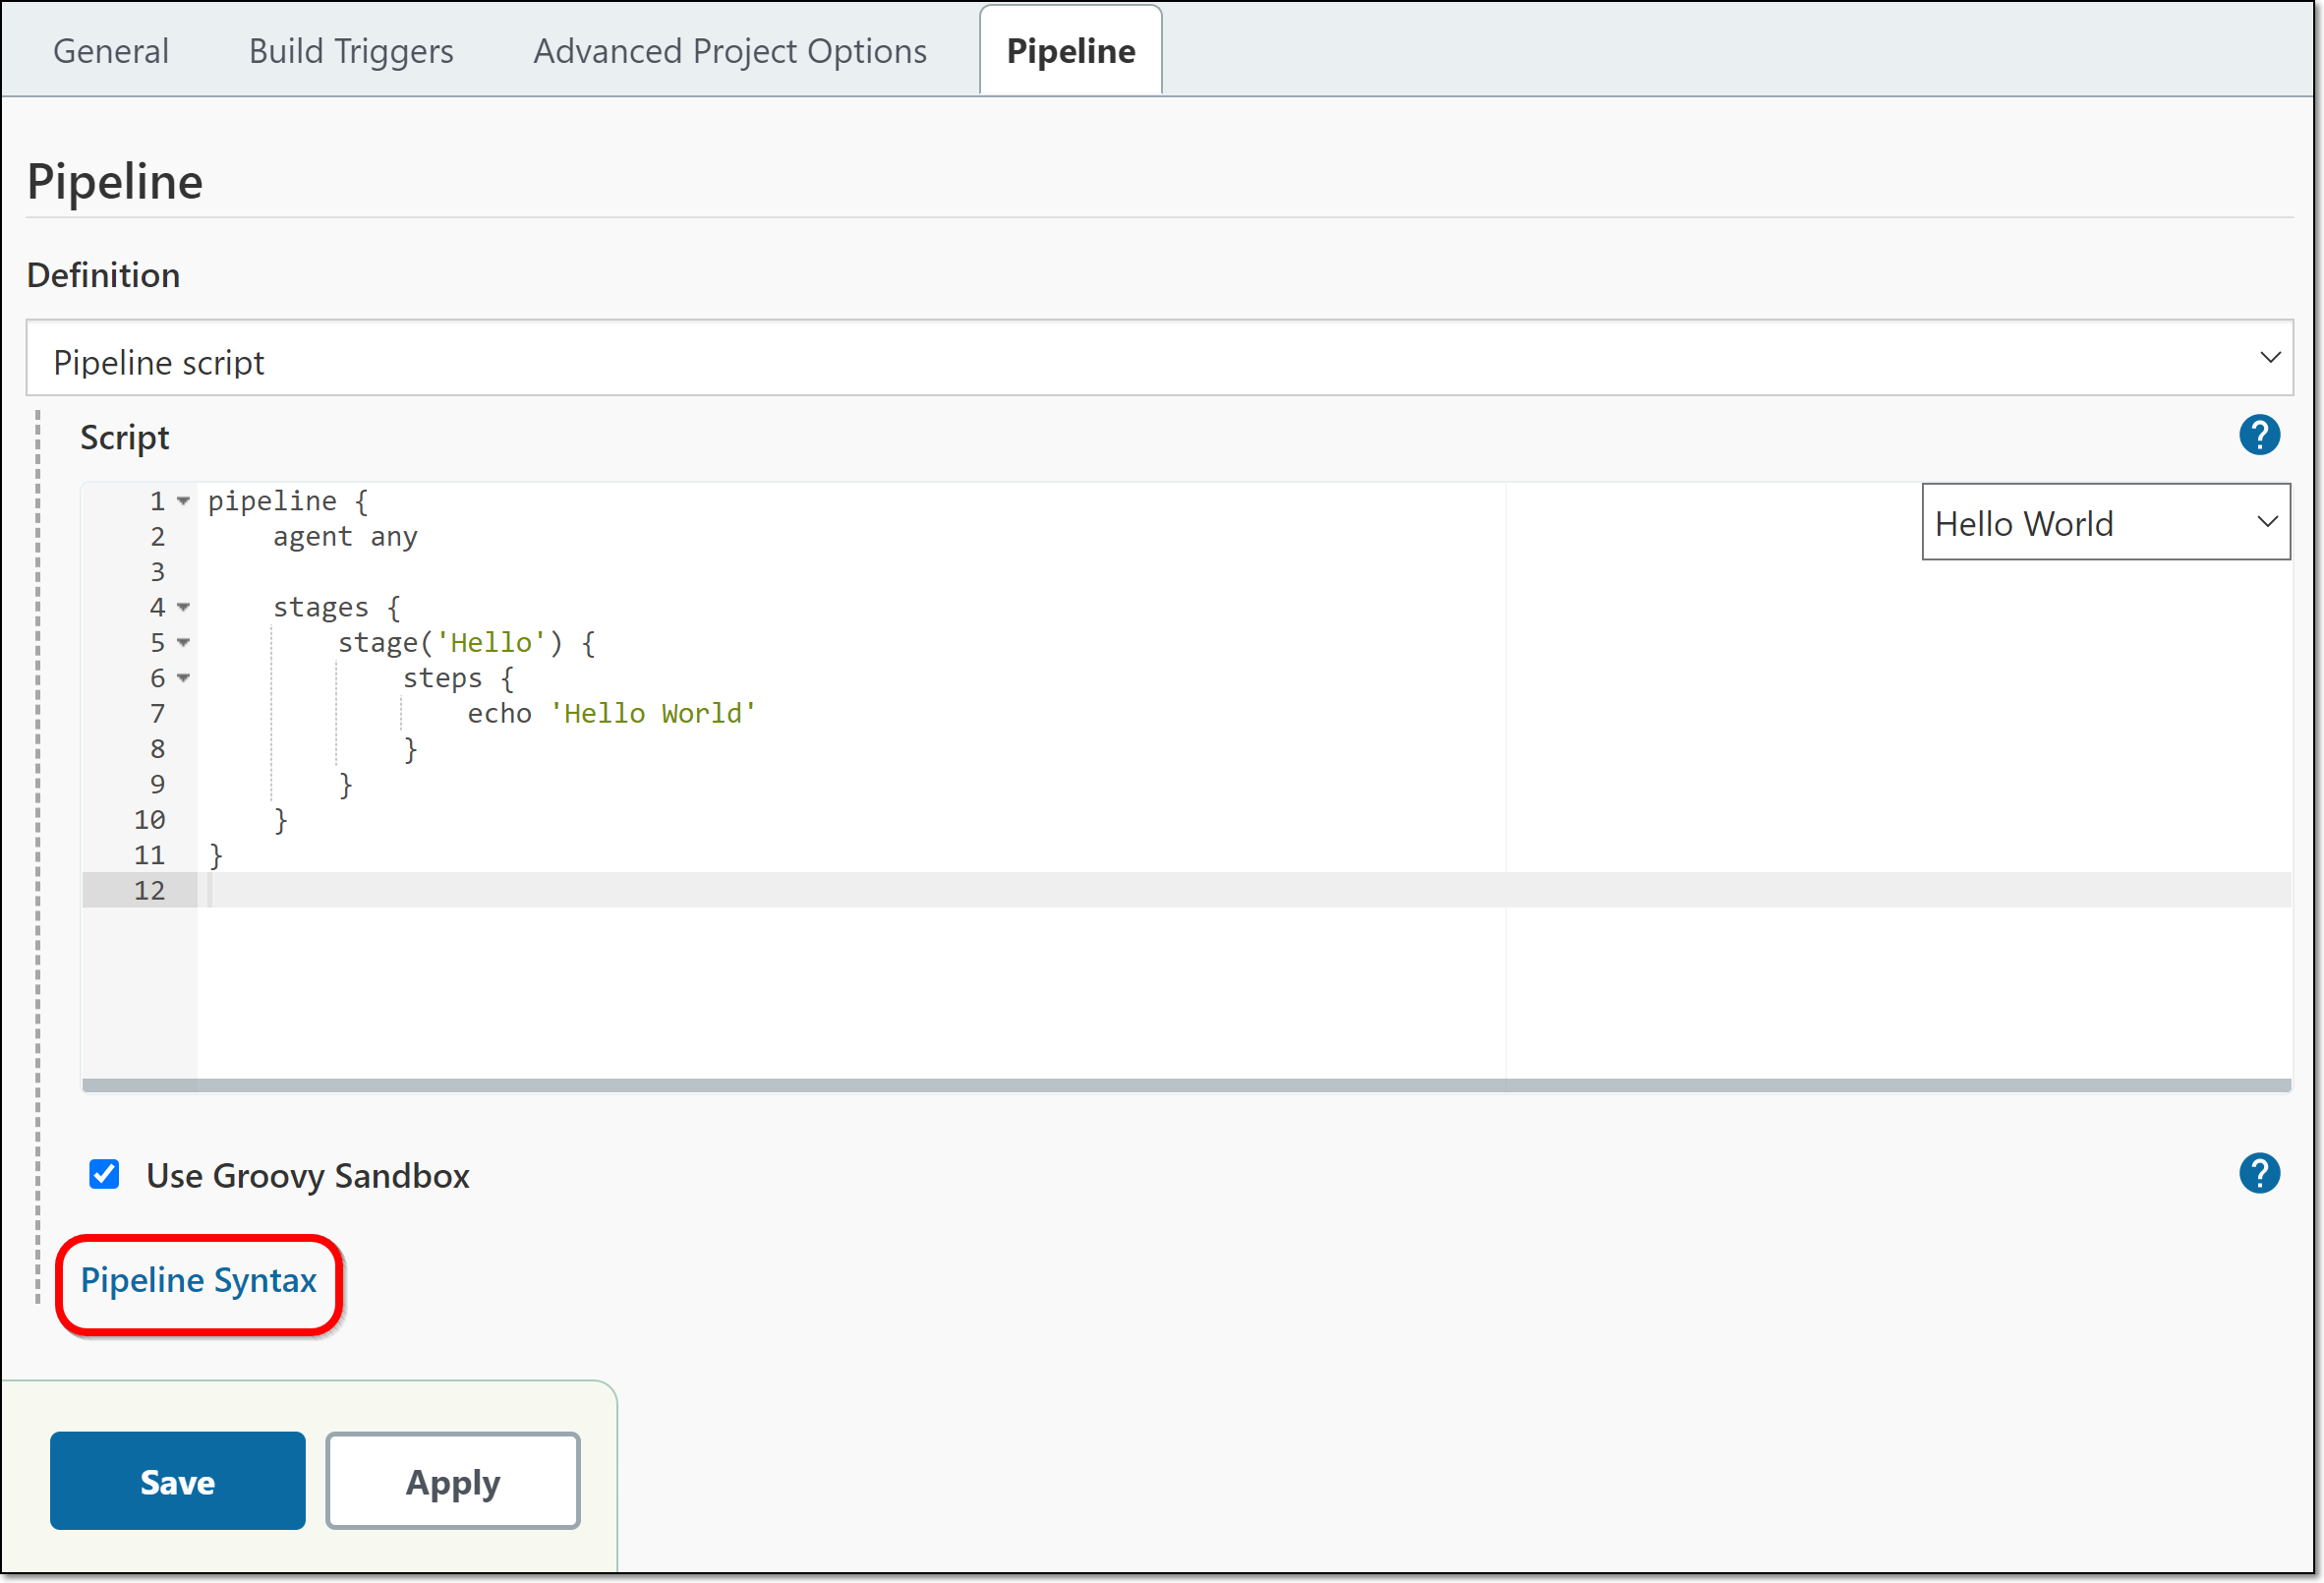
The Snippet Generator opens in a new tab.
In the Steps section, click on the Sample Step dropdown menu and select checkmarxASTScanner: Execute Checkmarx One Scan.
The checkmarxASTScanner configuration settings are shown.

By default the Use global server credentials… is selected, so that the server configuration created in Global Settings is applied to this project. If you would like to specify different credentials for this project, then you can deselect the checkbox and enter the server configuration that you would like to use for this project.
For Checkmarx One Project Name, specify a name for this Project in Checkmarx One.
Notice
If you enter the name of an existing Project, then this build step will trigger a scan of that Project. If you enter a new Project name, then, when a scan is triggered it will create a new Project in Checkmarx One with the specified name.
For Branch name, specify the name of the branch name to be used in Checkmarx One. If the field is left blank, then by default the branch name points to GIT_BRANCH, CVS_BRANCH or SVN_REVISION.
Notice
If you enter the name of an existing branch, then this build step will trigger a scan of that branch. If you enter a new branch name, then, when a scan is triggered it will create a new branch in Checkmarx One with the specified name.
Under Advanced Options, to apply the additional arguments defined in your Global Settings, leave the Use global additional arguments checkbox selected (default). You can view the global arguments, click Show global arguments. If you would like to apply project specific arguments, then deselect the checkbox and enter the arguments needed for this project. See the available
scan createarguments here.Notice
Make sure that all argument values are inside double quotes (not single quotes).
Click Generate Pipeline Script.
The pipeline script is generated.

Copy the script to your clipboard.
On the previous tab in the Script section, paste the copied script in the proper position relative to any other steps that you are running.
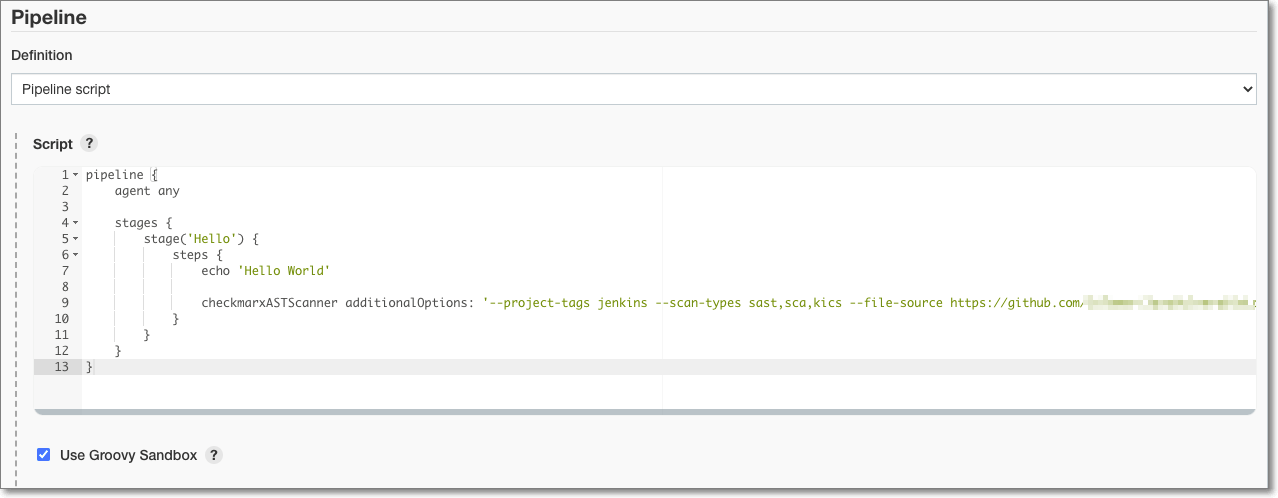
If you want to run this Groovy script in a sandbox with limited abilities, verify that the Use Groovy Sandbox checkbox is checked (default)s. If unchecked, and you are not a Jenkins administrator, you will need to wait for an administrator to approve the script.
Click Save.
The pipeline is created and its status page is shown.
