Installing the Azure DevOps Plugin
This section provides information and instructions on the required pre-requisites, on installing, configuring and on registering the Azure DevOps plugin.
To perform a Checkmarx scan, you need to first install the latest version of the Checkmarx plugin for Azure DevOps.
Notice
For pipelines using task versions before 2020.*, the pipelines continue operating, but are not upgraded to the latest 2020.* task version.
For pipelines using task version 2020.*, the pipelines are automatically upgraded to the latest version 2020.* with the new structure and user interface.
If the plugin is going to use the CURL command, it must be installed on the host of the respective agent host.
To install the plugin, do the following:
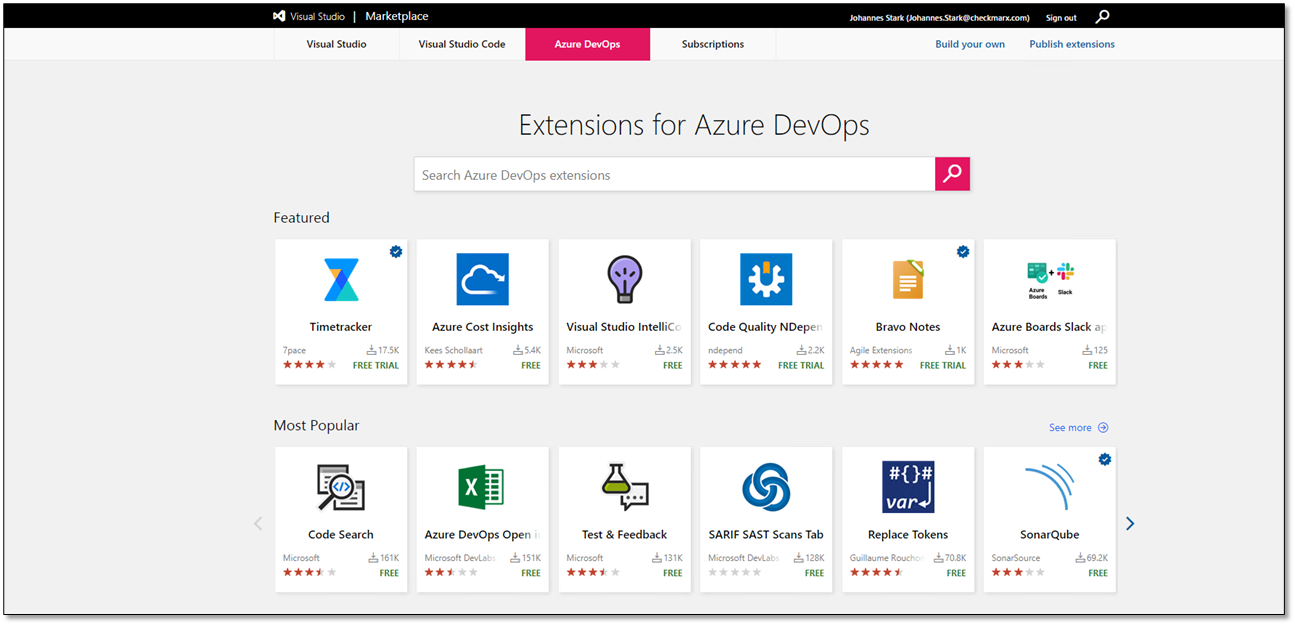
Go to the Azure DevOps Marketplace. Available plugins are displayed.
Enter Checkmarx CxSAST into the search field. Available Checkmarx plugins are listed.
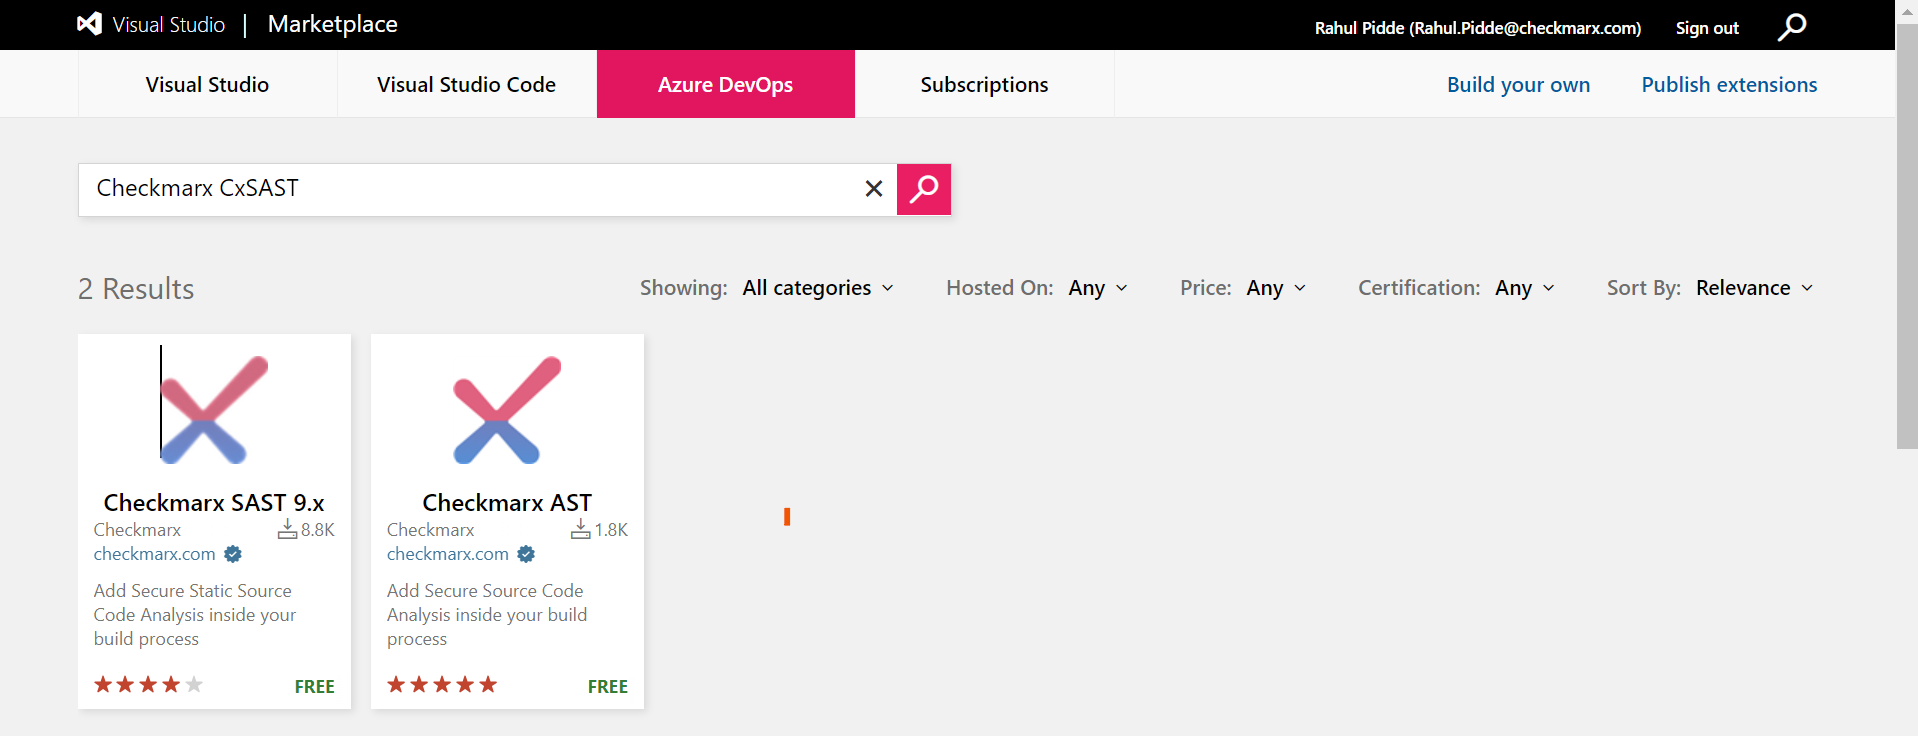
Click Checkmarx CxSAST. You are asked to install the Checkmarx SAST plugin.
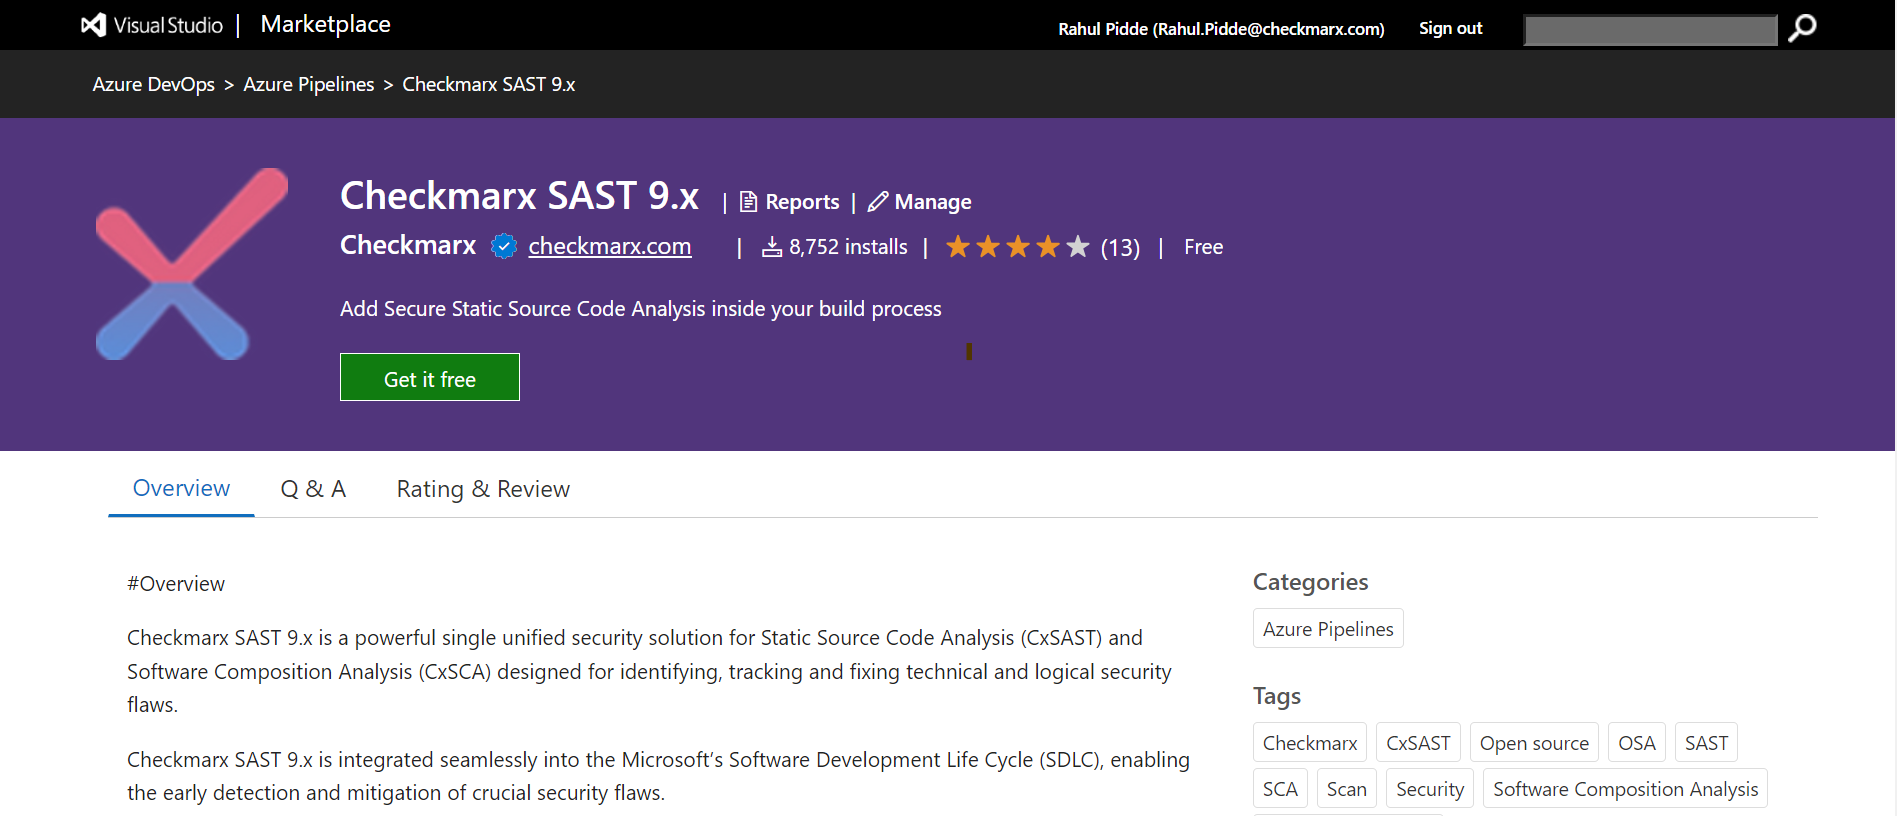
To download the plugin, click <Get it free>. You may be asked to log in.
Log in, if prompted. You are asked to download the plugin.

Click <Download>. You are notified that the download has started. Once the download is completed, you are prompted to install the plugin.

Click <Install>. The plugin is installed when you receive a success notification.
To continue with setting up the Azure DevOps server, click <Proceed to Organization>.
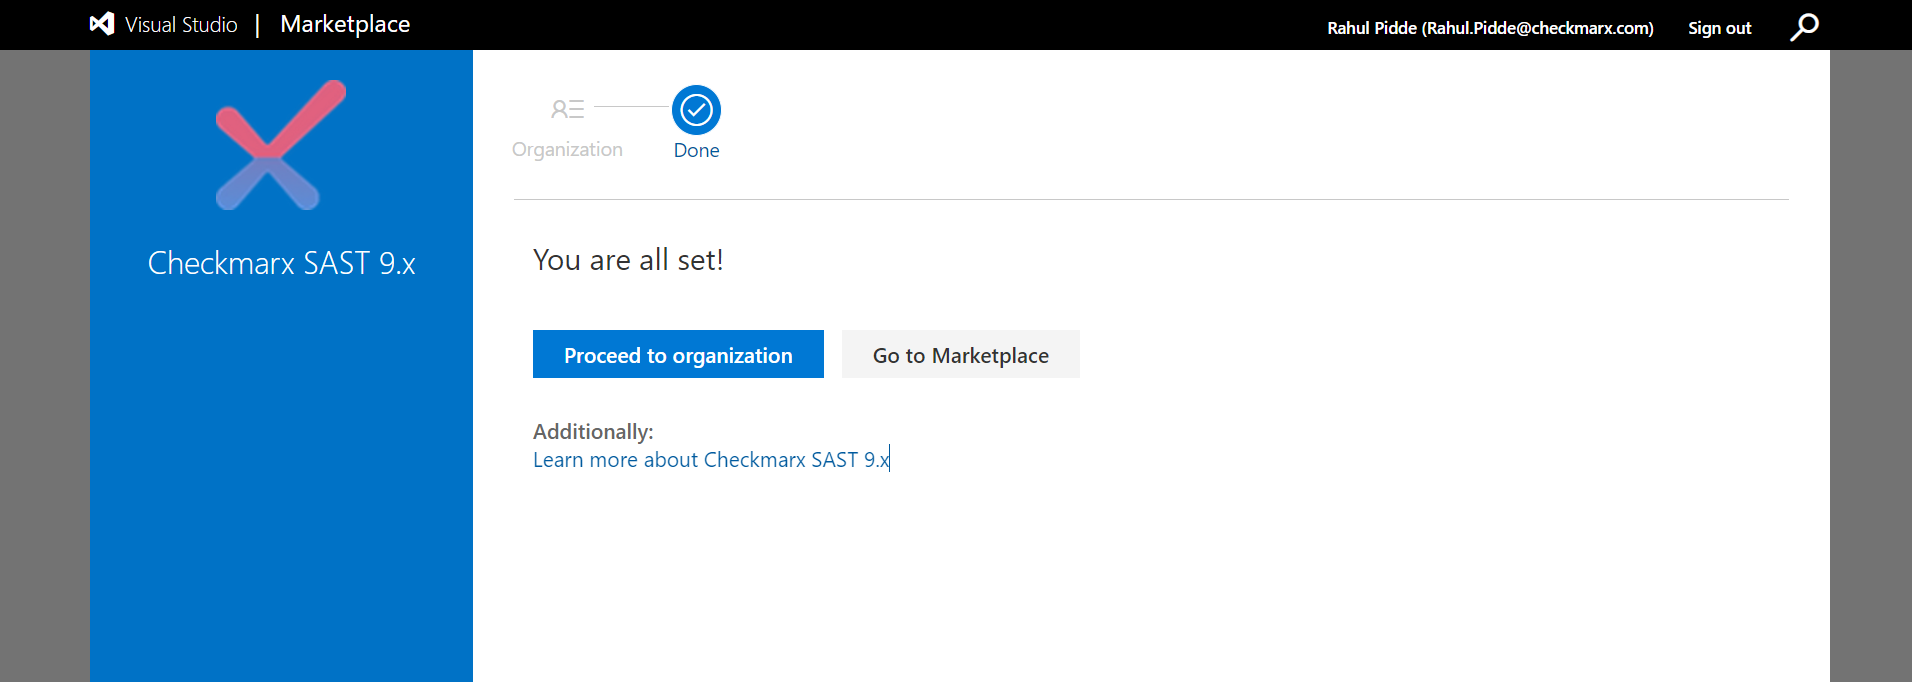
The Organization homepage appears with existing projects listed. The URL of this page is https://www.dev.azure.com/<your project's name>.
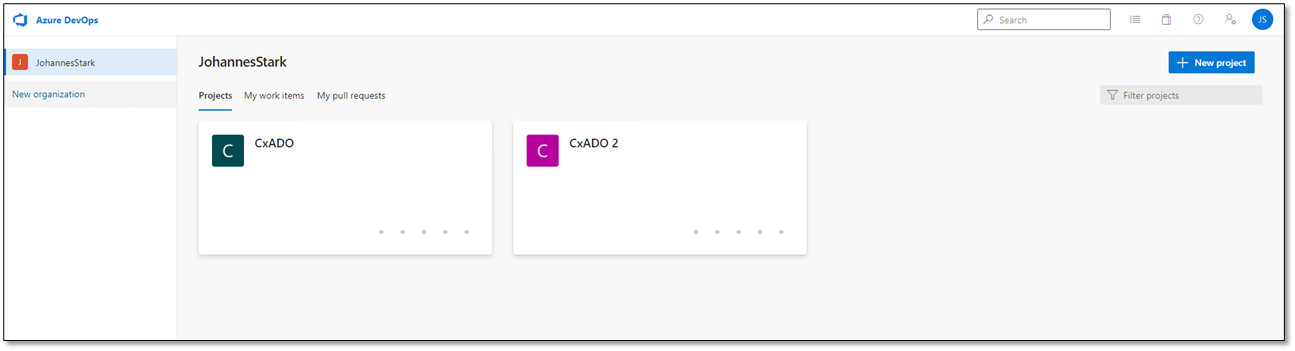
Once the plugin is installed and an organization is created, you are ready to create a project and a pipeline. The workflow depends on the platform that hosts your code, such as Github, Azure Repos Git, etc.