Creating Applications
Once successfully logged in to Checkmarx One, the Applications and Projects screen (home page) will be opened.
To create a new Checkmarx One Application, perform the following:
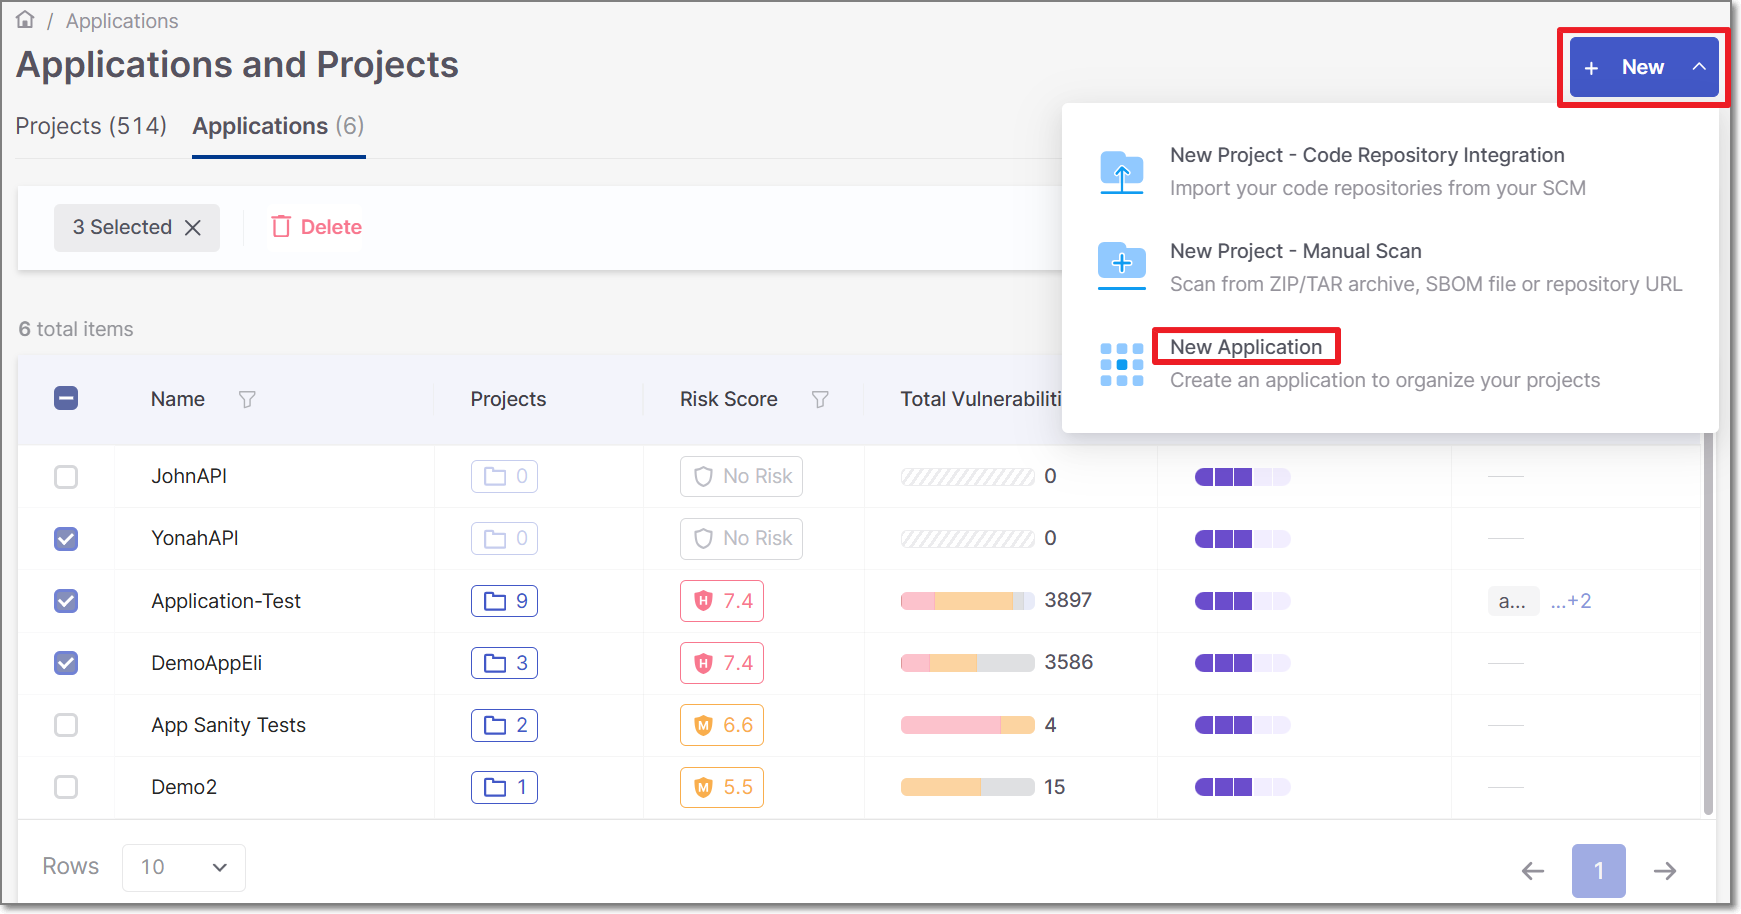
Navigate to the Applications and Projects page by selecting Workspace
 > Applications in the main navigation panel.
In the Applications and Projects page, click on New > New Application.
The New Application screen opens.
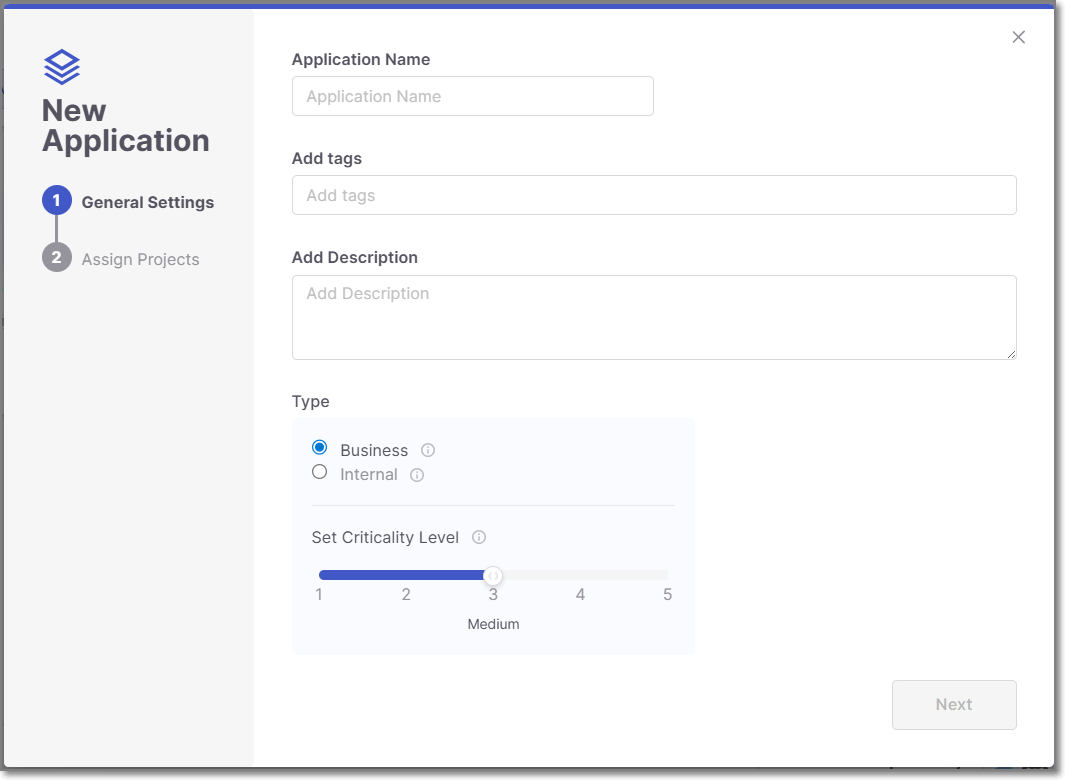
In the New Application screen, configure the following:
Name the Application.
Add tags (Optional) - Assign tags to an Application. Tags are very useful for filtering purposes.
Tagging has no dependencies in any other component, and it is possible to configure any required value.
Add Description (Optional) - Application description.
Type - Classify the application’s purpose by marking it as Business or Internal.
Business: Applications that are externally facing or directly support key business functions. Security issues in these apps can lead to customer impact, revenue loss, or reputational damage — and must be prioritized in ASPM.
Internal: Applications used solely within the organization, with no direct customer exposure or business-critical operations. Security issues may pose operational risks but do not have immediate business impact.
Marking an application as Business increases its priority within the ASPM risk calculation.
Set Criticality Level - Set the Application criticality level. This score is the level your organization assigns to the application, independent of your scan results. This will impact the calculation of the overall risk score of this application under Application Risk Management.
Tip
Criticality level for applications marked as Internal is automatically set to one and cannot be changed by the user.
There are 5 possible criticality levels:
1 = None
2 = Low
3 = Medium
4 = High
5 = Critical
Click on Next.
The Assign Projects tab is displayed.
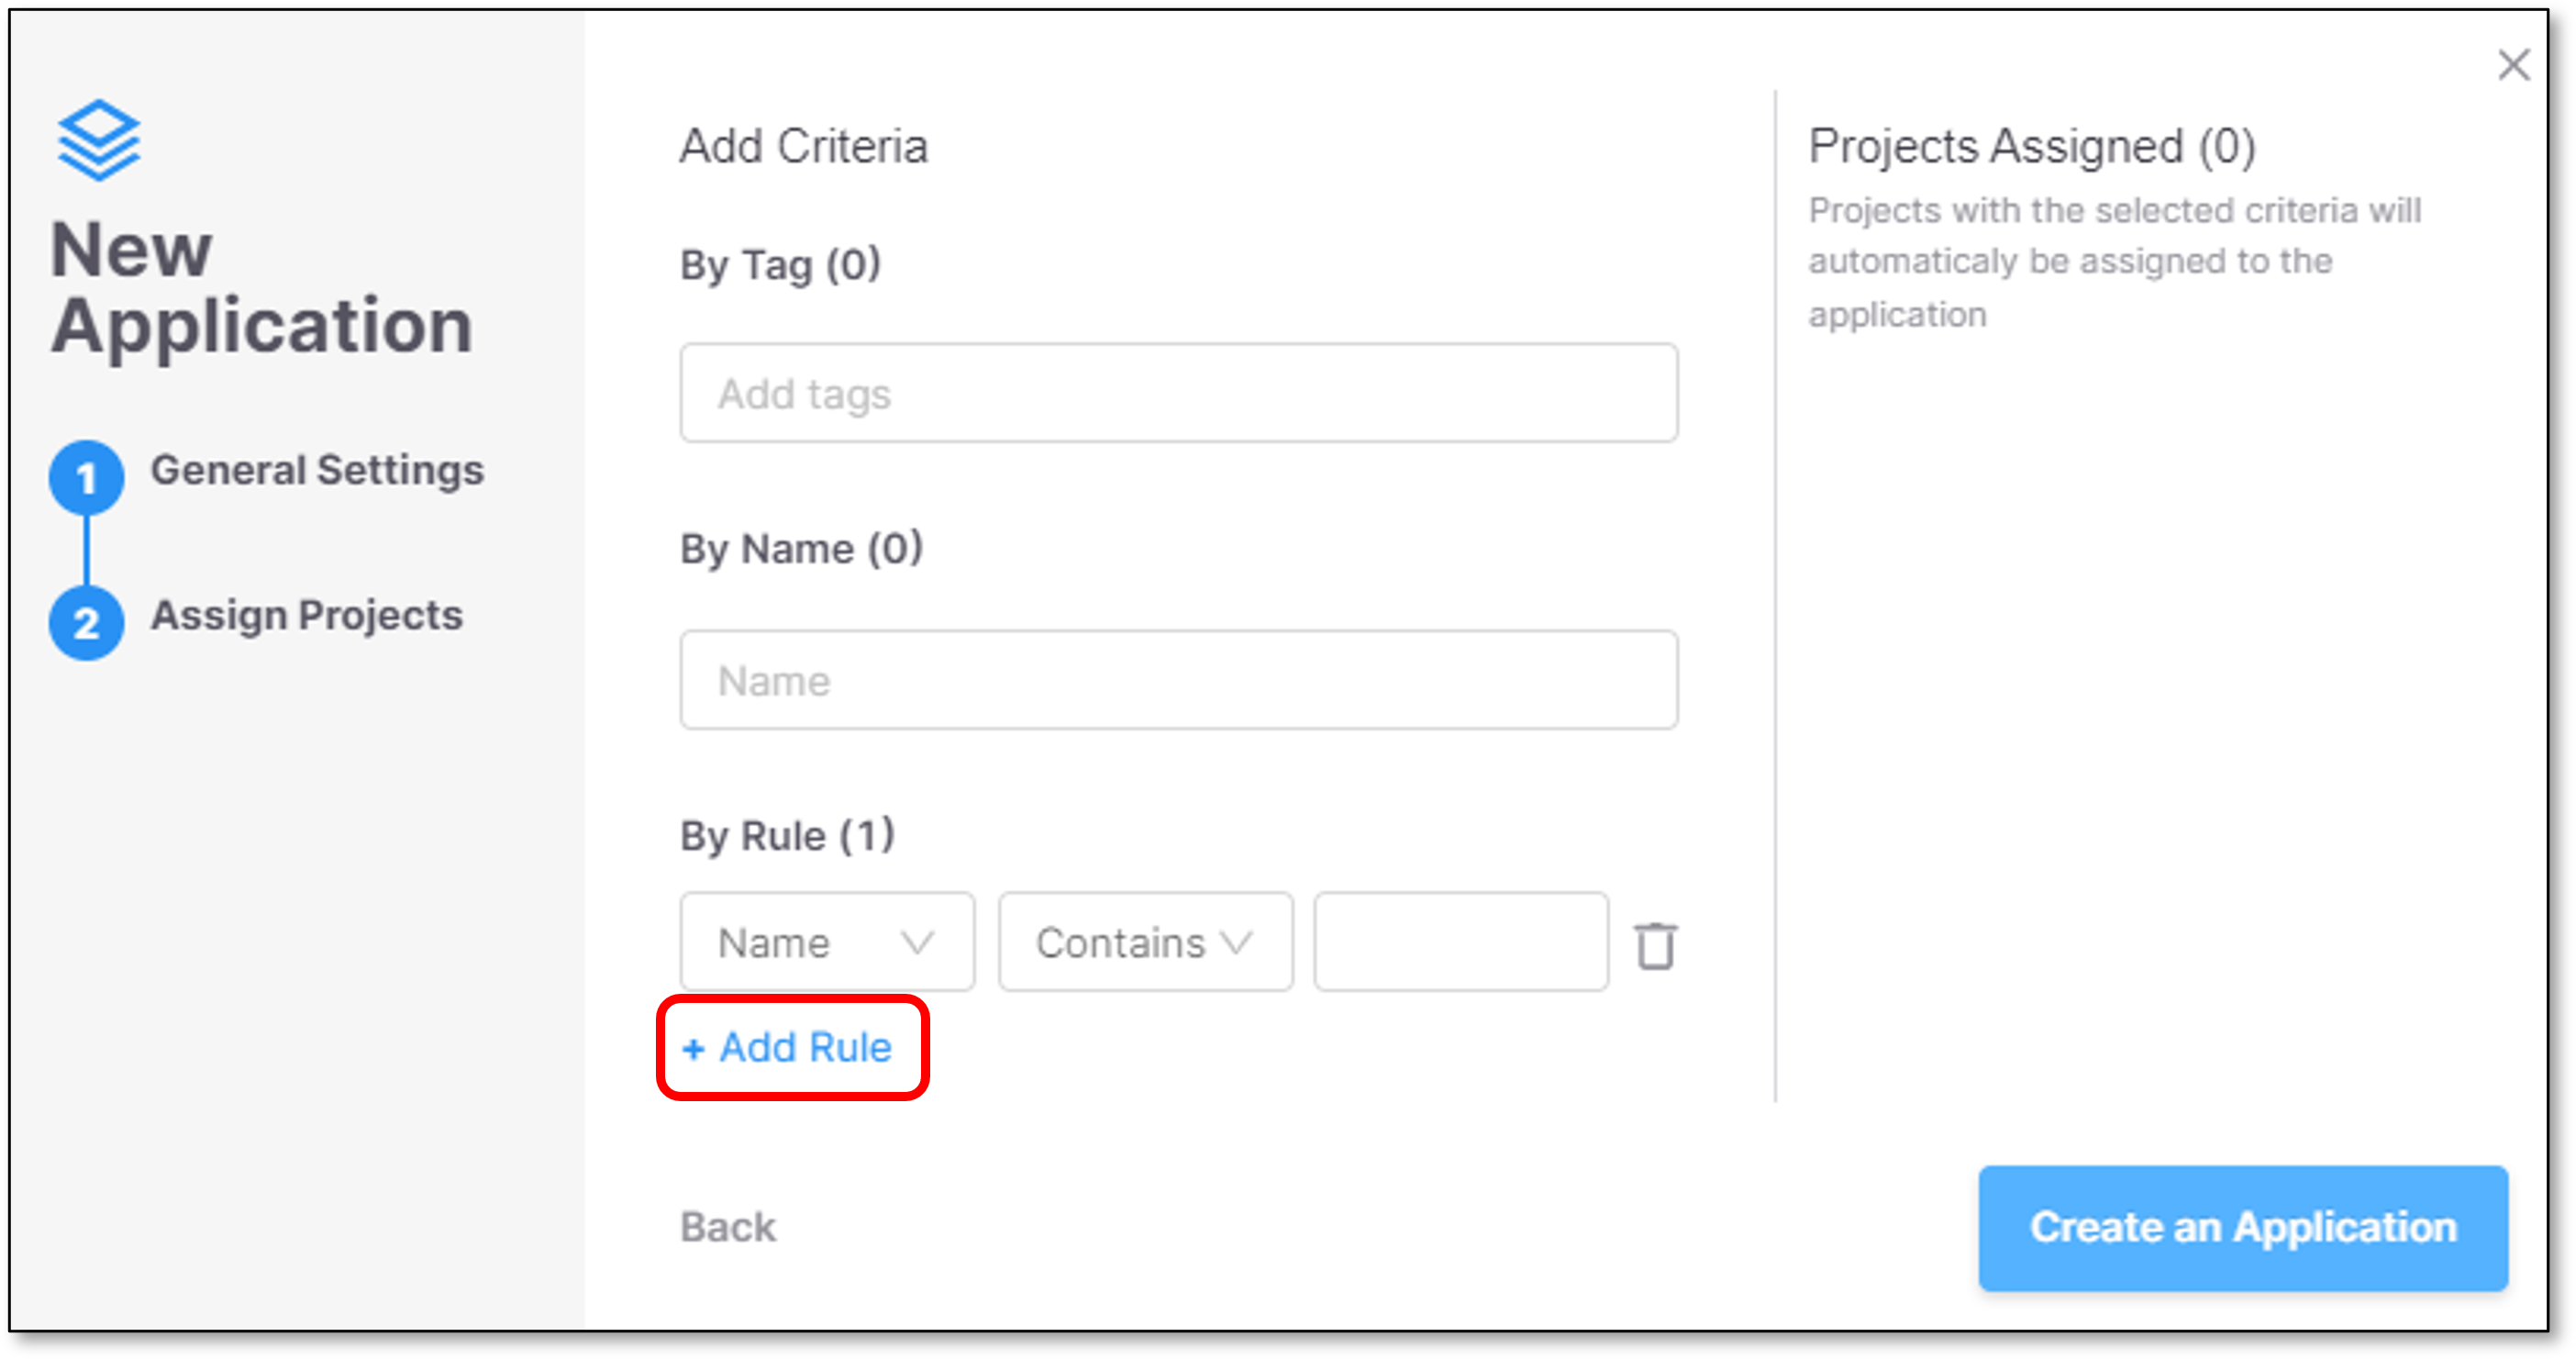
In the Assign Projects screen it is optional to assign projects to the Application according to the following conditions:
Assign Projects by Project Tags - Clicking the field will open a drop-down list containing all the projects tags.
Assign Projects by Project Name - Clicking the field will open a Drop-down list containing all the projects names.
Assign Projects by Project Rule - The Project name can be one of the following options:
Contains a specific character.
Starts with a specific character.
Regex - Regular Expression.
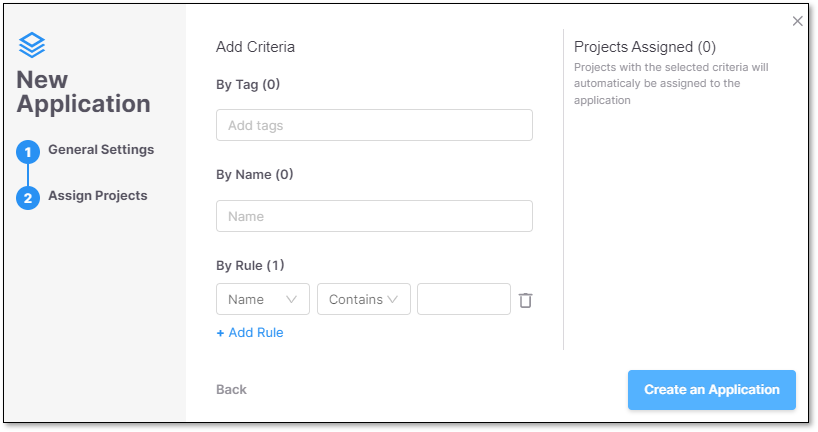
You can also add more Rules using the + Add Rule option.
Click on Create an Application.
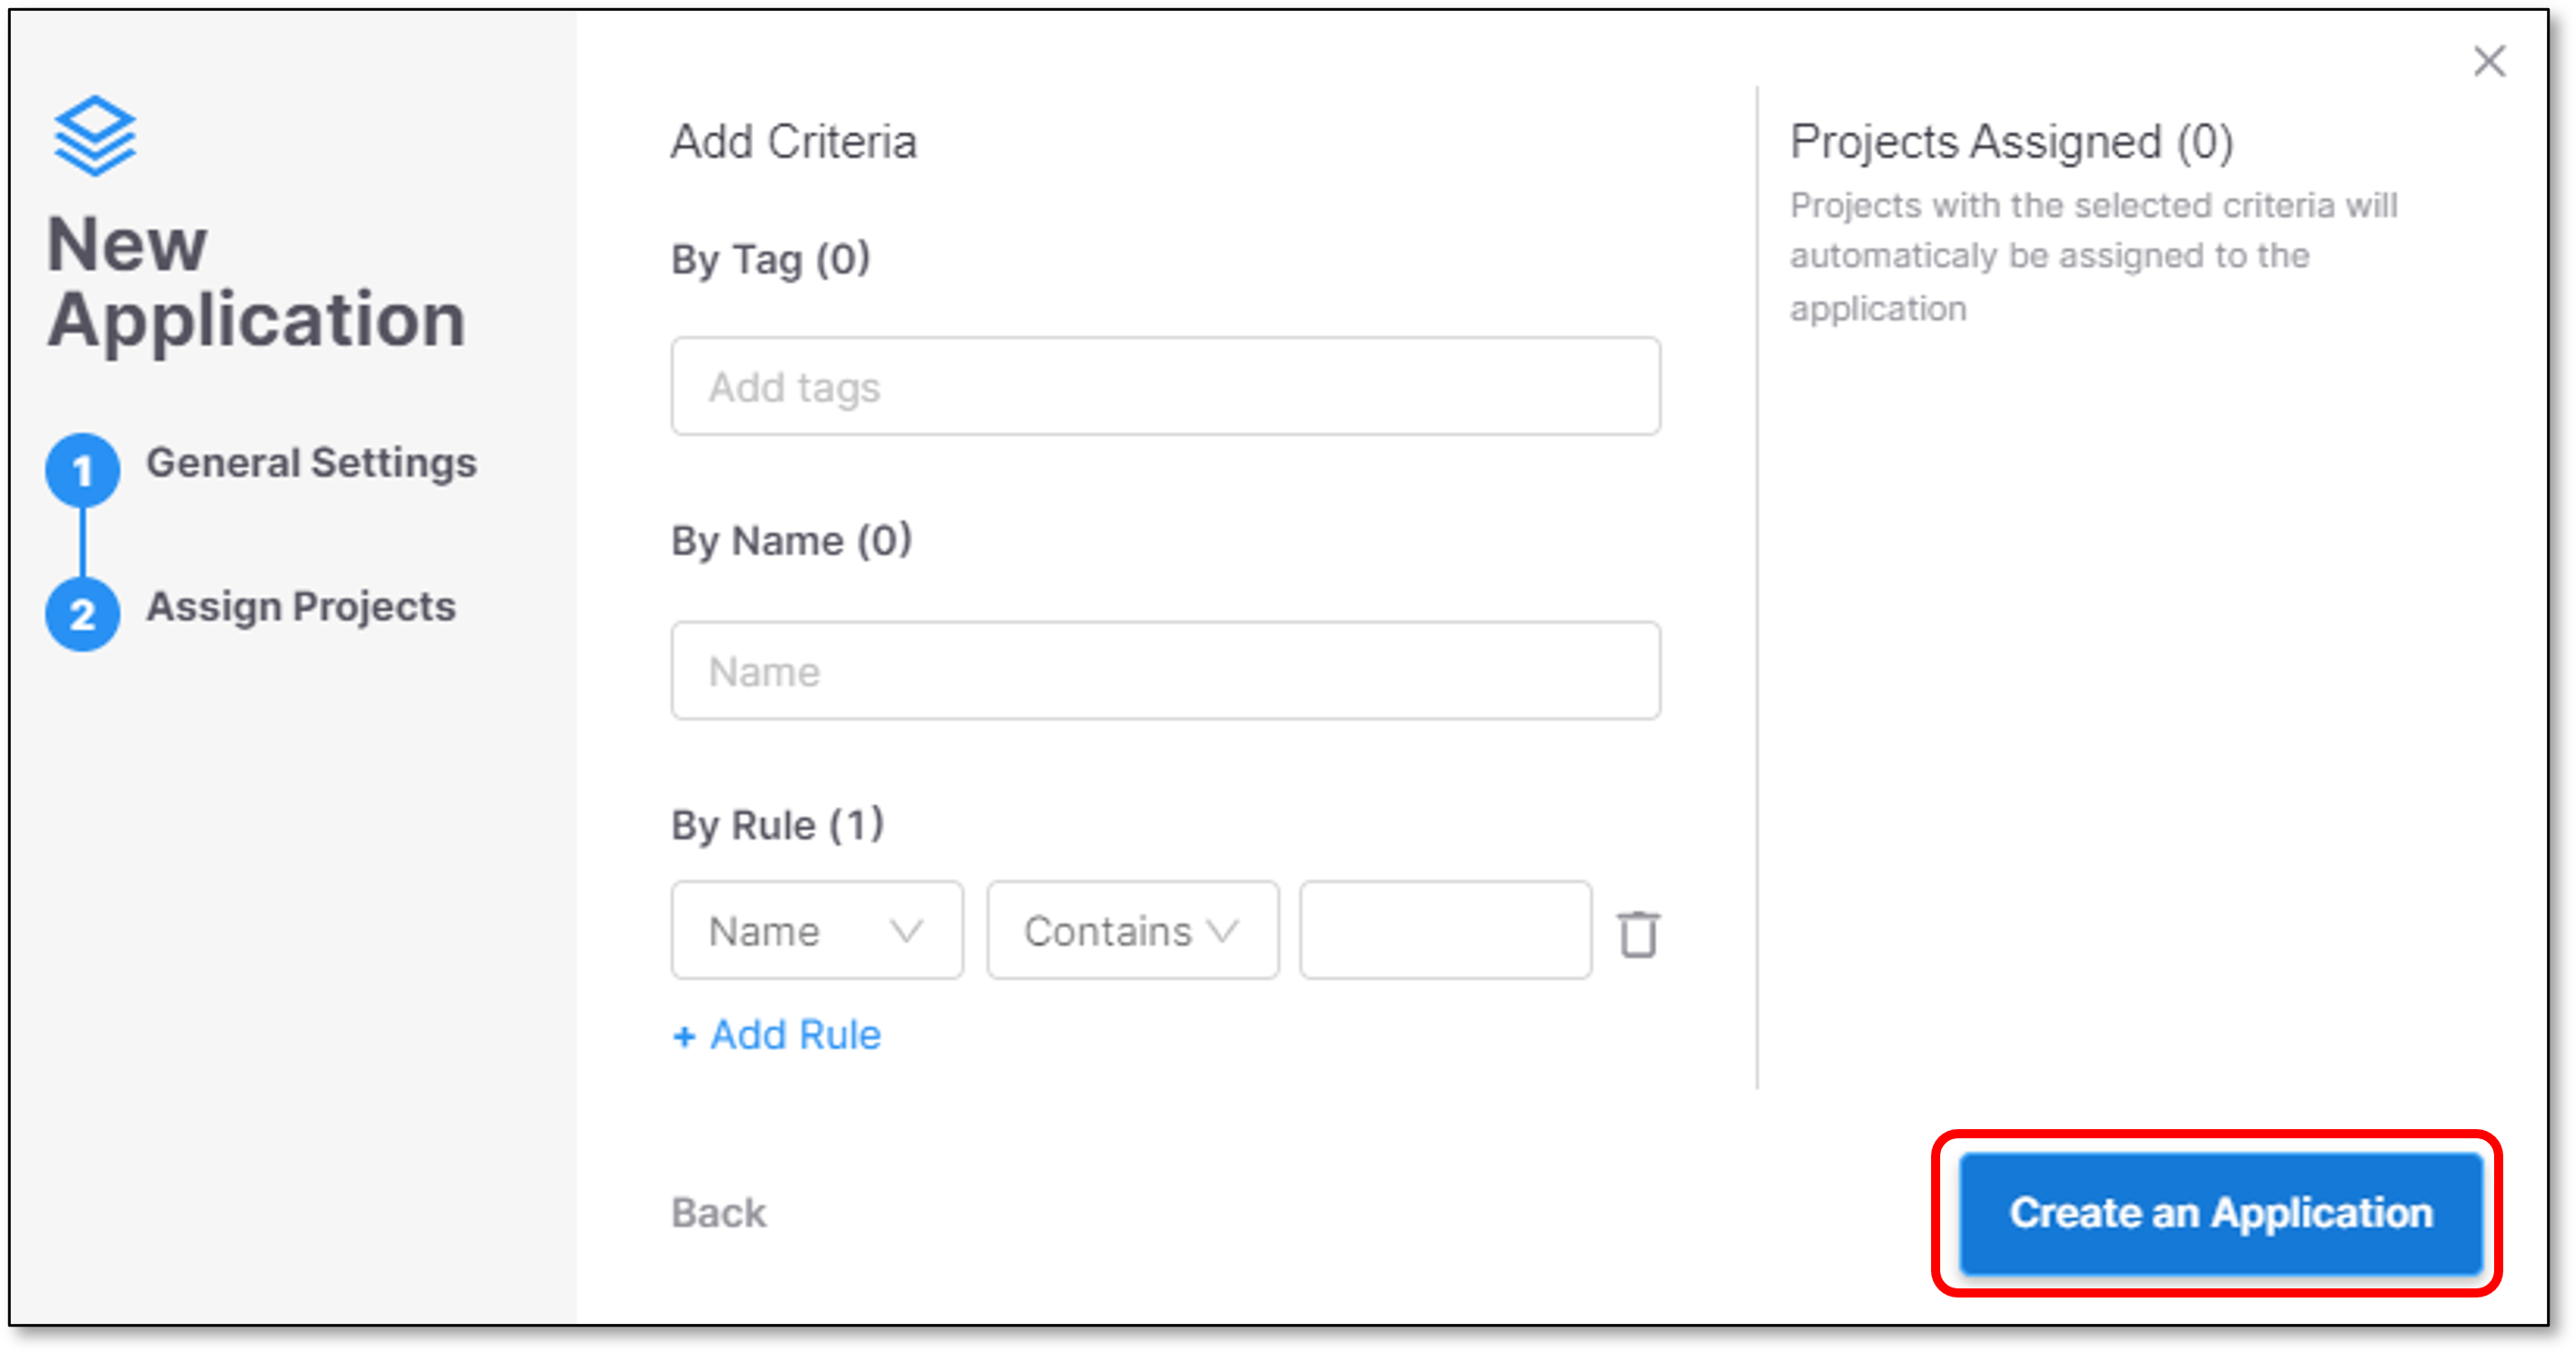
The Application is successfully created.
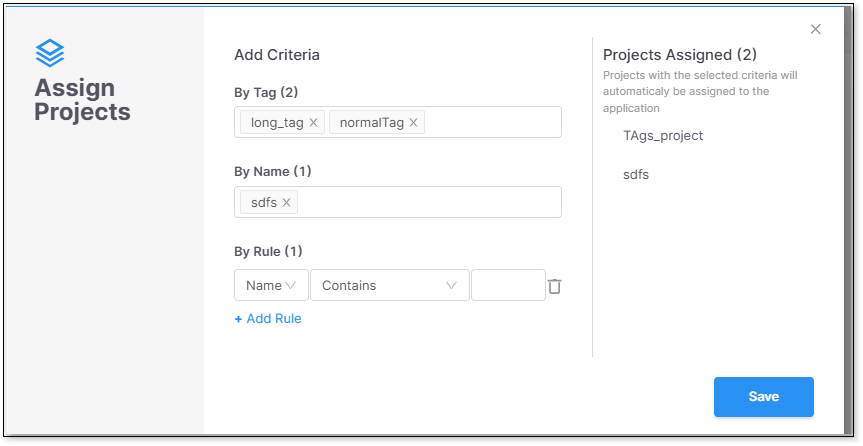
Editing the Assigned Projects Parameters
You can edit the assigned project parameters by doing the following:
Navigate to the application you want to edit, click +Add Project, then Assign Projects.
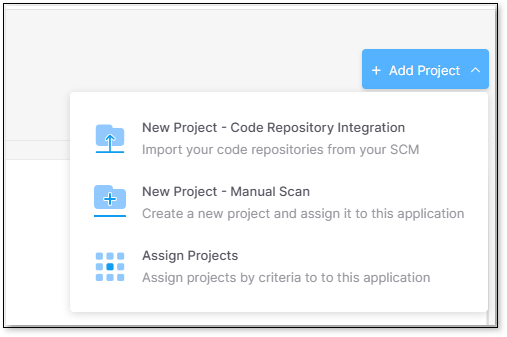
The Assign Projects window opens. Edit or add to the parameters as shown in the example image below and save: