Administrator Guide
As an administrator, you are able to configure and manage your organization’s Developer Assist account through the Admin Console. This includes enabling developer access and monitoring how Developer Assist is being used across your organization.
Through the Admin Console, you can:
Generate and manage API keys for developer authentication
Monitor Developer Assist adoption and usage through the AI Assist Usage dashboard
Caution
The Admin Console is built on the Checkmarx One platform, but you are granted only the minimal permissions required to manage Developer Assist. As a result, some areas of the platform may be visible but are not relevant to your role. This guide focuses exclusively on the sections and functionality applicable to Developer Assist.
This guide walks you through the key administrative workflows, including initial login, API key generation, enabling Checkmarx IDE functionality in the web application, and tracking usage metrics.
This section guides you through accessing the Checkmarx Admin Console for the first time, including account activation, multi-factor authentication (MFA) setup, and initial login.
Access Your Account
Open the Welcome email from Checkmarx, which contains the following:
Username
Account Name
Link for the Checkmarx Admin Console.
Click the link to get started
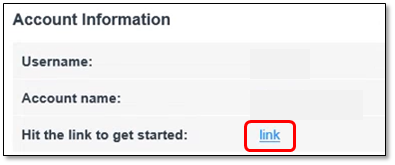
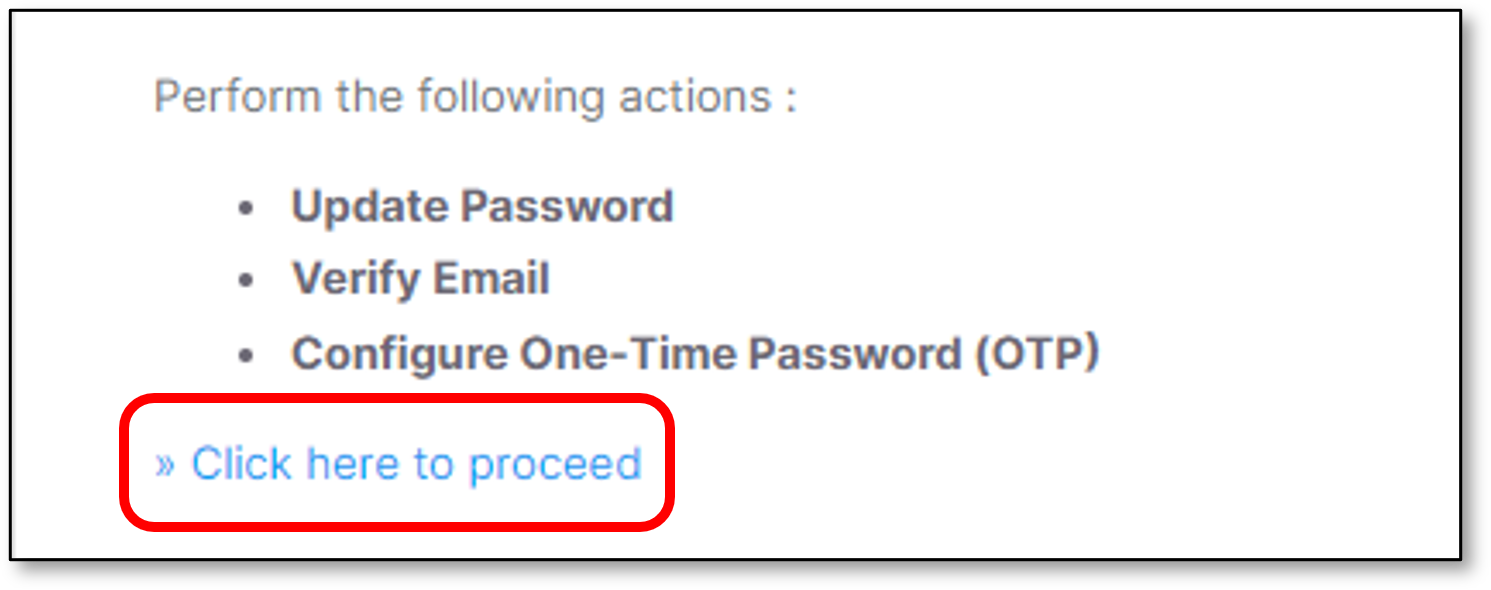
Upon clicking the link the following screen will be presented.
Click the Click here to proceed option
Setting up 2 Factor Authentication
Follow the instructions to set up Mobile Authentication in order to activate the account.
It is suggested to use the Google Authenticator mobile application.
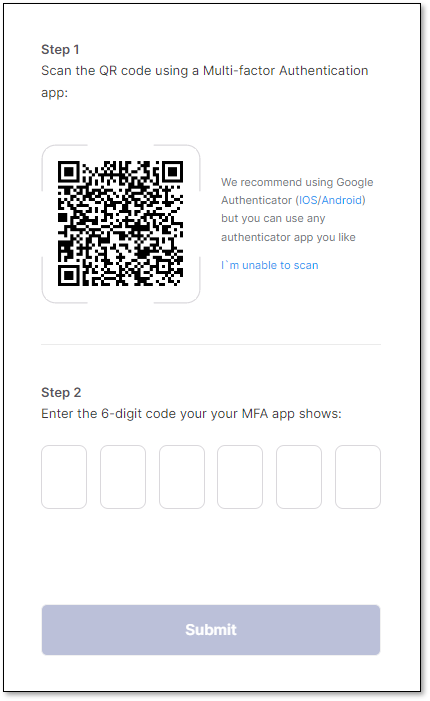
Perform the following:
Type the 6-digit code
Click Submit
Notice
After configuring MFA, the system stores your MFA device information.
In case MFA is configured from a different device, the Device Name field will appear and it is mandatory.
Updating the Initial Password
Note
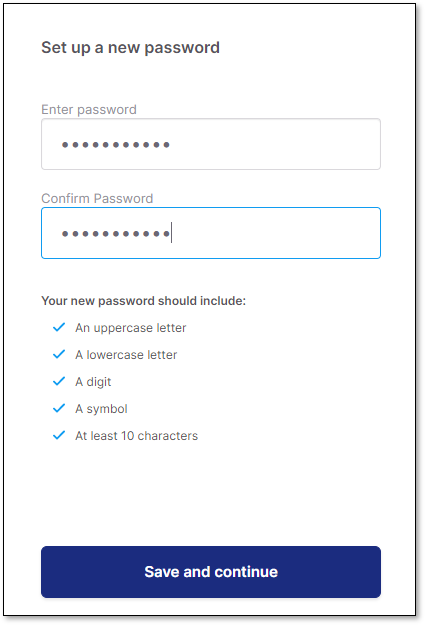
Password limitations
The password must contain the following:
Minimum 14 characters length.
At least 1 upper case character.
At least 1 lower case character.
At least 1 digit.
At least 1 special character.
Perform the following:
Set up a new password,
Confirm the password.
Click Save and continue
Sign in to Checkmarx Admin Console
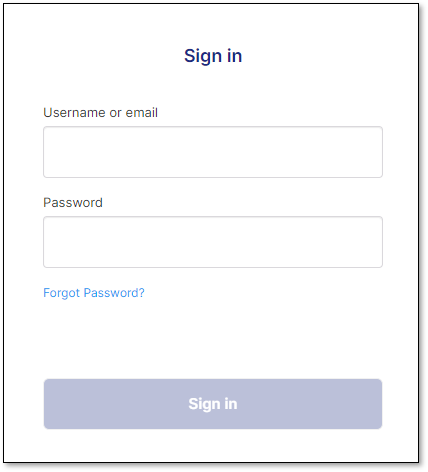
In the Sign in window perform the following:
Type the Username
Type the Password
Click Sign in
Perform the following
Type the 6-digit code again (The same code as in the Setting up 2 Factor Authentication section)
Click Sign in
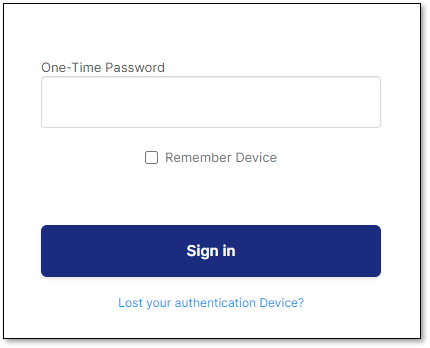
Note
Remember device
It is optional to check the Remember device checkbox. Once checked, the browser data will be saved, so the user will not be asked again to type the 6-digit code for this browser (For the next log in attempt).
In case a different browser will be used, this 6-digit code window will appear again, including the Remember device checkbox.
It is possible to remember up to 2 different devices (Browsers).
Checkmarx Admin Console home page opens:
Viewing License Info
The home page that opens when you log in is the Account Settings > License screen. This screen shows the license info for your account.
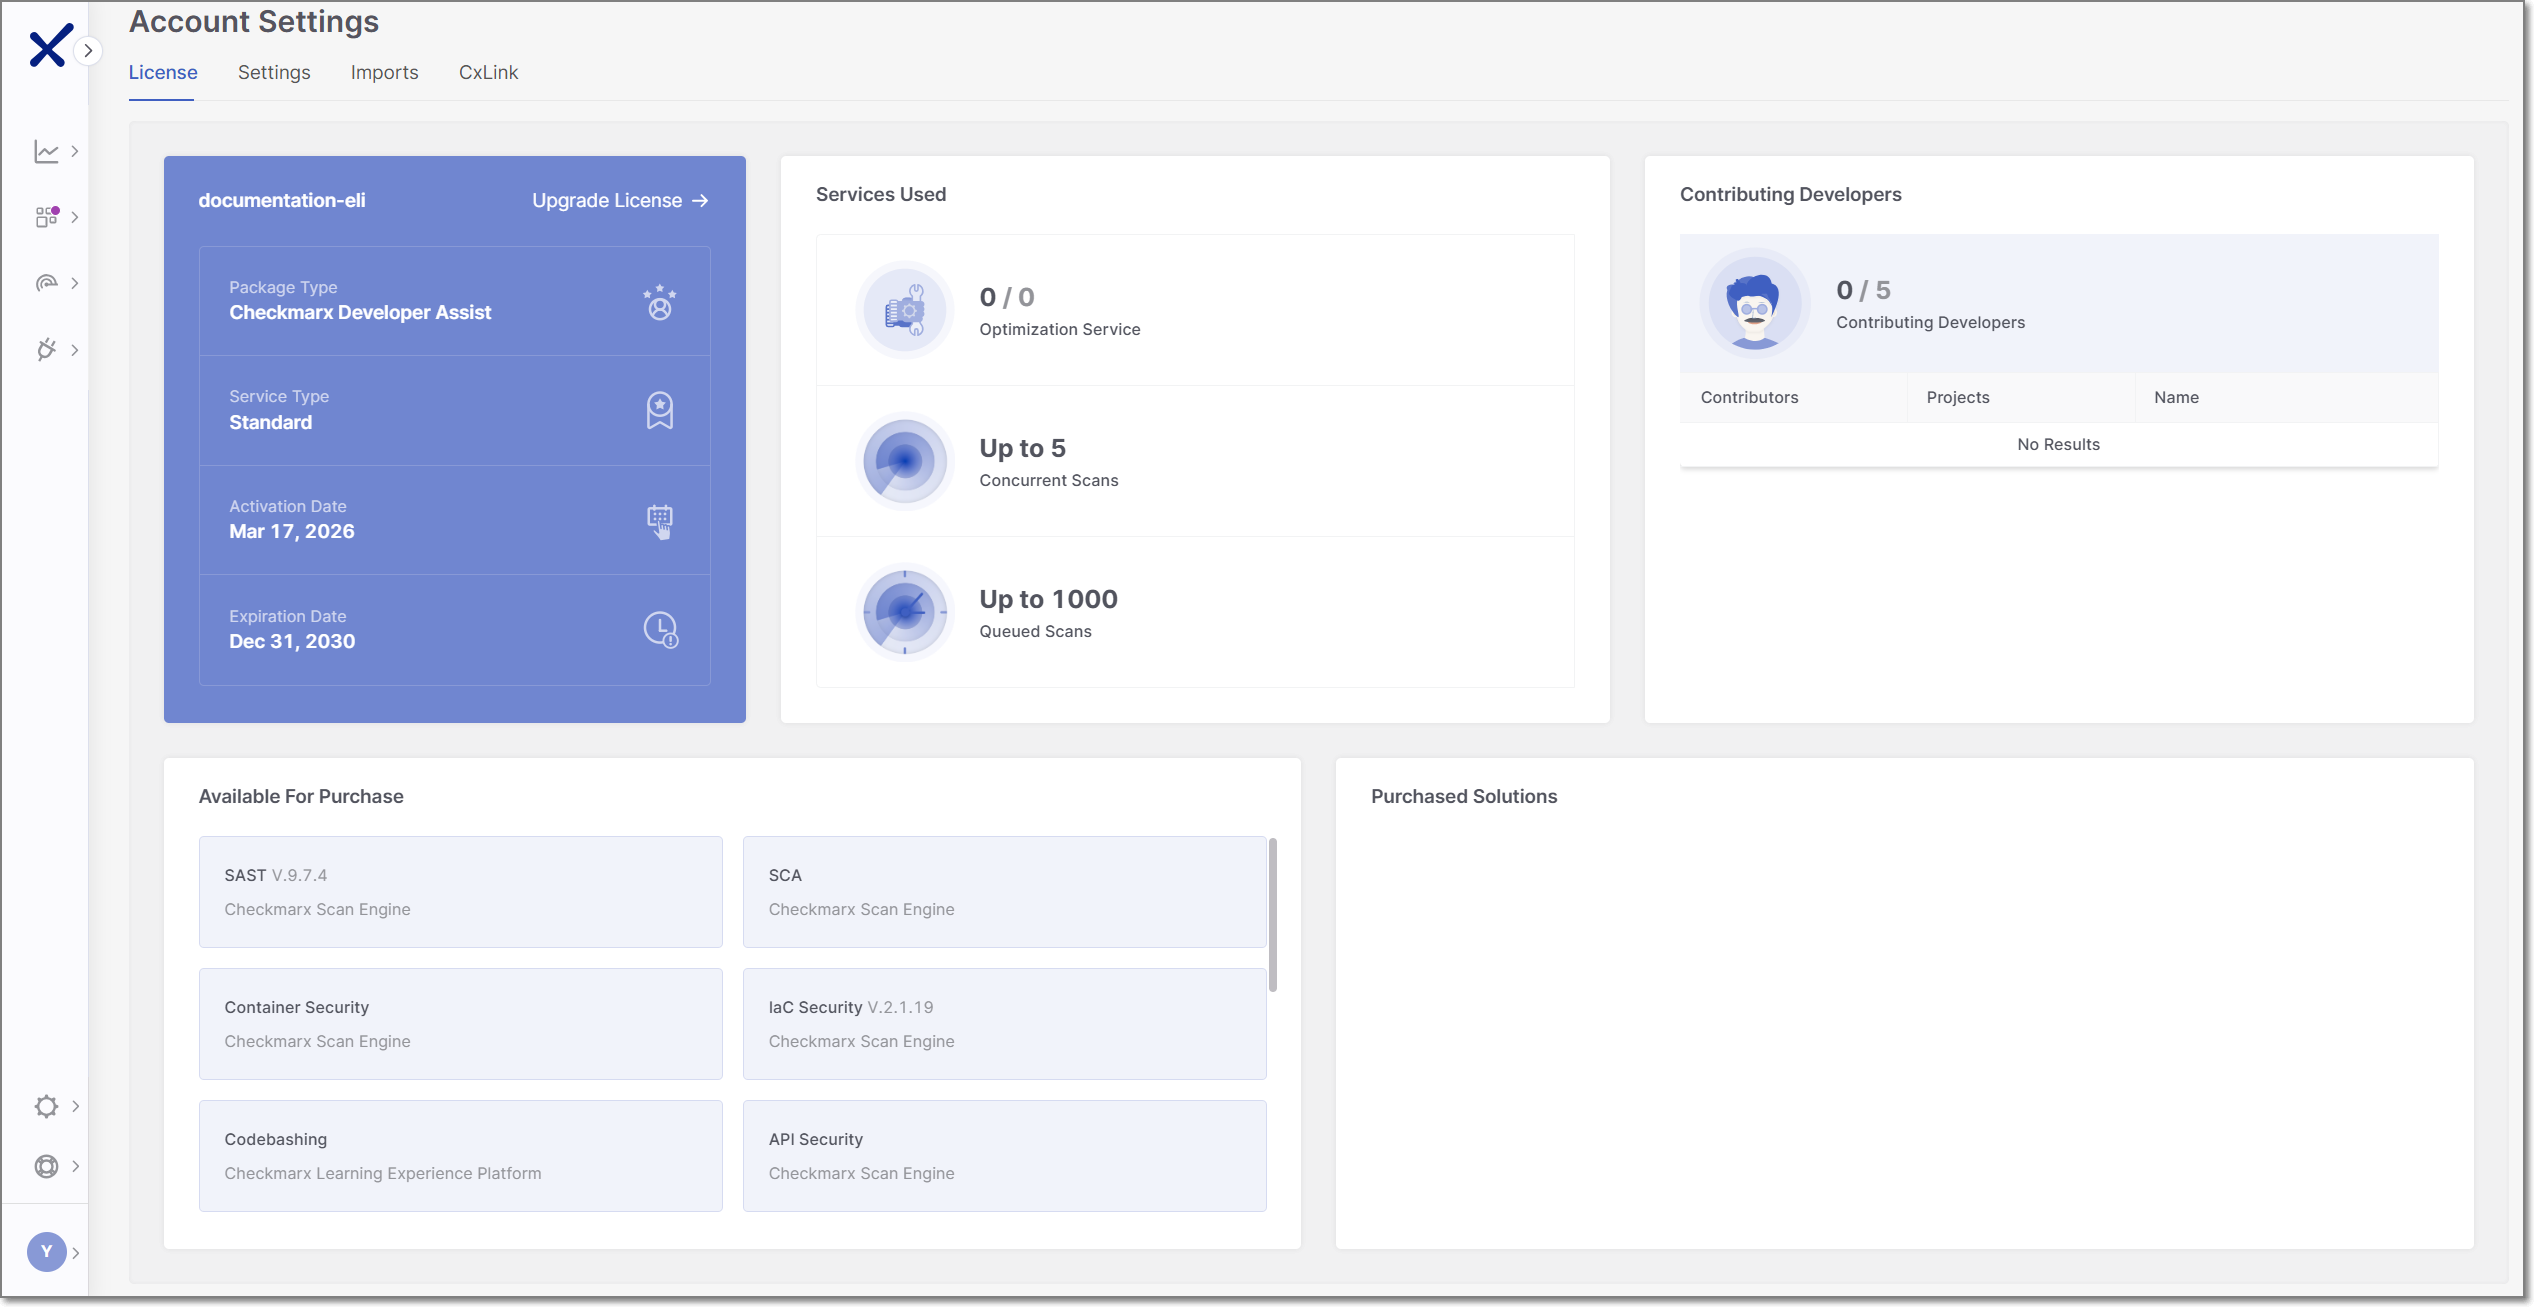 |
The Package Type should be shown as Checkmarx Developer Assist.
The Contributing Developers section shows the number of developers using Developer Assist in your organization, over the number of allowed users for your license. The table shows a breakdown of users by IDE. Additional info about the identity of the users can be obtained by clicking on the CSV link to download a .csv with the Contributing Developers data.
This screen also has info about additional Checkmarx One services available for purchase and a link to Upgrade License.
Enabling Checkmarx IDE Functionality
After successfully logging in, you need to manually enable the Checkmarx MCP server for your account. This is required for getting AI Remediation recommendations in your IDE when using Developer Assist.
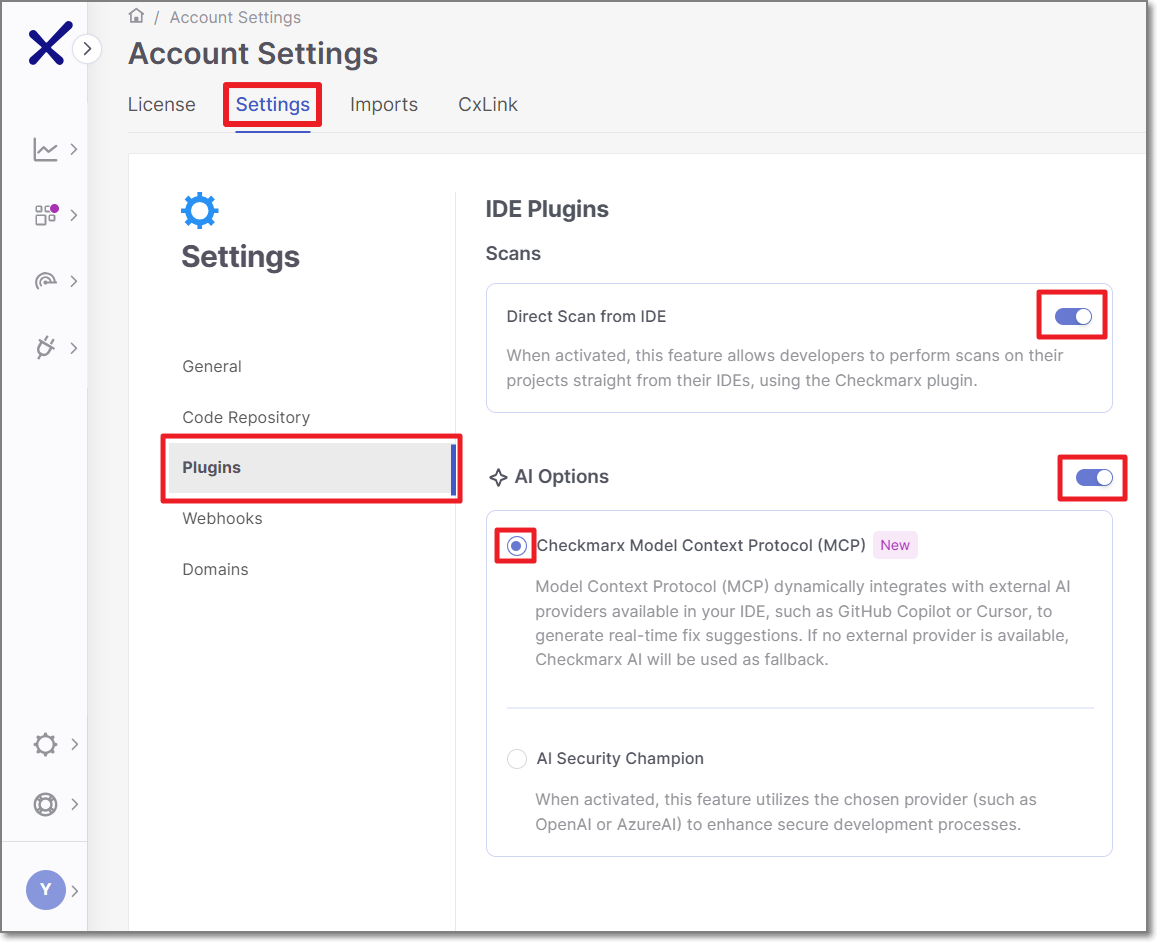 |
In the Checkmarx Admin Console homepage, navigate to the Settings tab, and select Plugins.
Toggle the AI Options switch to the on position.
Click on the Checkmarx Model Context Protocol (MCP) radio button to enable the MCP server.
Generating an API Key
After accessing the Admin Console, you can generate API keys to enable developers to authenticate and use Developer Assist.
To generate an API Key:
In the Checkmarx Admin Console web portal, select Settings
 > Identity and Access Management in the main navigation.
The IAM portal opens.
In the main navigation, click API Keys, then click on the Create Key button.
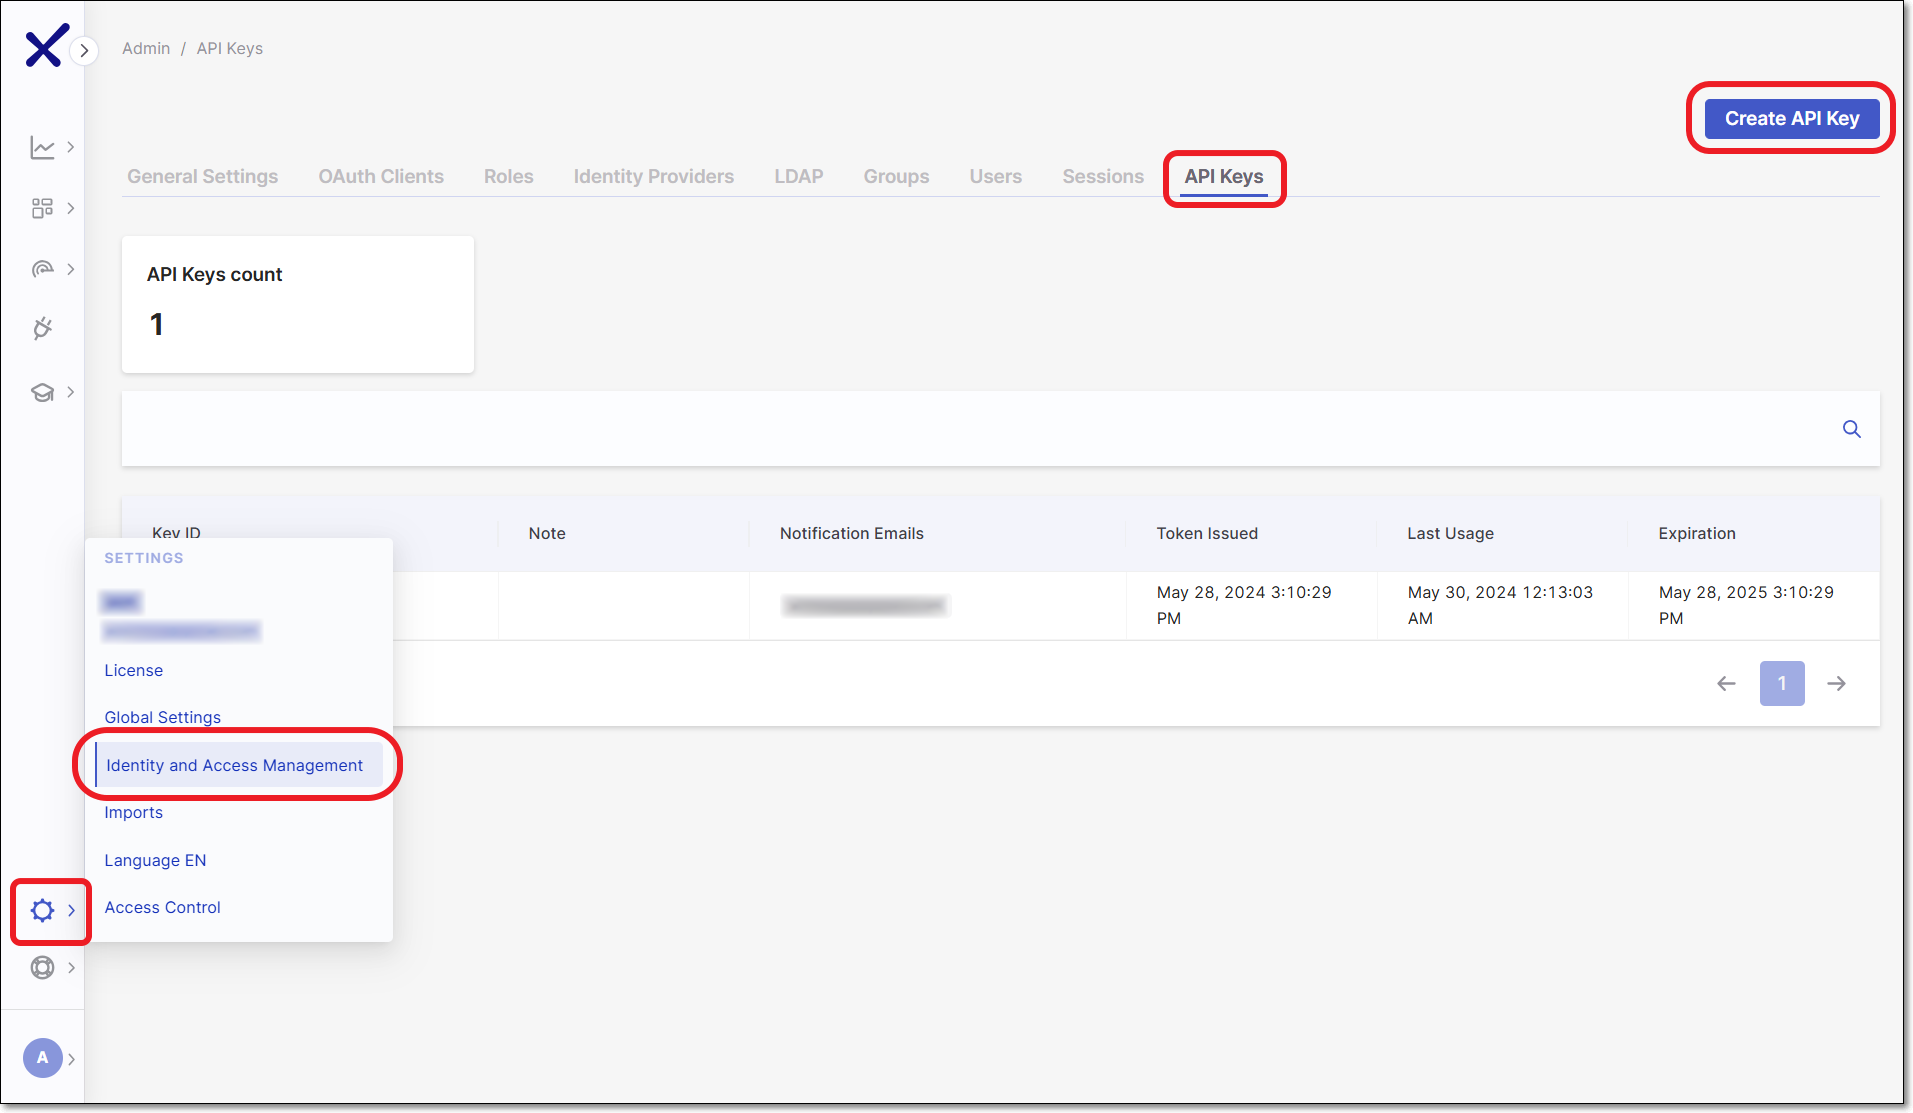
The API Key configuration window opens.
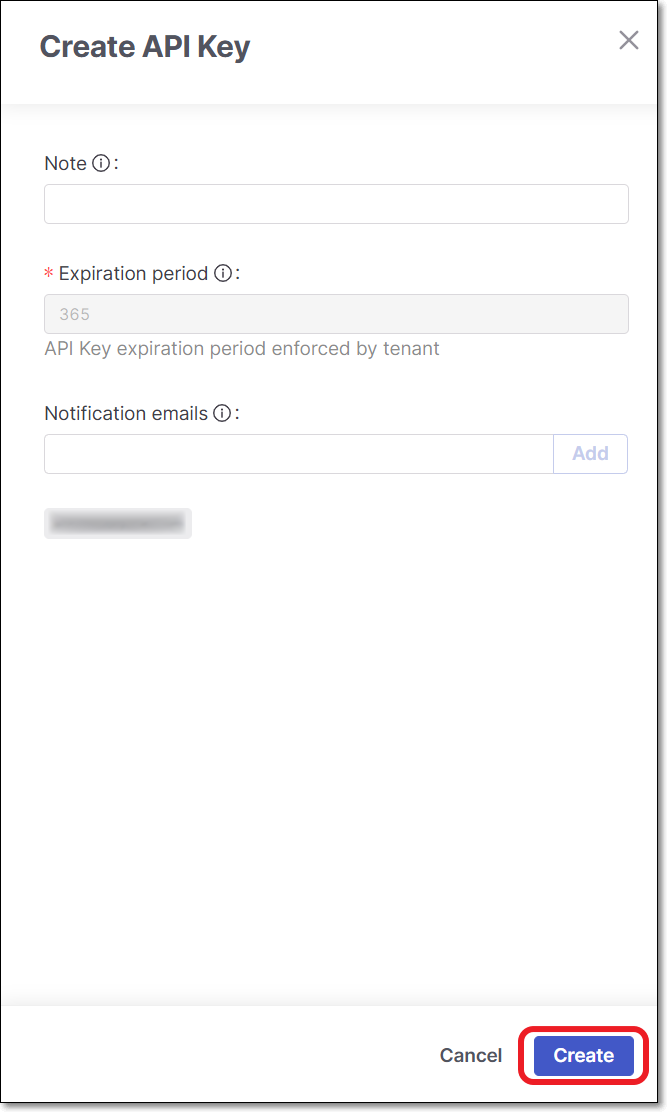
You can optionally adjust the configuration as follows:
Note - Add a descriptive note to the API Key.
Expiration period - Adjust the period of time until the key expires. The value can be from 30 to 365 days.
Notification emails - Enter emails of each recipient who you would like to receive notifications regarding expiration of the key. After entering each email, click Add. By default the email of the current user is included.
Click Create.
The API Key is created and a window opens showing the key.
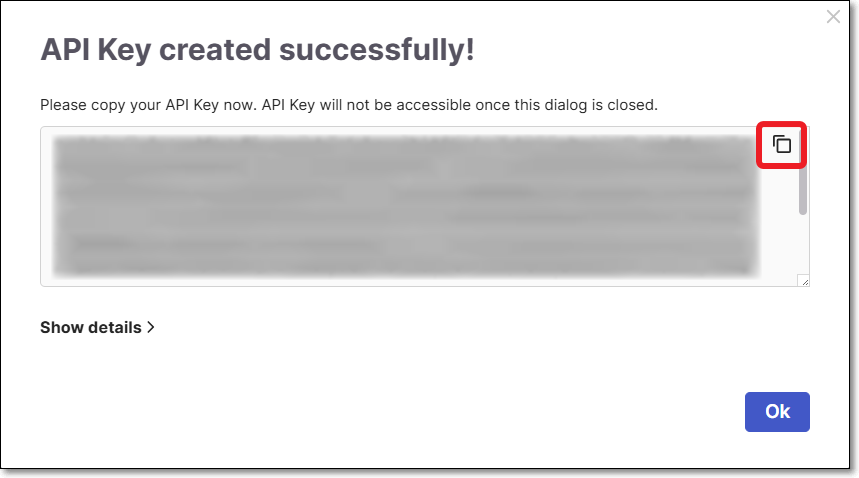
Copy the key and save it in a secure place where you will be able to retrieve it for future use.
Distribute the API Key to the relevant developers via secure communication as per your organization's policies.
Notice
A single API key can be shared across multiple developers, or separate keys can be generated per user. Regardless of the approach, each unique user is counted as a separate contributing developer for license usage.
AI Assist Usage Dashboard
Once API keys are distributed and developers begin using Developer Assist, you can monitor adoption and usage in the AI Assist Usage Dashboard.
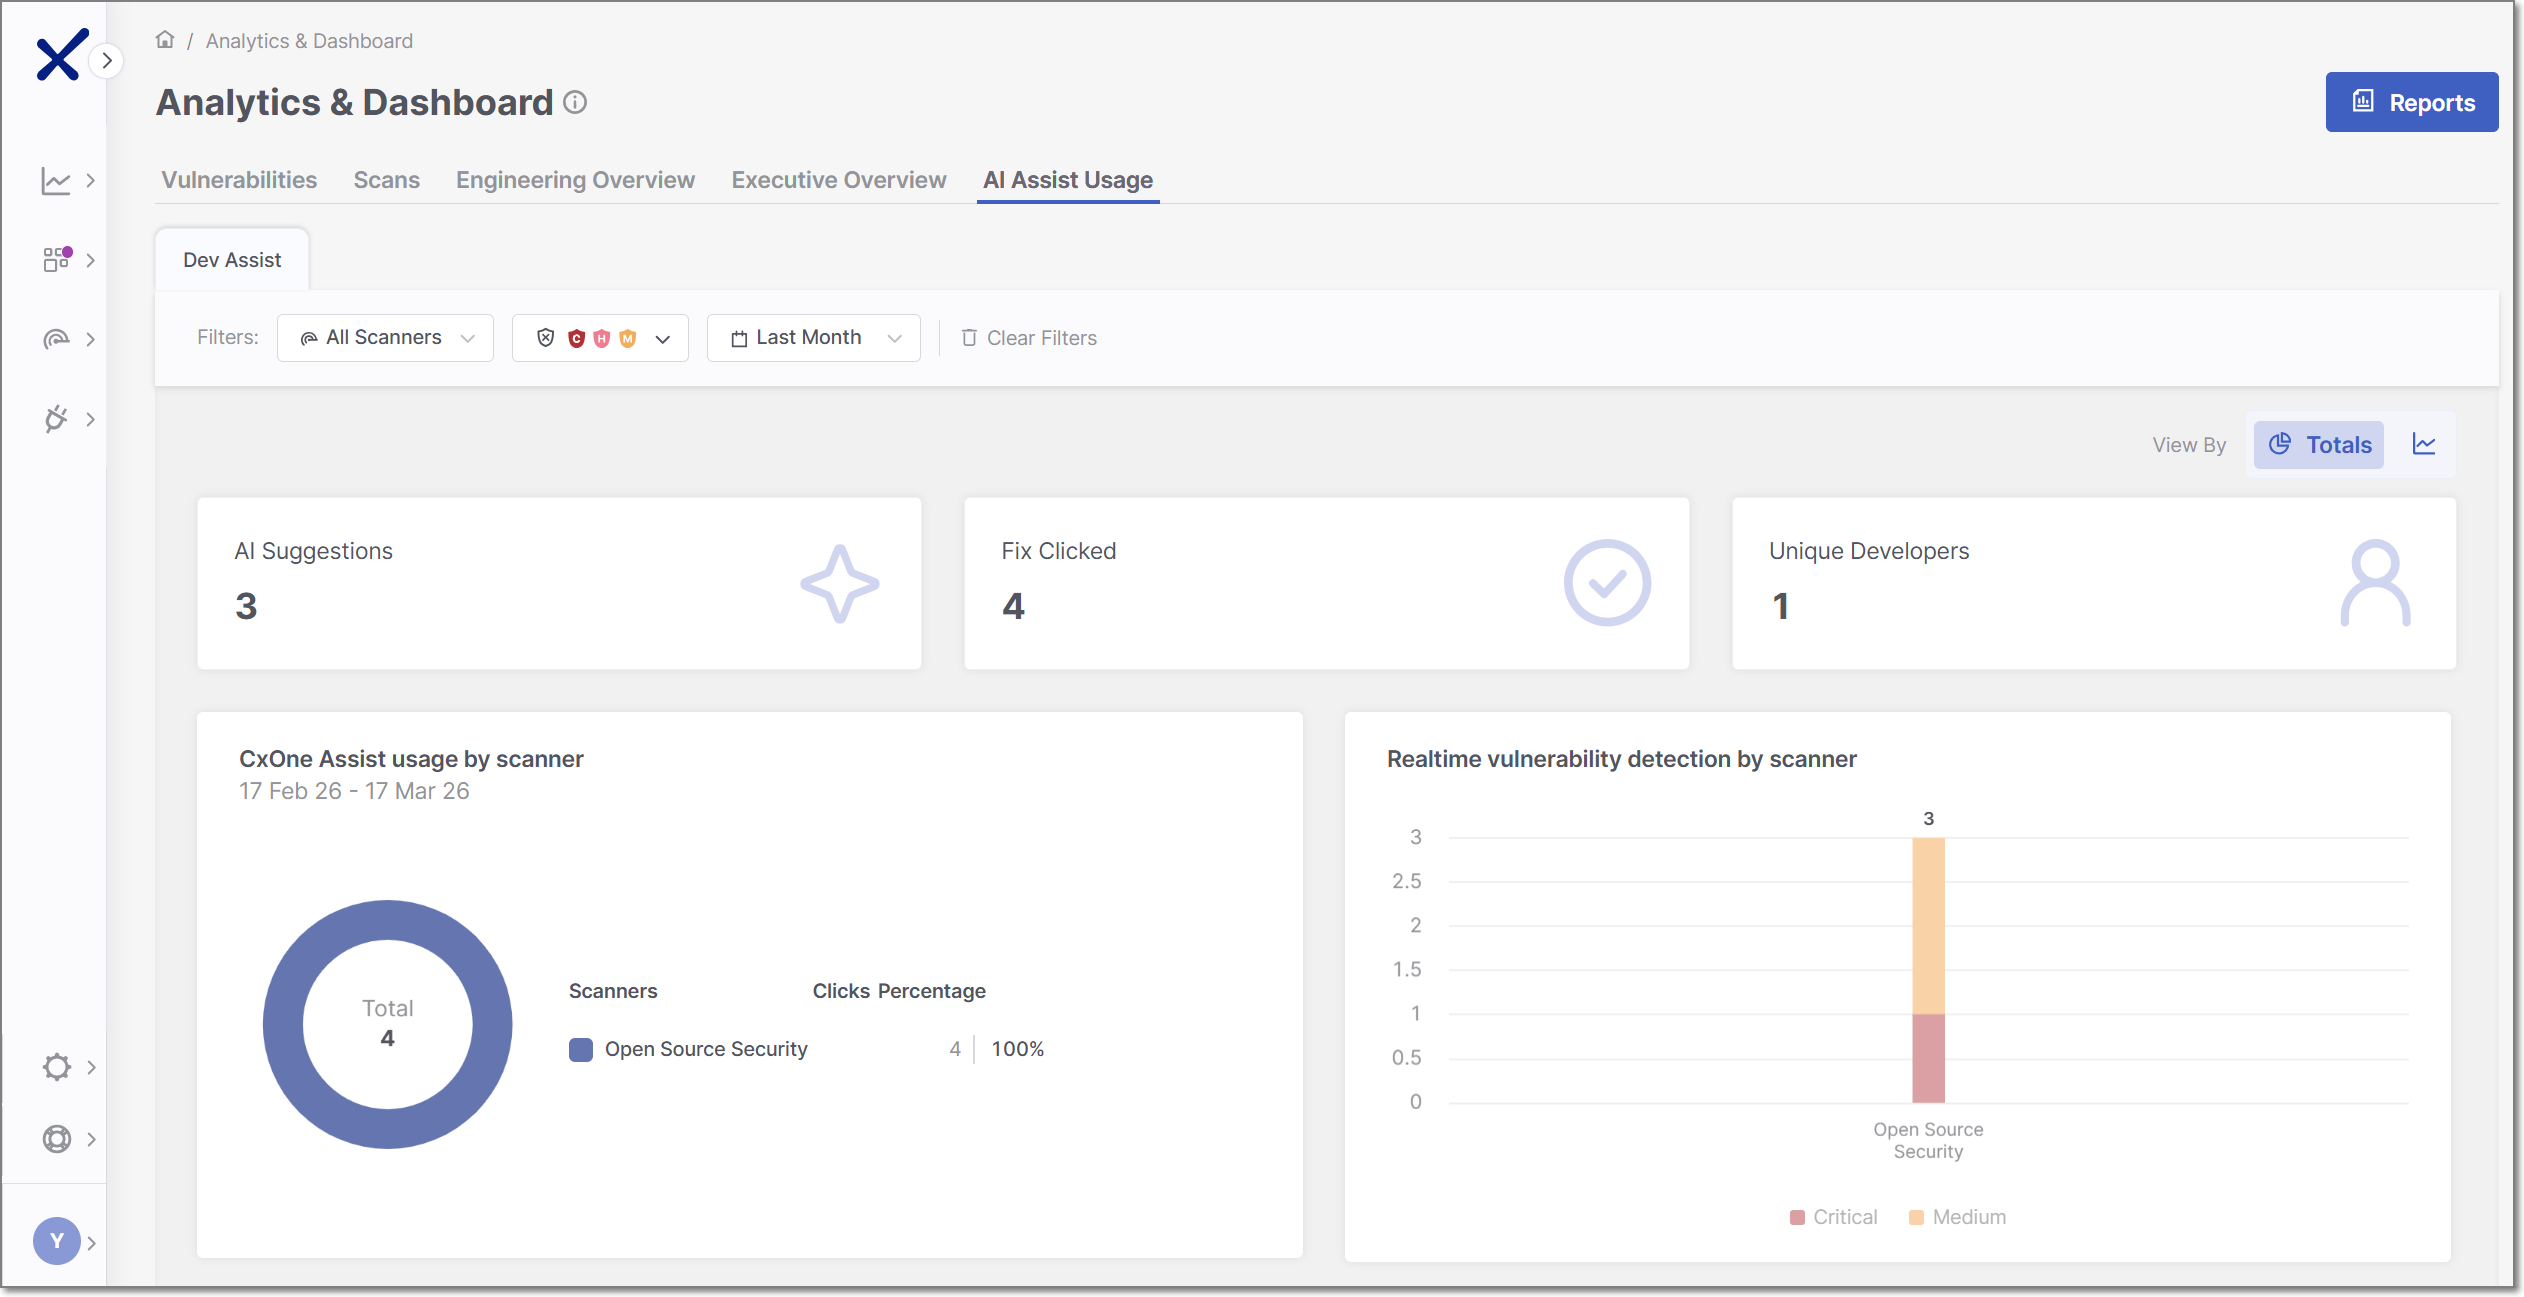
The AI Assist Usage dashboard provides visibility into how developers use Checkmarx Developer Assist IDE plugins during development. It displays metrics such as the number of AI-generated remediation suggestions, how often fixes are generated, and real-time vulnerability detection activity.
This dashboard helps administrators understand adoption, usage patterns, and the impact of Checkmarx Assist and Realtime Scanners over time.
The AI Assist Usage dashboard can be viewed in two modes: Totals and Over Time. To toggle between the two views, use the View By icons at the top right of the page.
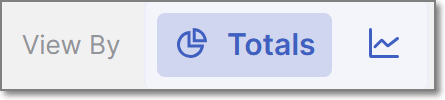 |
Dashboard Widgets
At the top of the AI Assist Usage dashboard, three summary widgets are consistently displayed across all view types - AI Suggestions, Fix Clicked, and Unique Developers. The remaining widgets, CxOne Assist Usage by scanner and Realtime vulnerability detection by scanner, vary depending on whether the dashboard is set to the Over Time view or the Totals view, allowing you to explore different perspectives of the scan data.
Below is a breakdown of the different widgets with their descriptions.
AI Suggestions: shows the total number of AI-generated remediation recommendations surfaced to developers.
Fix Clicked: shows how many times developers actively clicked on the Fix with Checkmarx One Assist button to get an AI generated fix.
Unique Developers: shows the number of distinct users who used the Developer Assist IDE plugins.
CxOne Assist Usage
In Totals view: shows how often developers clicked AI-generated fixes, broken down by scanner type and displayed as a donut chart with percentages representing each scanner’s share of total usage.
In Over Time view: shows how often developers clicked AI-generated fixes over the selected period, broken down by scanner type and displayed as a time-based trend to illustrate usage patterns over time.
Notice
Supported scanners: IaC Security, Container Security, ASCA and Open Source Security.
Realtime Vulnerability Detection
In Totals view: shows the total number of vulnerabilities detected by Checkmarx Realtime Scanners while developers code in the IDE, aggregated by severity for the selected period.
In Over Time view: shows when vulnerabilities were detected by Checkmarx Realtime Scanners over the selected period, with separate trend lines for each severity level.
Notice
Supported scanners: IaC Security, Container Security, ASCA and Open Source Security.
Filtering
The AI Assist Usage dashboard offers advanced data filtering options, allowing admins to customize their analysis to specific criteria. The available filters can be accessed directly at the top of the table.
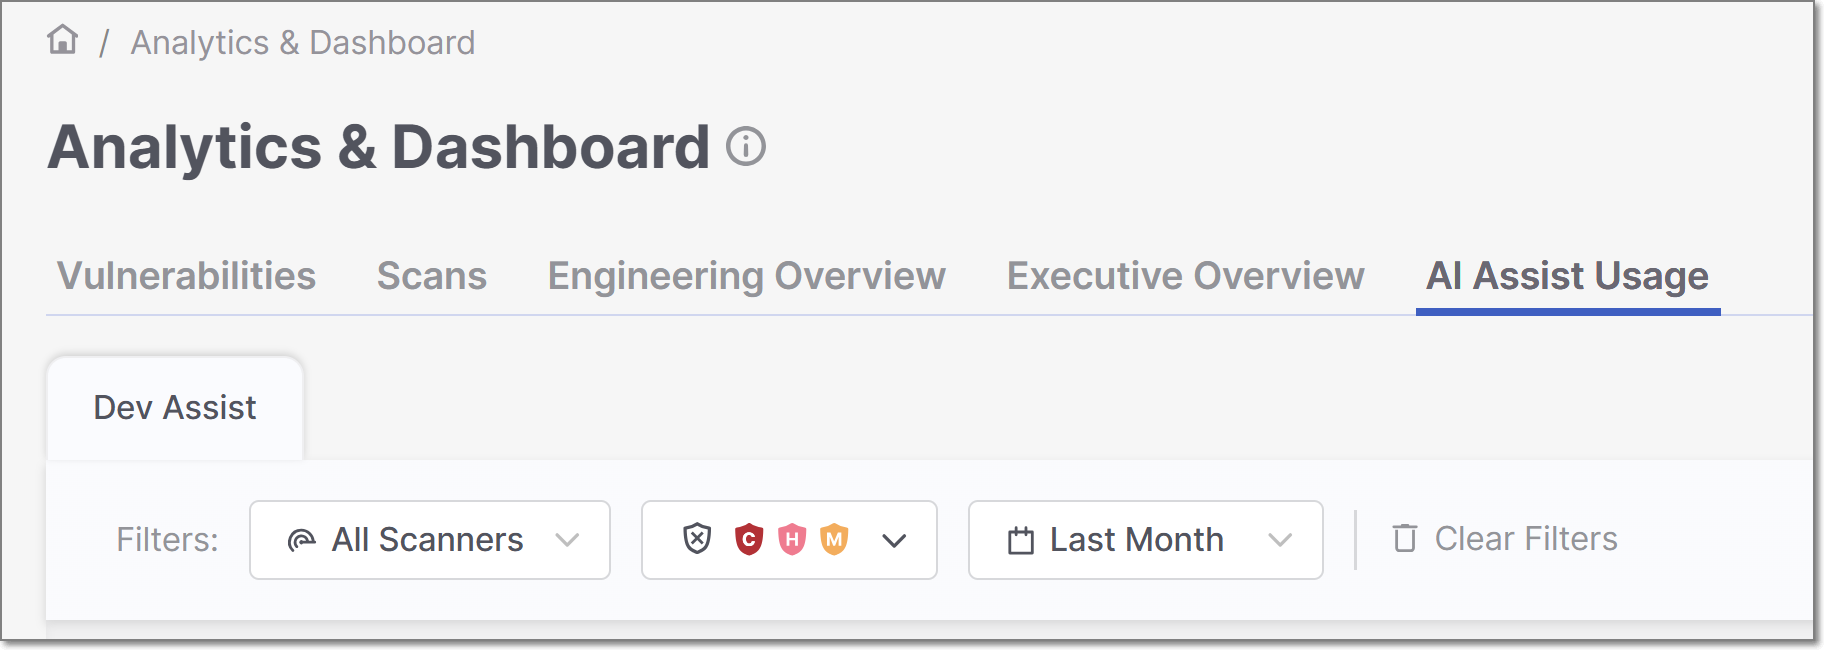 |
The following logic is applied to filtering:
The filter will not be applied if no values are selected or entered for a particular attribute.
Within a single filter, selected values are combined using an OR operator. For instance, if you choose the values
SASTandSCAfor the Scanners filter, Checkmarx will display issues associated with SAST or SCA scanners.Different filters are combined using an AND operator. For example, if you select
SASTfor the Scanners filter and a specific project for the Projects/Apps filter, Checkmarx will only display issues that match both criteria:SASTscanner and the selected project.
Specific filters are described below.
Scanners
This filter lets you narrow your analysis to data generated by specific scanners. By selecting particular scanners, you can assess their performance and effectiveness in identifying vulnerabilities and securing your applications.
Severity
Within the Vulnerabilities and Engineering Overview tabs, users can filter all widgets and tables to show only data for selected severity levels.
Time Range
Users can define custom date ranges to analyze data within specific timeframes, such as daily, weekly, monthly, or annually. You can also define exact start and end dates using a classic date picker. This filter is particularly useful for identifying trends and evaluating the impact of changes in security practices over time.