Checkmarx One Support Content
The following sections represent content related to Checkmarx One that was created by the support team and imported from Salesforce.
Issue: SSO users are being assigned 'Default-Roles' automatically which has the following effective roles: manage-keys, offline-access, uma-authorization, useraccess-iam
Explanation: These permissions are needed because we are using Keycloak an open-source software product to allow single sign-on with identity and access management.
Any newly created user has the basic Default-Roles
This role should not be removed because it is necessary for the proper user functionality of the Application and IAM.
Each one of the effective roles has a purpose, as follows:
manage-keys - Provide access to the API Keys Tab inside the IAM
offline-access - The idea is that during login, your client application will request an Offline token instead of a classic Refresh token https://wjw465150.gitbooks.io/keycloak-documentation/content/server_admin/topics/sessions/offline.html
uma-authorization - Keycloak automatically assigns the role uma_authorization to the user. The uma_authorization role is a default realm role. https://wjw465150.gitbooks.io/keycloak-documentation/content/authorization_services/topics/service/authorization/whatis-obtain-aat.html
user - The basic IAM role that is used in many places.
access-iam - Allow user to access IAM
 |
 |
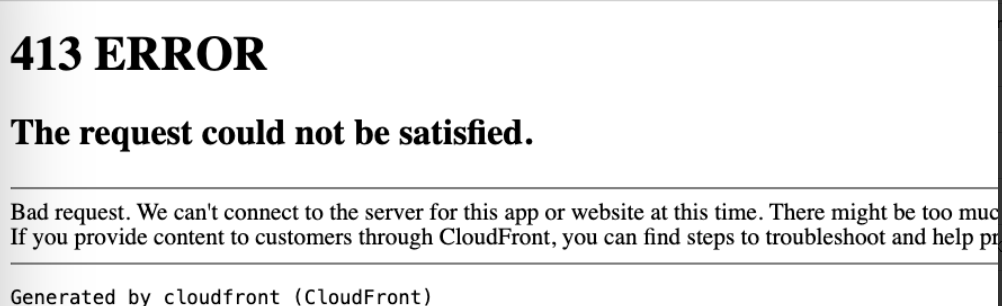
Cause: Browser cache and/or bookmarked URL after CxOne upgrade.
Resolution: One or more of the following:
On the login page, click change tenant at the top right. Enter in your tenant name on the prompt and sign in again
If using a bookmarked URL, try accessing the CxOne site directly and not using bookmark
Clear browser cache
Clear browser cookies
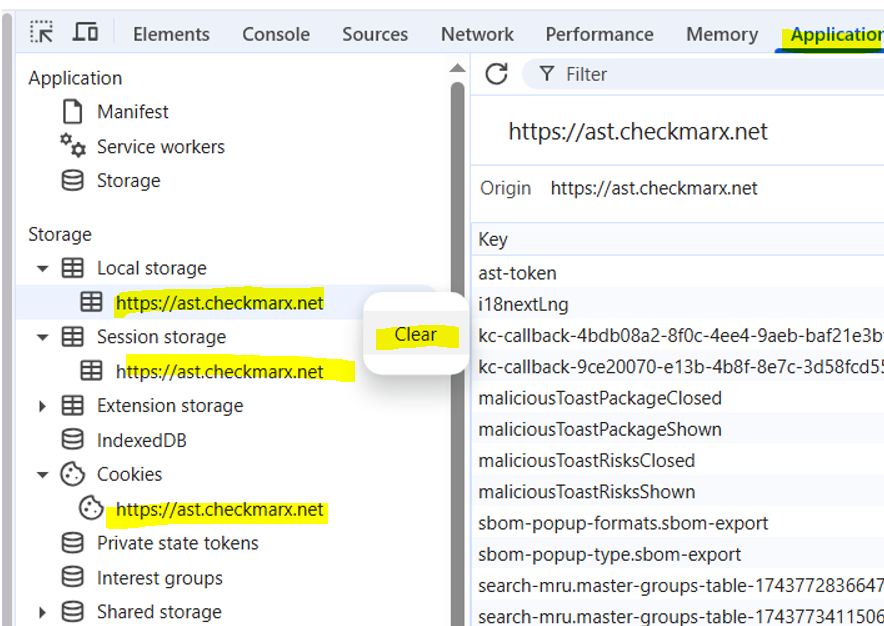
Clear 3 site cookies from Browser Dev tools - Application Tab as shown here:
If none of these work, capture browser logs while accessing the page, open a support case, and attach the HAR file.
When troubleshooting issues, it may be necessary to gather information on the network traffic (requests and responses) from the user's web browser. To gather this information, follow these steps:
Press F12, Ctrl + Shift + I, or from the web browser's menu select More tools > Developer tools
From the panel that will open at the bottom or side of your screen, select the Network tab
Make sure the Record button in the upper left corner of the Network tab is shown in red. If it's grey, click it once to start recording
Check the boxes next to Preserve log and Disable Cache
Click the Clear button to clear out any existing logs from the Network tab
Now try to reproduce the issue
Once you have reproduced the issue, right-click anywhere on the grid of network requests
Select Save as HAR with Content
Save the file to your computer