Using Developer Assist in Visual Studio
Realtime Scanning
Identify vulnerabilities in realtime during IDE development of both human-generated and AI-generated code. Our super-fast scanners run in the background whenever you edit a relevant file. Our scanners identify vulnerabilities and unmasked secrets in your code. We also identify vulnerable or malicious container images and open source packages used in your project. Results are marked as Problems which are highlighted in the code and annotated with identifying icons. The issue is also listed in the Checkmarx One Assist Findings window to enable quick navigation and efficient remediation.
Learn more about Dev Assist realtime scanners here
The Checkmarx One Assist Findings Window
 |
The Checkmarx One Assist Findings Window provides a centralized view of all detected issues within a project, displaying them in a custom tool window that lists vulnerabilities per file along with the count of issues grouped by severity and file location. It enables users to navigate directly to the exact line in the editor with a single click and supports filtering and sorting capabilities to improve usability and streamline issue review.
To open the Checkmarx One Assist Findings Window, open the Checkmarx extension by selecting View > Other Windows > Checkmarx, and select the Checkmarx One Assist Findings tab.
AI Remediation
How to Remediate Risks Using AI
The following procedure explains how to remediate risks by clicking on the Fix button for a particular risk. Alternatively, you can request remediation via chat with your AI Agent, as described below.
Open a project in Visual Studio.
When Checkmarx realtime scanners identify a risk, it is flagged as a Problem, which is marked in the code with a squiggly underline and annotated in the margin with an icon that indicates the type of risk.
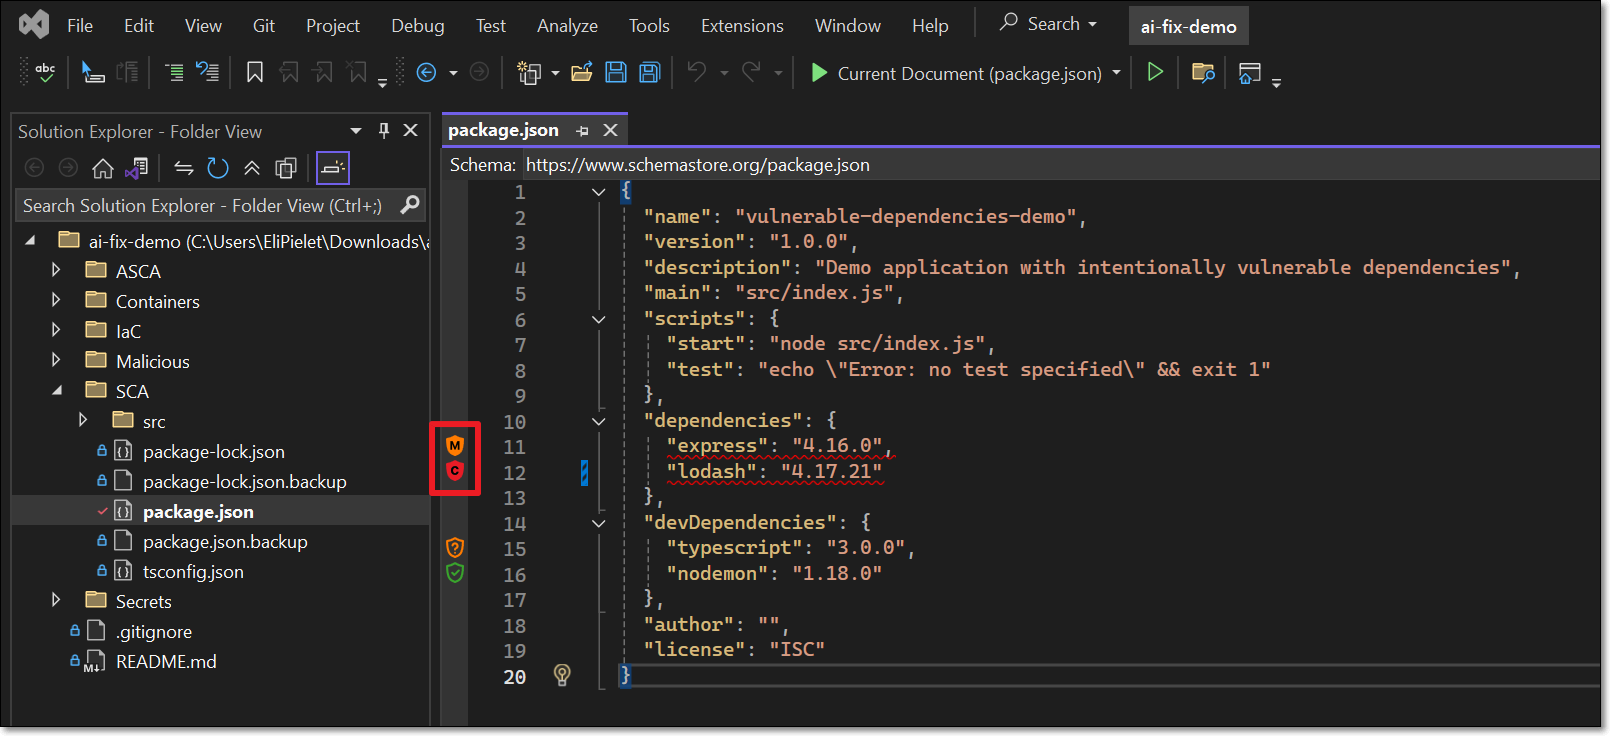
Hover over the vulnerable line of code.
The Checkmarx dialog opens.
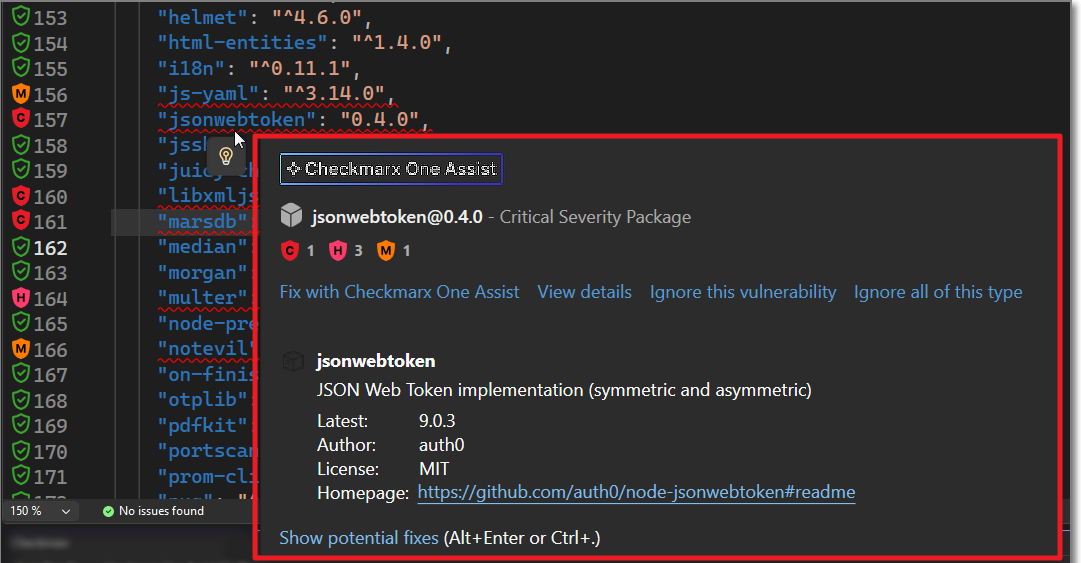
Click on Fix with Checkmarx One Assist.
A Copilot session opens in the side panel and all relevant info is sent for analysis.
Notice
Depending on your IDE configuration, you may need to click Confirm several times in order to complete the process.
Copilot automatically makes the necessary changes in the code in order to remediate the risk.
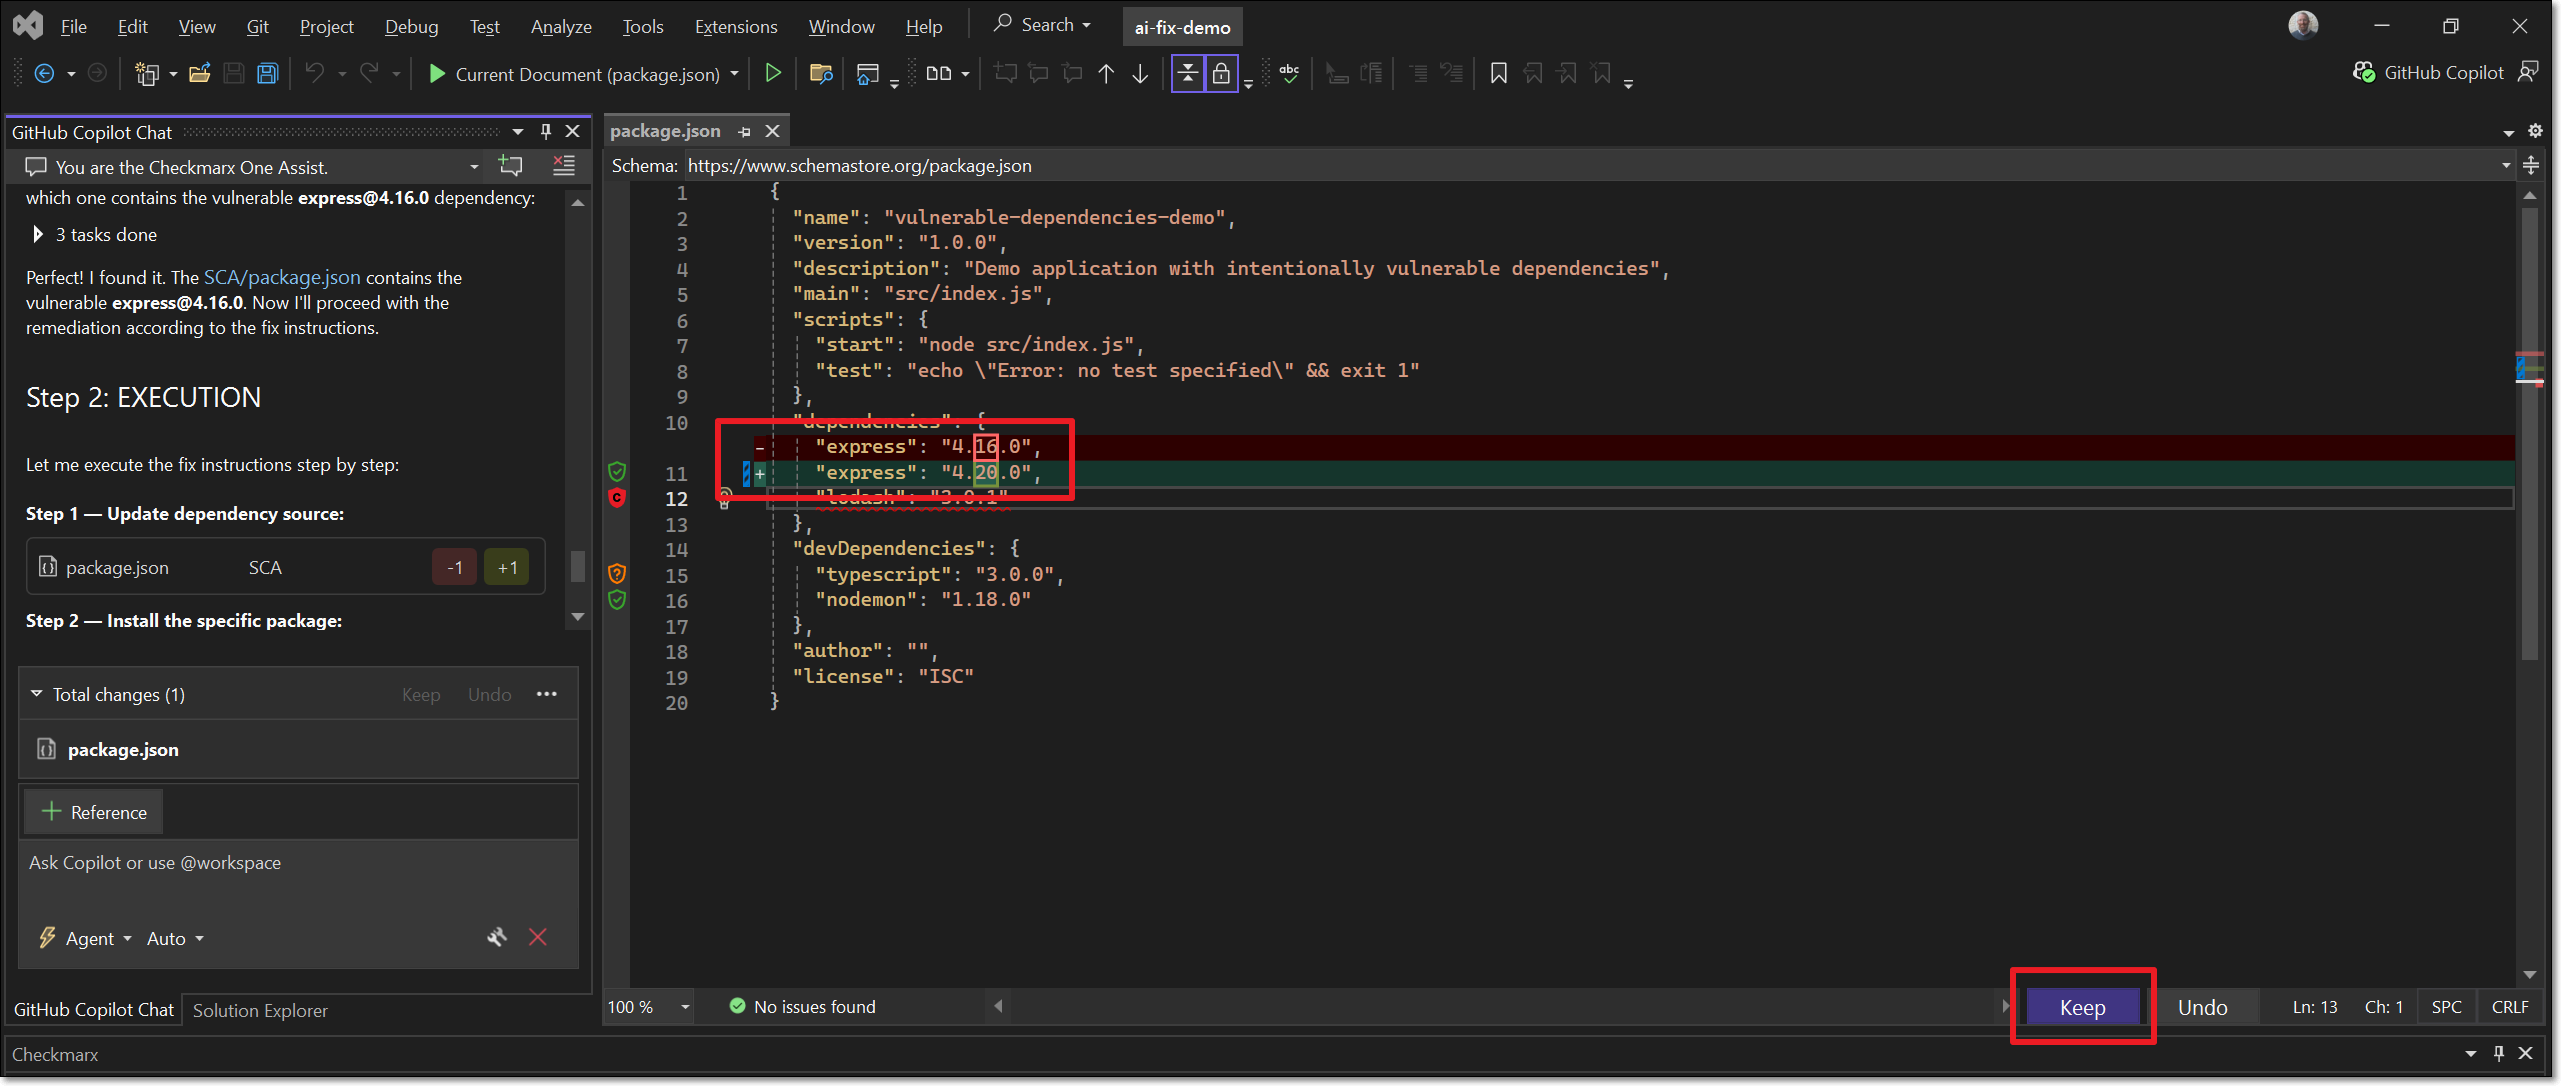
If you approve the changes, click Keep.
If you do not want to implement the suggestion, click Undo.
You can also chat with Copilot to improve upon the suggestion.
Remediation via Chat
You can submit a request for CxOne Dev Assist remediation via natural language chat with your AI Agent. Just say that you want to fix a security risk and indicate which risk or risks you want to fix. Your AI will automatically route the request to the Checkmarx MCP and send all relevant data for analysis in order to generate the suggested remediation. The following are some examples of valid requests:
"Fix the vulnerability in line 26"
"Fix all critical vulnerabilities"
"Fix all SQL Injection risks"
"Remediate all vulnerable packages"
"Correct all critical issues in my JavaFile.java"
Things to Know About Dev Assist Chat
No need to mention "Checkmarx" explicitly; once Dev Assist is installed and running all remediation requests are handled via Checkmarx MCP
Support for multi-language prompts
Effective in single message context. Improved accuracy in context of an existing thread or finding.
By default, requests are interpreted in the context of the current open file (e.g., line 26 of the open file). You can specify a different file in your workspace.
Ignoring Risks
In order to help you to focus on actionable risks, Checkmarx Dev Assist enables marking risks as Ignore, so that the risks will no longer be shown in your IDE. This can be applied to a specific instance of a risk or it can be applied to all instances of that risk in your project. You can Revive the risk at any time to resume showing risks for that package.
Notice
For risks identified in open source packages, a risk instance refers to the entire package that the vulnerability is associated with.
To Ignore a Risk
When Checkmarx realtime scanners identify a risk, it is flagged as a Problem, which is marked in the code with a squiggly underline and annotated in the margin with an icon that indicates the type of risk.
Hover over the vulnerable line of code.
The Checkmarx dialog opens.
To ignore the risk in this particular instance, click on Ignore this vulnerability.
To ignore all instances of the risk, click on Ignore all of this type.
The ignored risk will now appear in the Ignored Findings tab of the Checkmarx window.
To revive a package:
Navigate to the Ignored Findings tab of the Checkmarx window.
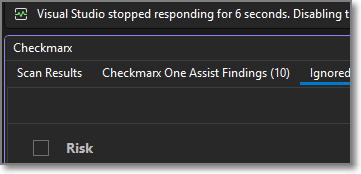
For the desired vulnerability click on the Revive button.
Notice
This can also be done as a bulk action for all selected items.