Installing and Setting up Developer Assist in Windsurf Extension
Installing the Extension
The Windsurf Extension is available on the Open VSX Registry. You can initiate the installation directly from within Windsurf.
Notice
Although there is no dedicated Checkmarx plugin for Windsurf, the plugin for VS Code has been tested and is effective for use in Windsurf.
To install the extension:
Open Windsurf.
In the main menu, click on the Extensions icon.
Search for the Checkmarx extension, then click Install for that extension.
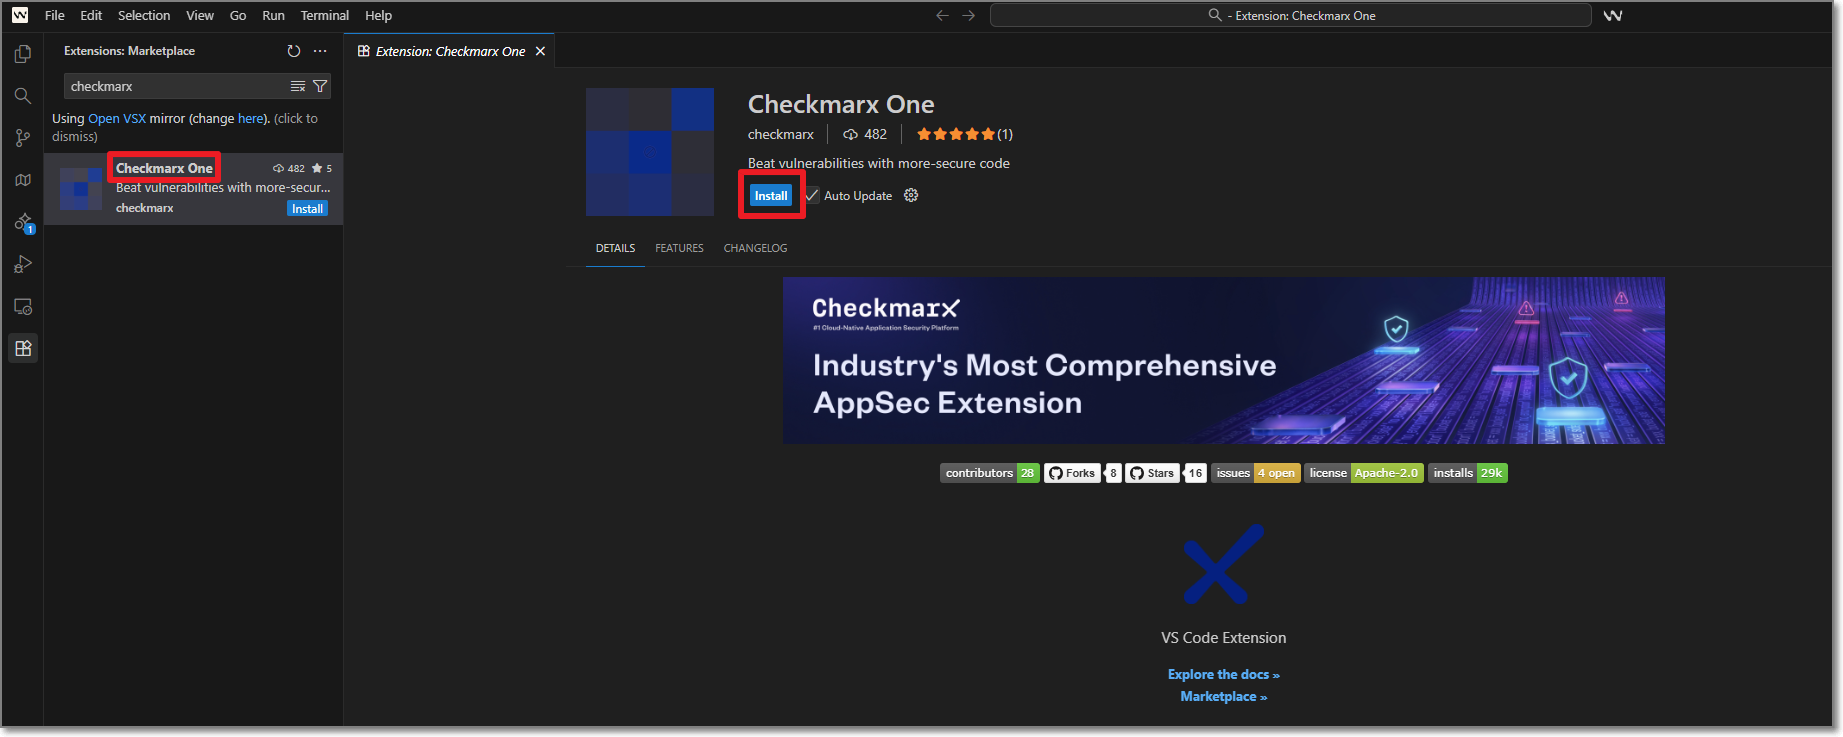
The Checkmarx extension is installed, and the Checkmarx icon appears on the left-side navigation panel.
Setting up the Extension
After installing the plugin, in order to use Checkmarx Developer Assist you need to configure access as described below.
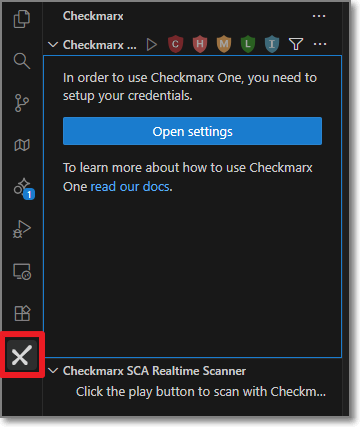
In the Windsurf console, in the left-side panel, click the Checkmarx icon > Open Settings.
The Checkmarx Settings tab opens.
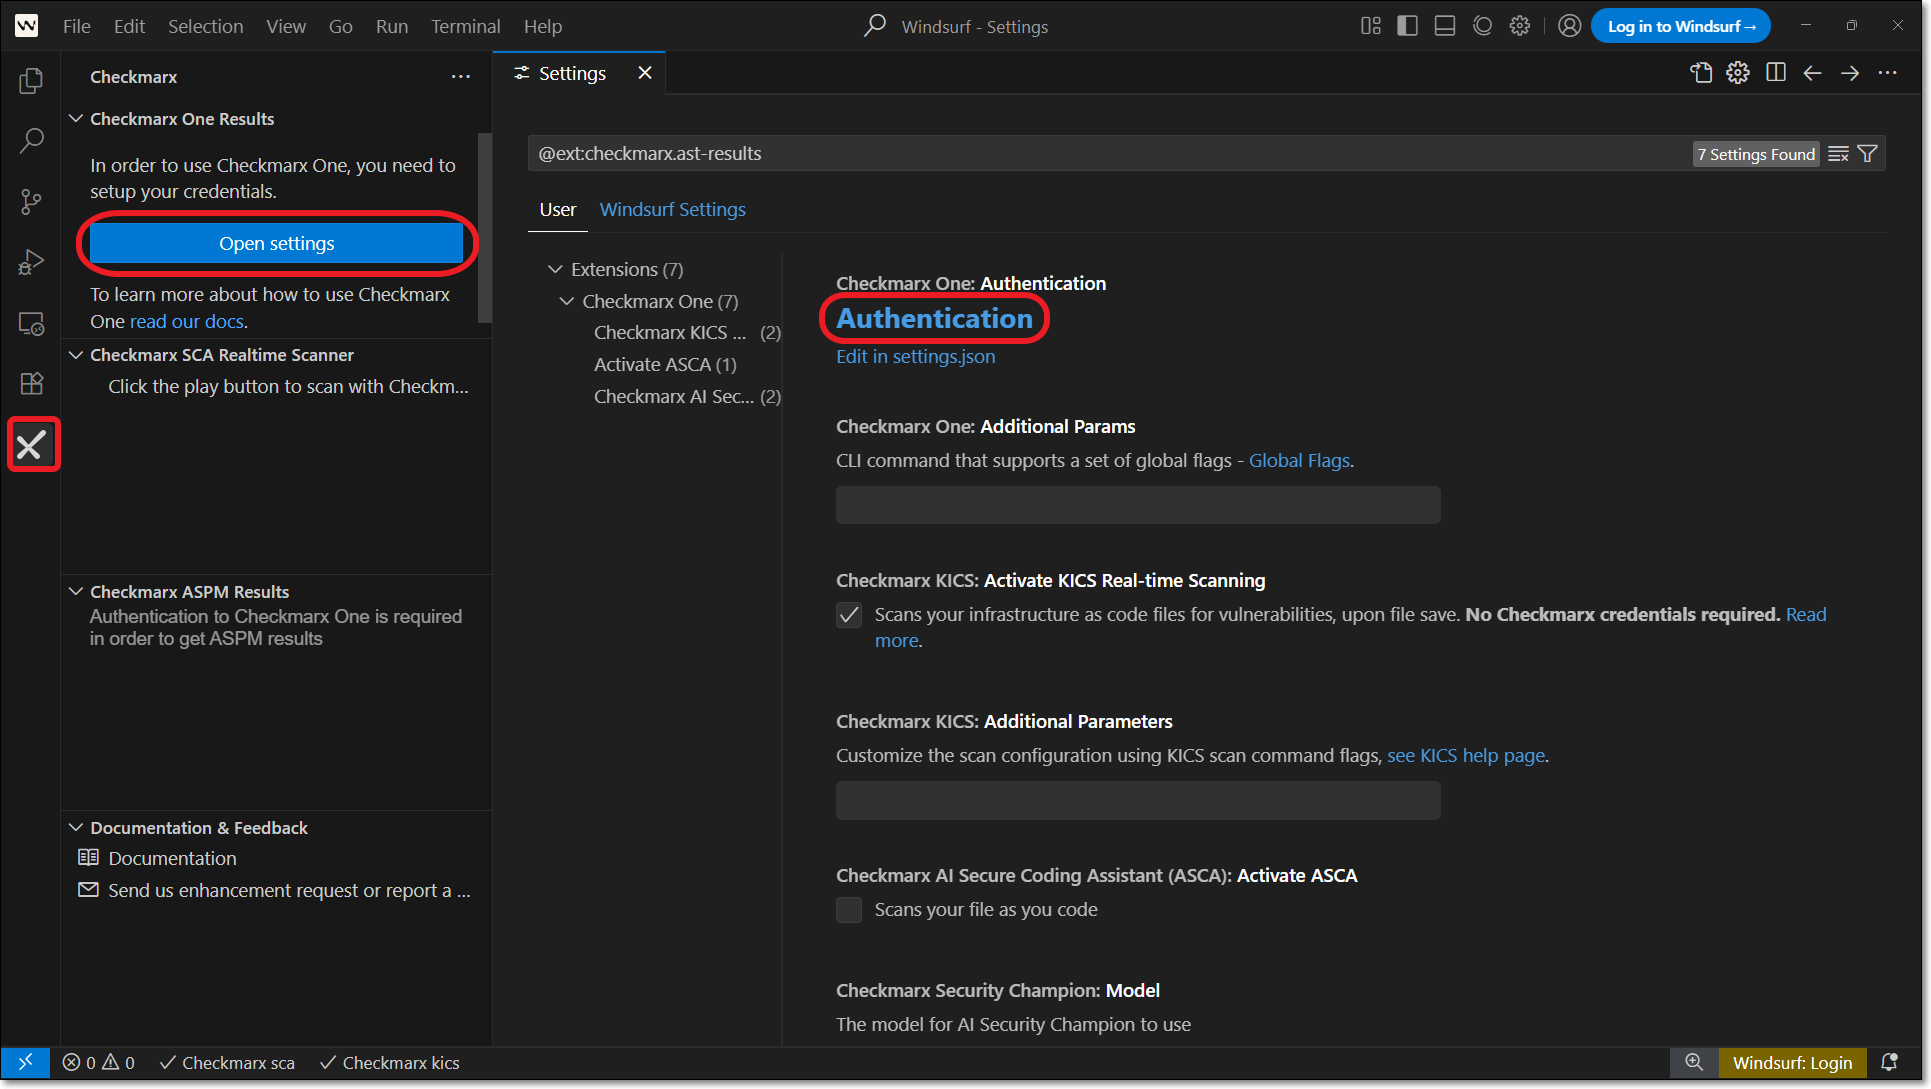
Click on Authentication.
Notice
There is an alternative method to enter credentials by clicking on Edit in settings.json and adding the credentials to the file, but this is generally not recommended.
A new tab opens showing the Checkmarx One Authentication dialog.
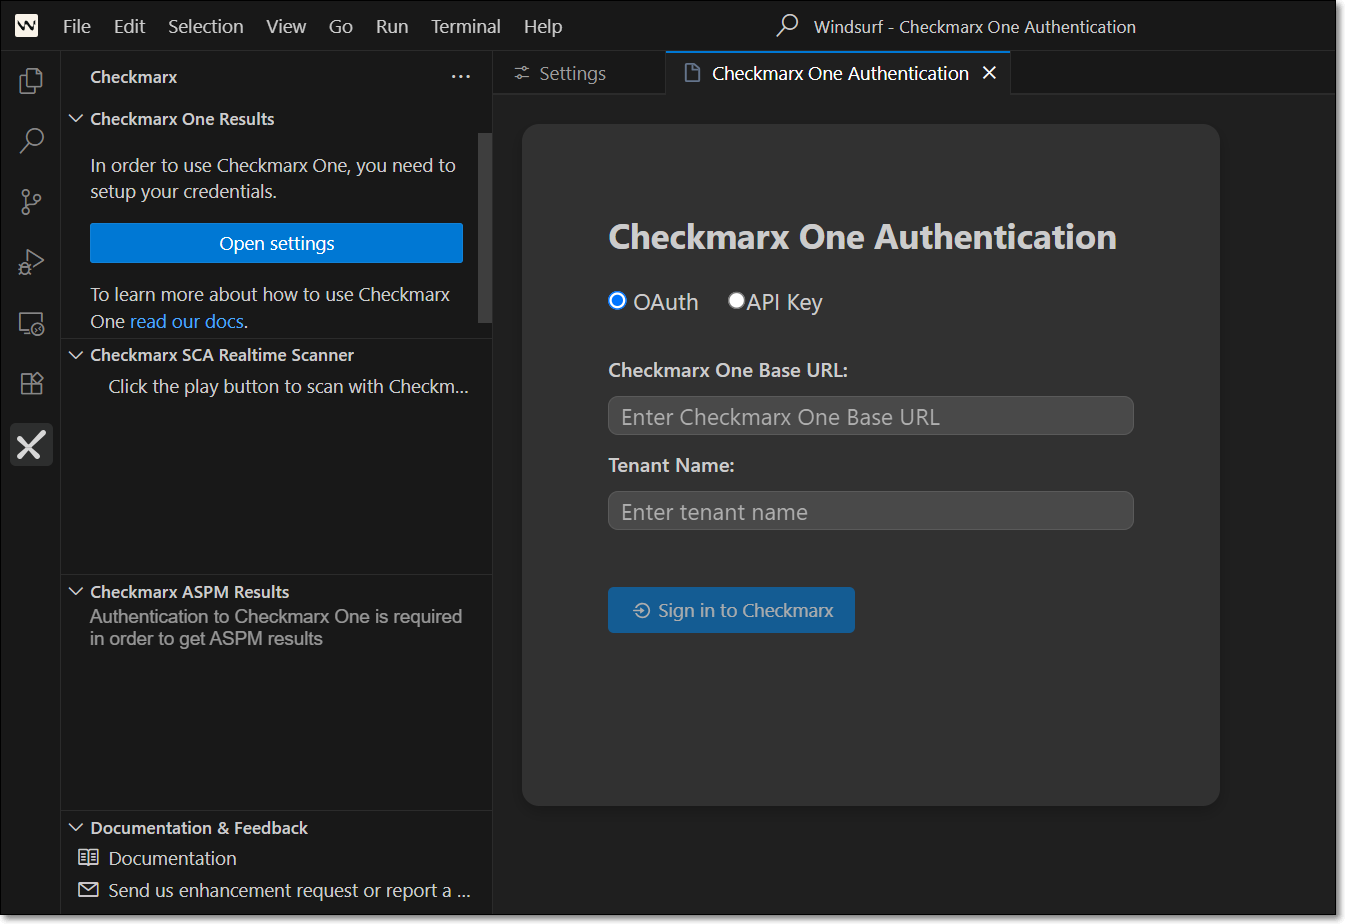
Authenticate with Checkmarx Developer Assist using one of the following:
Upon authentication, a Checkmarx welcome window will appear. Close the window to proceed.
In the Checkmarx Settings tab, use the Additional Params field to submit additional CLI params. This can be used to manually submit the base url and tenant name if there is a problem extracting them from the API Key. It can also be used to add global params such as
--debugor--proxy. To learn more about CLI globalparams, see Global Flags.Make sure that the desired Checkmarx One Assist realtime scanners are selected.
These should be selected by default. You can deselect any scanners that you don't want to run.
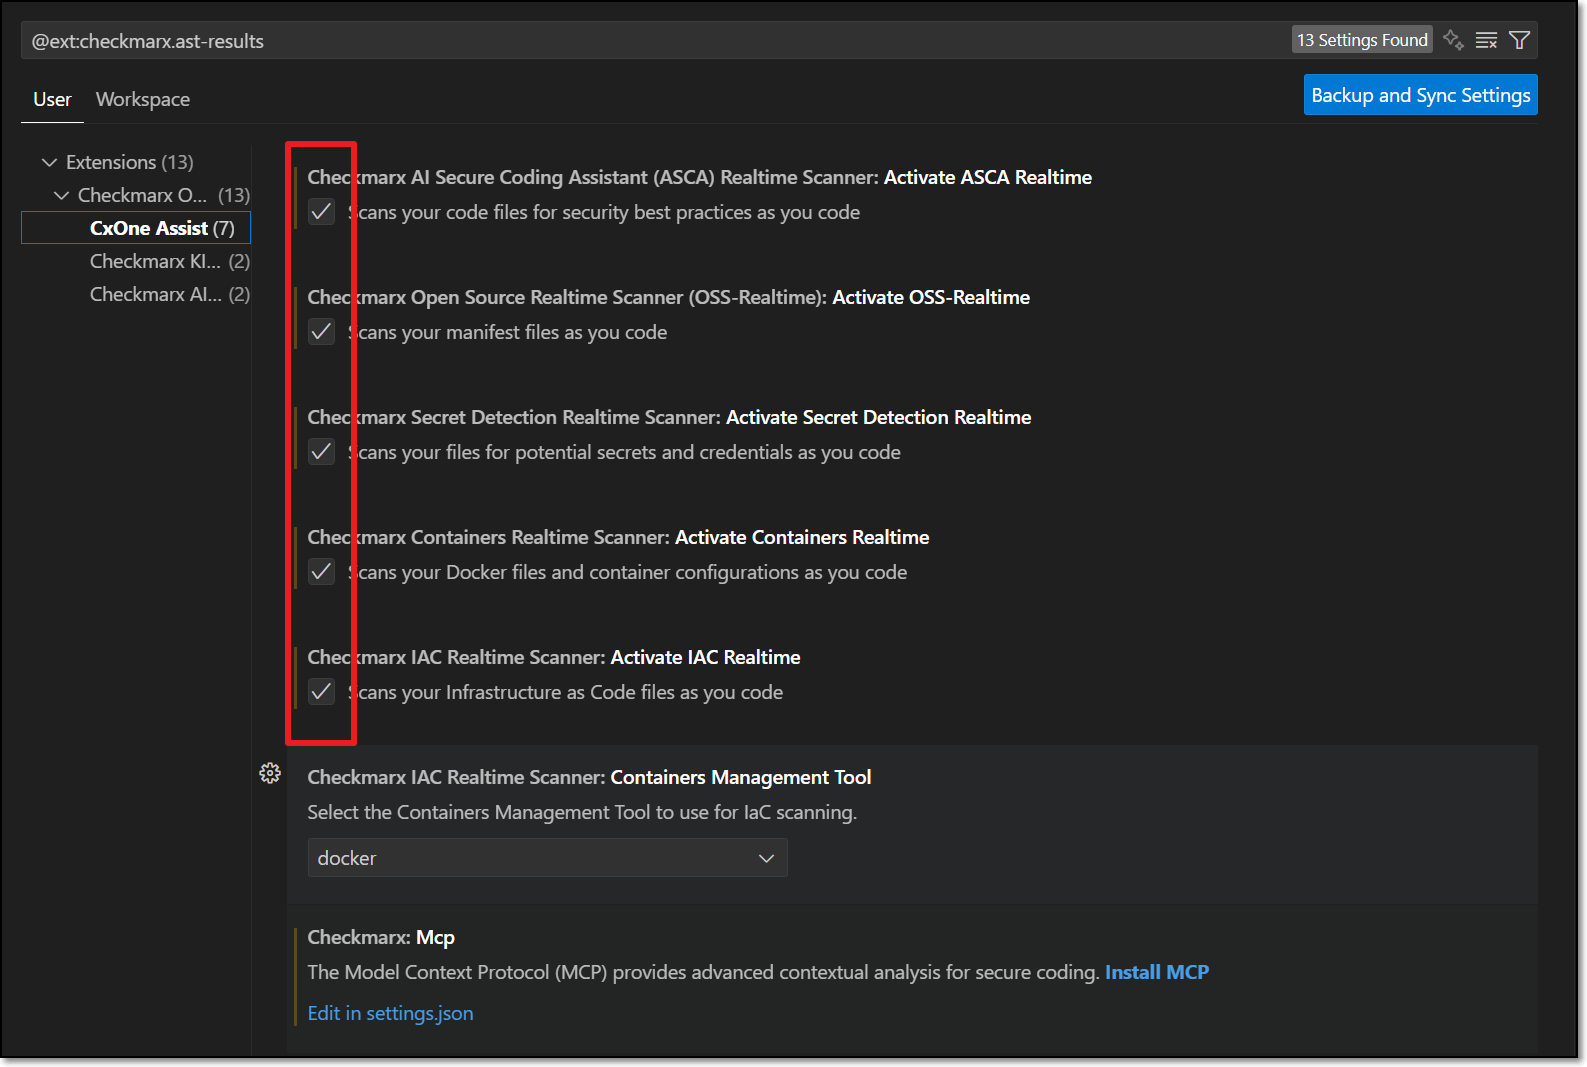
For the IaC Realtime scanner, select the Containers Management Tool used in your environment. Options are docker or podman.
Click on Install MCP.
The Checkmarx MCP is added to your mcp.json file and the MCP is enabled.
You can enable and disable the MCP by using the following procedure:
Navigate to Windsurf Settings.
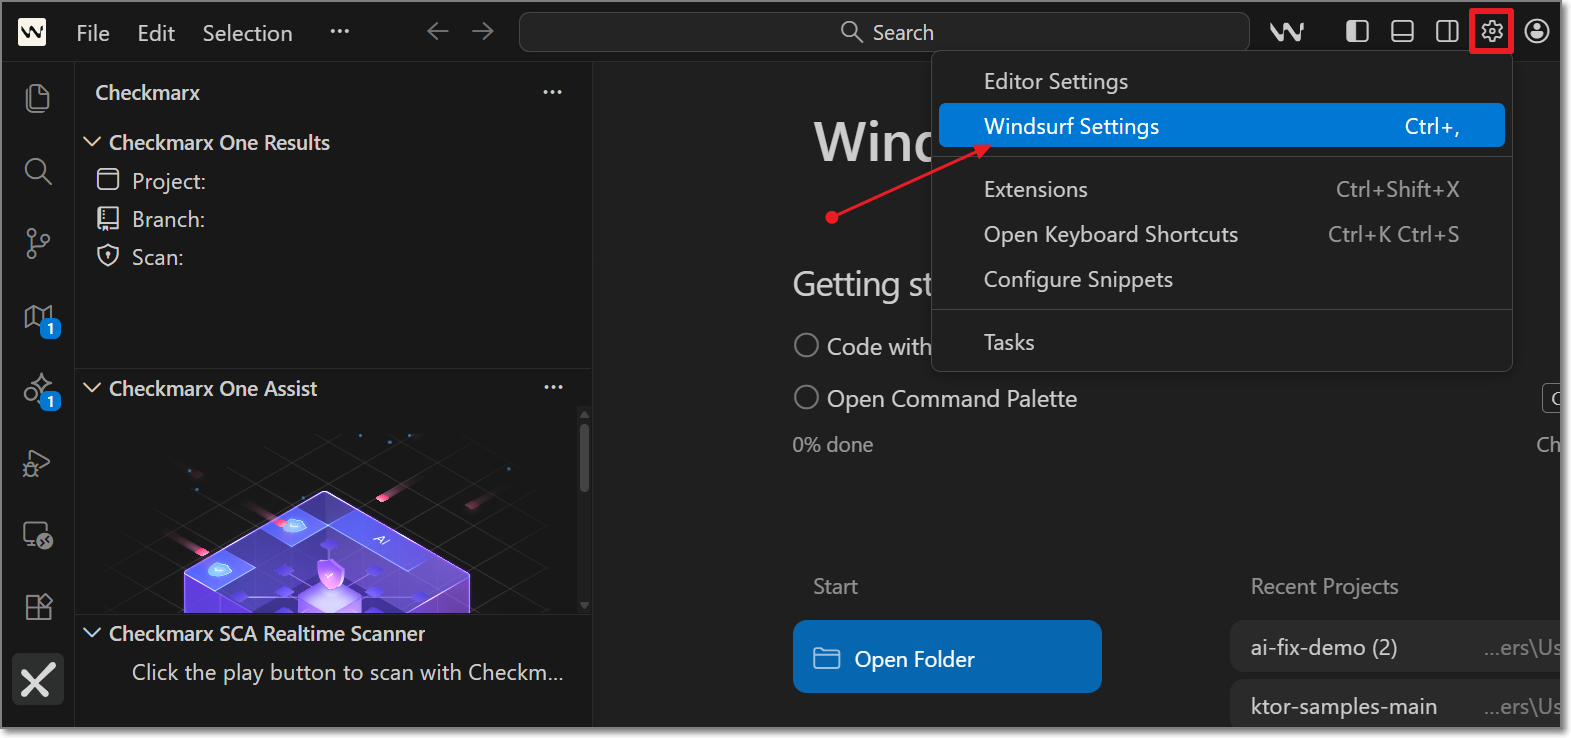
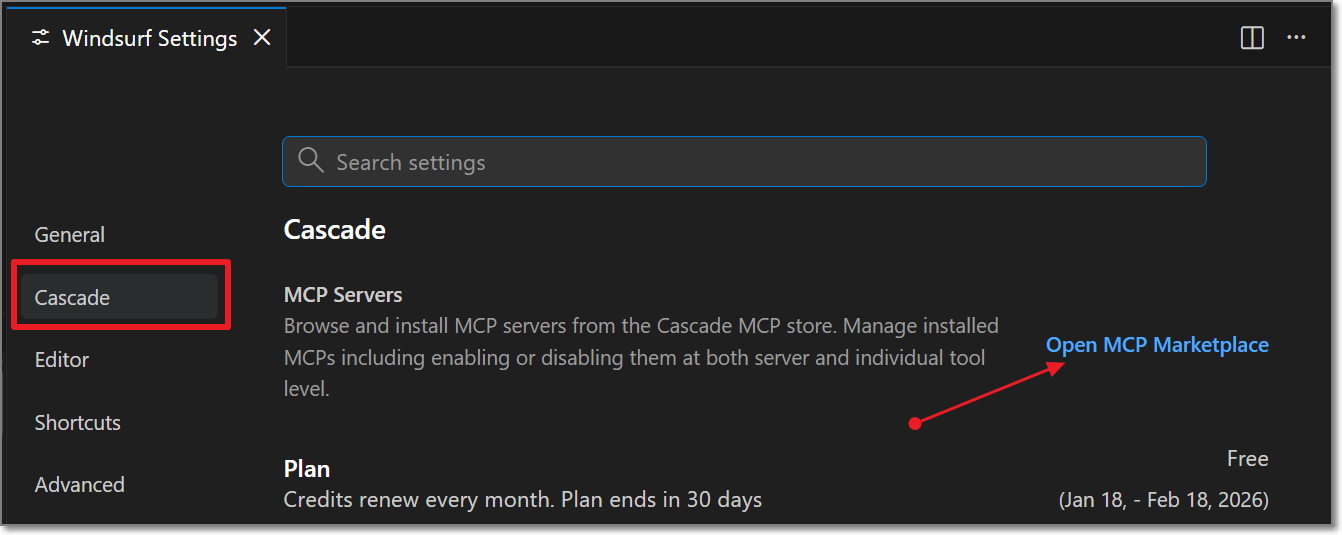
Select the Cascade tab, and click on Open MCP Marketplace.
Click on the Checkmarx MCP.
The Checkmarx MCP Server configuration panel is opened.
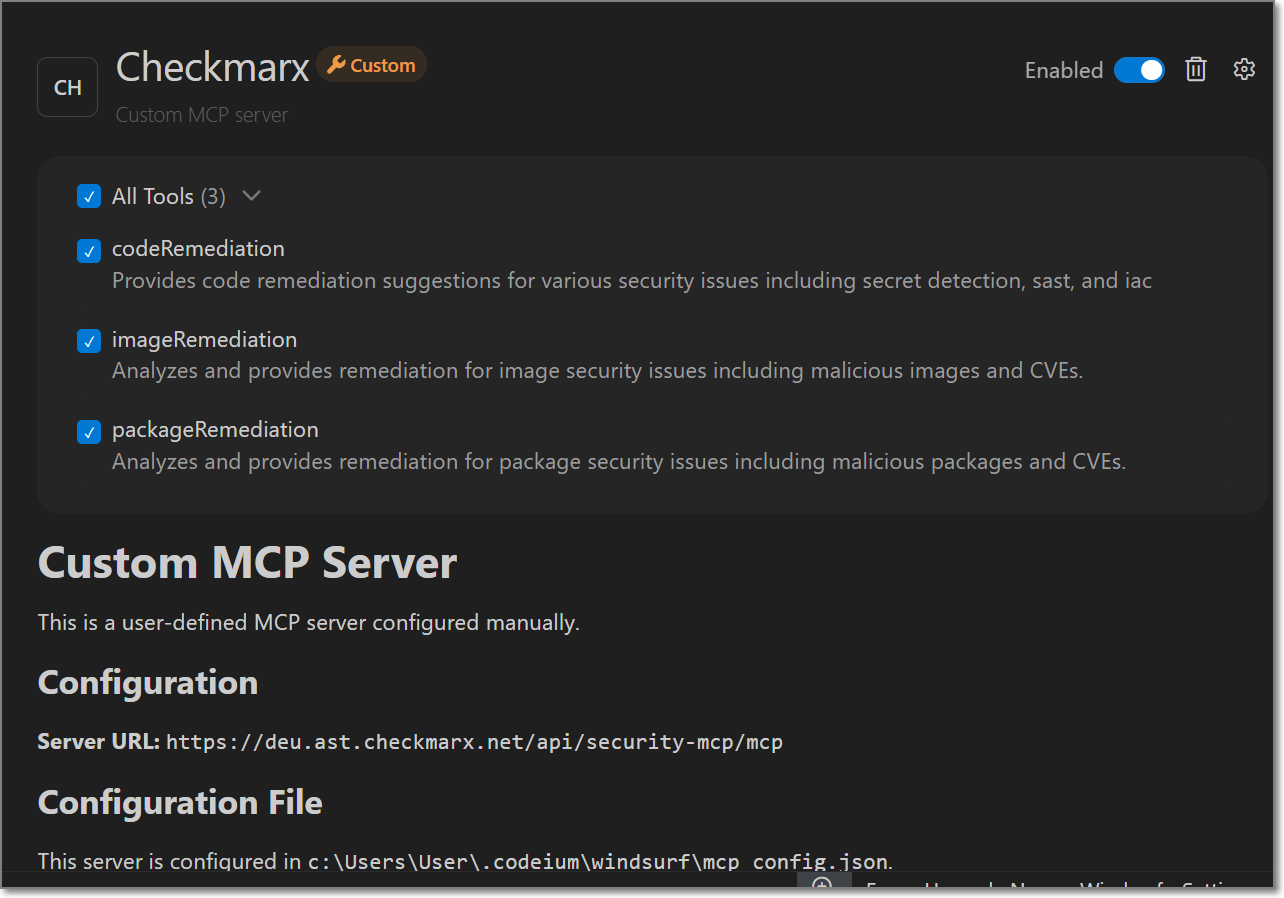
Ensure the MCP is enabled and all of the tools are selected.
Checkmarx Developer Assist is now configured and ready to use.